Having multiple printers in an area can be challenging, because if you are in a hurry, you might be printing something on a printer that isn’t yours. Then you have to spend a couple of minutes looking for the printer that you printed in and grab it. It’s all just a waste of time, really. That’s why there’s a thing called “Default Printer”, which you can set on your computer so you won’t have to make the mistake again, and it’s for easier access to your printer. If you want to learn how, then follow this guide.
Printer – How To Set A Default Printer
How to Set a Default Printer

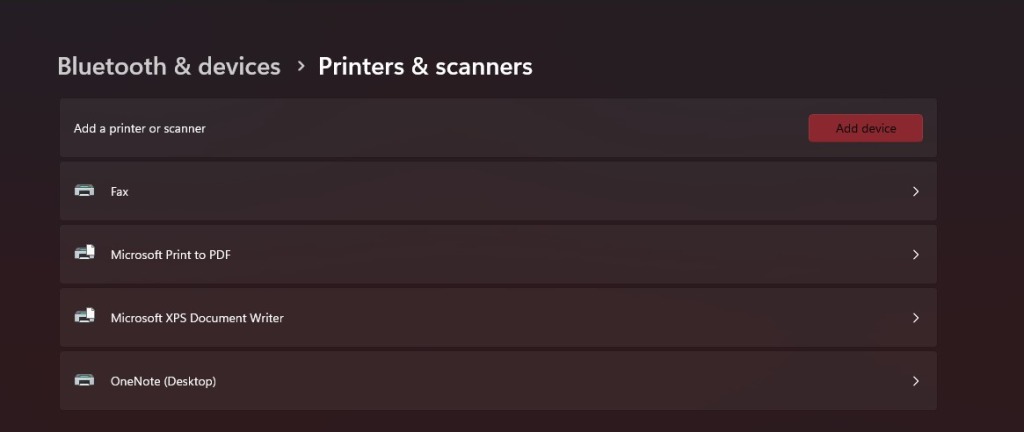
The process to set a default printer is actually easy. Just follow these steps:
- Click on the Search Bar
- Search for Settings and click on it
- Click on Bluetooth & Devices
- Click on Printers & Scanners
- Find your printer
- Click on it and click on Set as Default
If you don’t see the “Set as Default” option, that means “Let Windows manage my default printer” option is on. Disable it, then try again and you should be able to set your printer as the default printer.
ALSO READ: How To Move QuickBooks to New Computer


