If you’re diving into Destiny 2‘s The Invitation mission and suddenly hit a wall trying to figure out how to charge pylons with the new Matter Spark mechanic, don’t worry, you’re not alone. This mission introduces a new puzzle element that’s easy to miss if you’re not paying close attention. This guide will walk you through exactly how to activate all the pylons you need, both in the middle and end sections of the mission.
No spoilers here—just straight-up help for getting past those tricky parts so you can keep the action going.
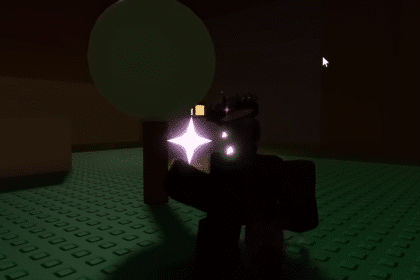
Understanding the Matter Spark Mechanic
Early on in the mission, you’ll unlock a new ability called Matter Spark. This mechanic allows you to interact with special objects in the environment, most importantly, charging pylons to unlock areas or progress through key encounters.
To use Matter Spark:
- Activate it (on PlayStation, this is usually a button like R2 for the ability and R3 to deactivate).
- While in this mode, secret tunnels and pylon vessels will become visible and interactable.
- You’ll need to stay in Matter Spark to charge pylons and access certain routes.
You can recharge or reactivate Matter Spark at specific gate-like energy sources scattered in the mission.
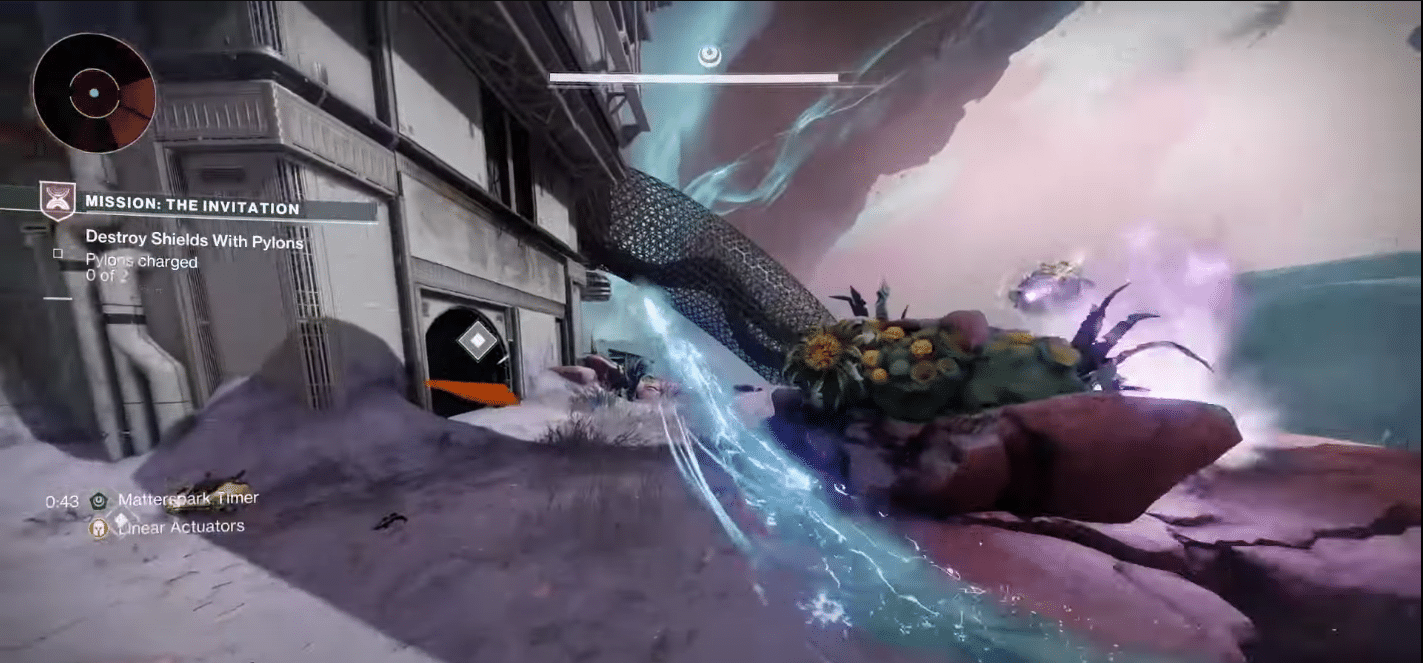
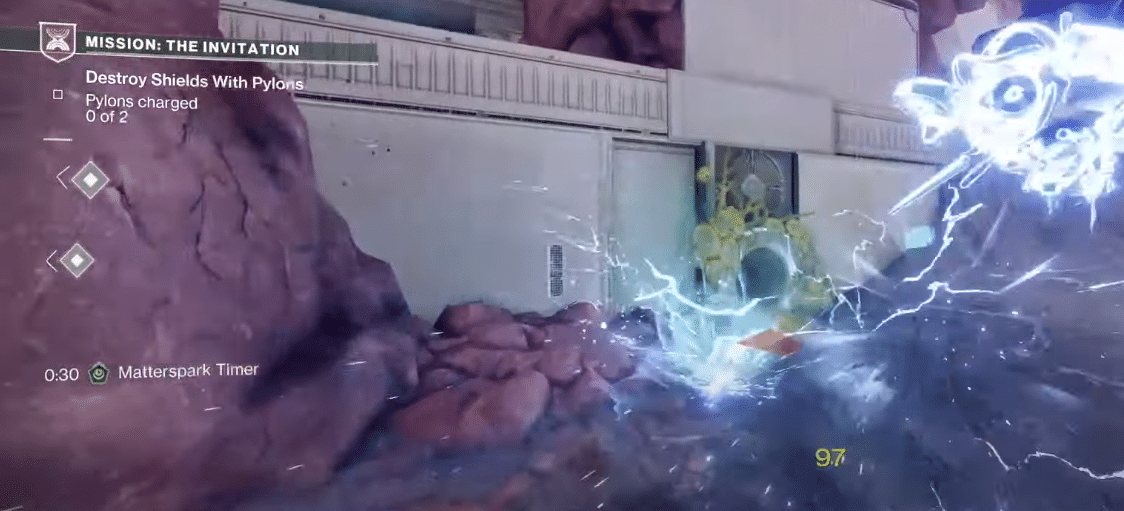
First Puzzle: Mid-Mission Pylon Activation
Once you’ve gotten familiar with Matter Spark, you’ll hit your first puzzle midway through the mission. Your goal: charge two pylons to move forward.
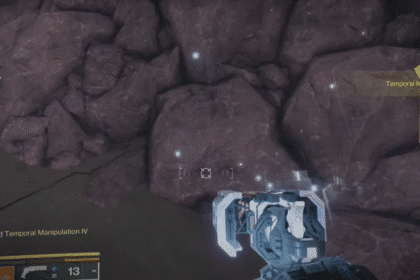
Where to Find the First Pylon
- Head to the middle of the map.
- Look for a tunnel that only becomes accessible once you’re using Matter Spark.
- Go inside and use your ability (R2 or equivalent attack) to charge the pylon.
This is your first exposure to a mechanic that will show up repeatedly throughout the campaign—and likely in future raid content, too.
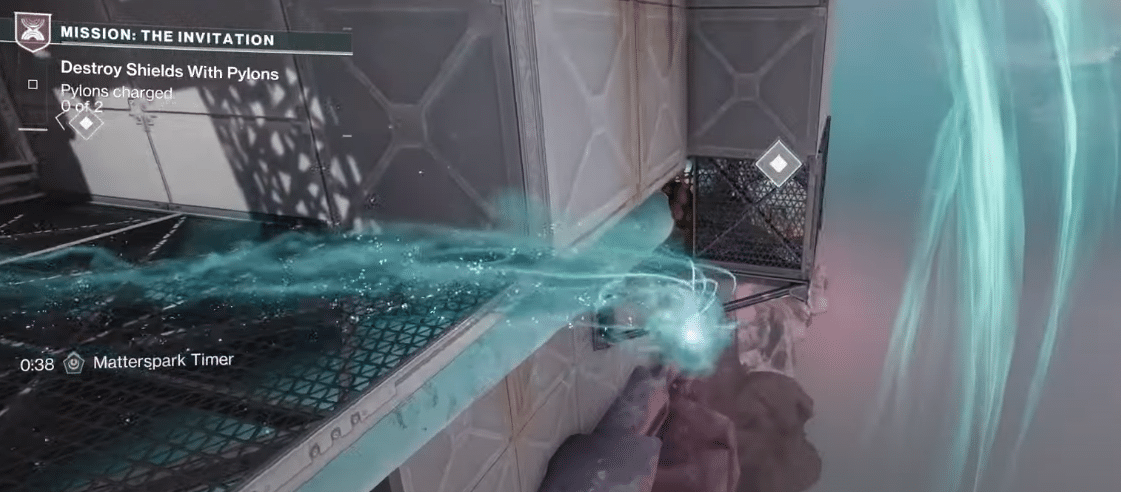
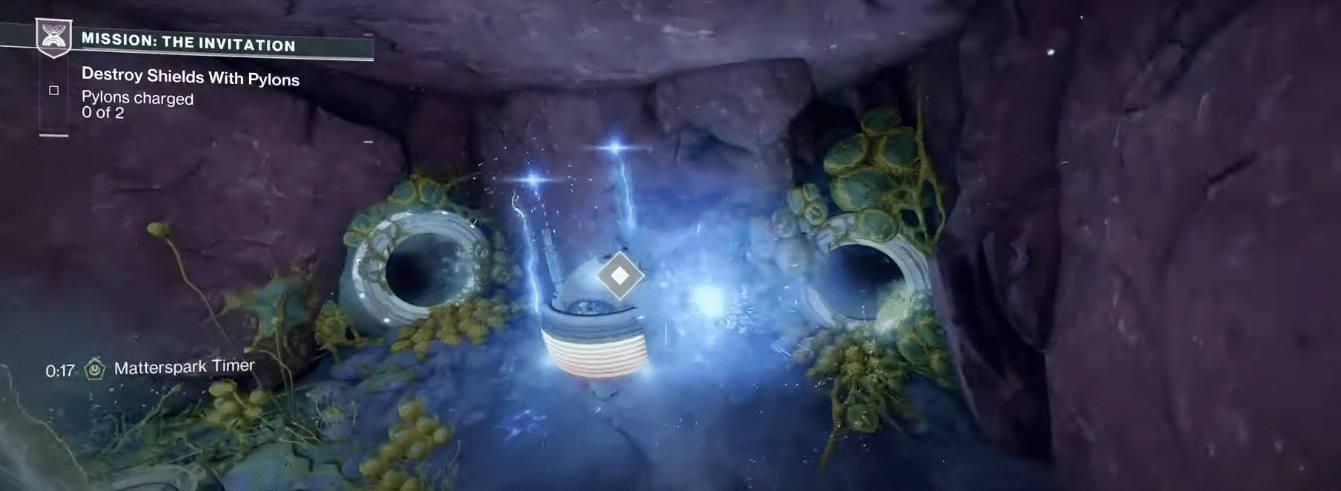
Second Pylon Location
- After charging the first, head over to the other side of the area.
- There’s a tube or tunnel you can walk through to reach the second pylon.
- Activate it the same way using Matter Spark.
Once both pylons are charged, you’re free to move on. But you’re not done with puzzles just yet.
Second Puzzle: End-Mission Pylon Activation
Toward the end of the mission, you’ll face another puzzle that involves charging three pylons. These can be trickier to find and reach, so here’s how to track each one down.
First Pylon
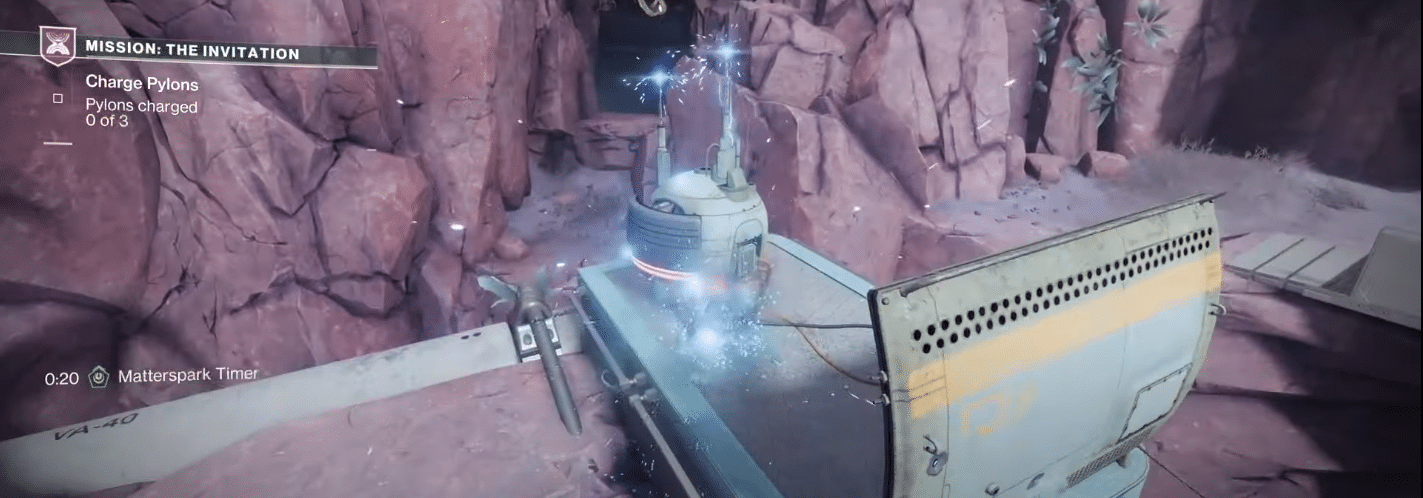
- This one is pretty obvious and easy to spot.
- Use the nearby ramps to navigate quickly.
- Enter Matter Spark and activate it with your attack.
Second Pylon (Jumping Puzzle Tip)

- This is the one that stumps a lot of players.
- You might try using your boost jump to get across, but that doesn’t work well here.
- Instead, just use a regular jump—yes, really. It’s the only reliable way to reach the platform.
- Once you land, activate the pylon like before.
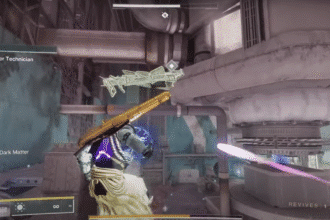
Third Pylon
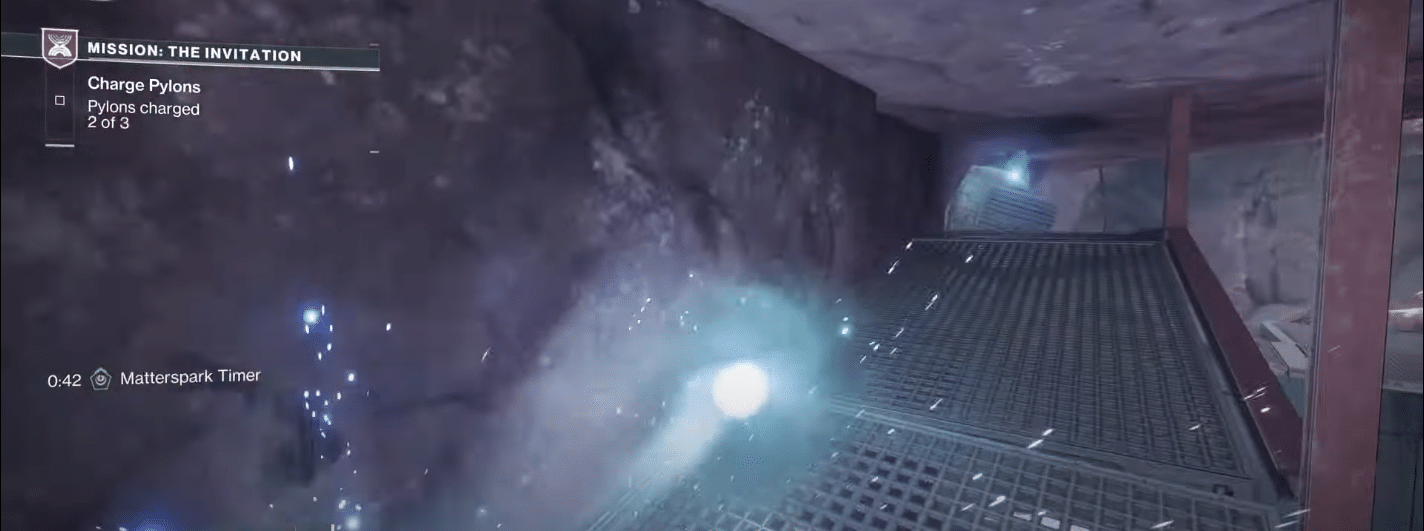
- For this one, you’ll need to go through a small tunnel.
- The pylon is up on a wall, and it might not be immediately visible.
- Use the ramp leading up to it, then activate it with your ability.
After charging all three, you’ll have completed the puzzle sequence for the mission.
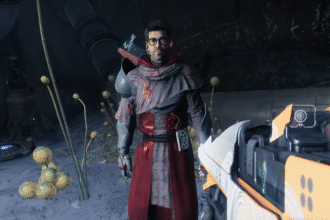
Secret Room and Enemy (Optional Discovery)
There’s also a little extra hidden in this mission. After completing the final section, you can return to the area where the pylons were and re-enter Matter Spark. This time, go through the ceiling using one of the charge balls or energy zones. Doing so reveals a secret enemy encounter tucked away for curious players.
If you’re the type to explore every corner of a mission, this is worth checking out after you’ve wrapped up the main objectives.
Final Tips
- Don’t stress if you’re having trouble with the jumps. Most of the time, regular movement works better than overthinking your abilities.
- If you get lost, just look for places where Matter Spark opens up new paths, especially tunnels or glowing gates.
- You can deactivate Matter Spark any time (R3 on PlayStation) if you need to return to normal gameplay or deal damage during fights.
The Invitation mission in Destiny 2 is your introduction to a brand-new gameplay mechanic that blends exploration, puzzle-solving, and ability usage. The Matter Spark mechanic may feel unfamiliar at first, but once you get the hang of activating pylons and navigating hidden paths, it becomes second nature. And keep this in mind: if this mechanic is showing up this early, expect to see it again (possibly in bigger challenges like raids or endgame missions). So mastering it now is well worth your time. Up next, let’s learn how to finish the Aionian Laboratory mission in Destiny 2!