Let’s talk about Brittle Whetstone — easily one of the most important upgrade materials in Grounded 2. If you’re tired of whacking ladybugs with a glorified twig or your ant-slaying club feels more like a foam bat, you’re going to need this stuff. And trust me, you’ll need a lot of it.But getting your hands on Brittle Whetstone isn’t as simple as picking it up off the ground. There’s some exploring involved, some smashing of rocks, and even a freezing trip to a haunted ice cream truck (yes, really). In this guide, I’ll walk you through everything: what Brittle Whetstone is used for, how to craft it, where to get the materials, and how to skip the grind if you’re feeling lazy (no judgment here).
Where & How to Get Brittle Whetstone
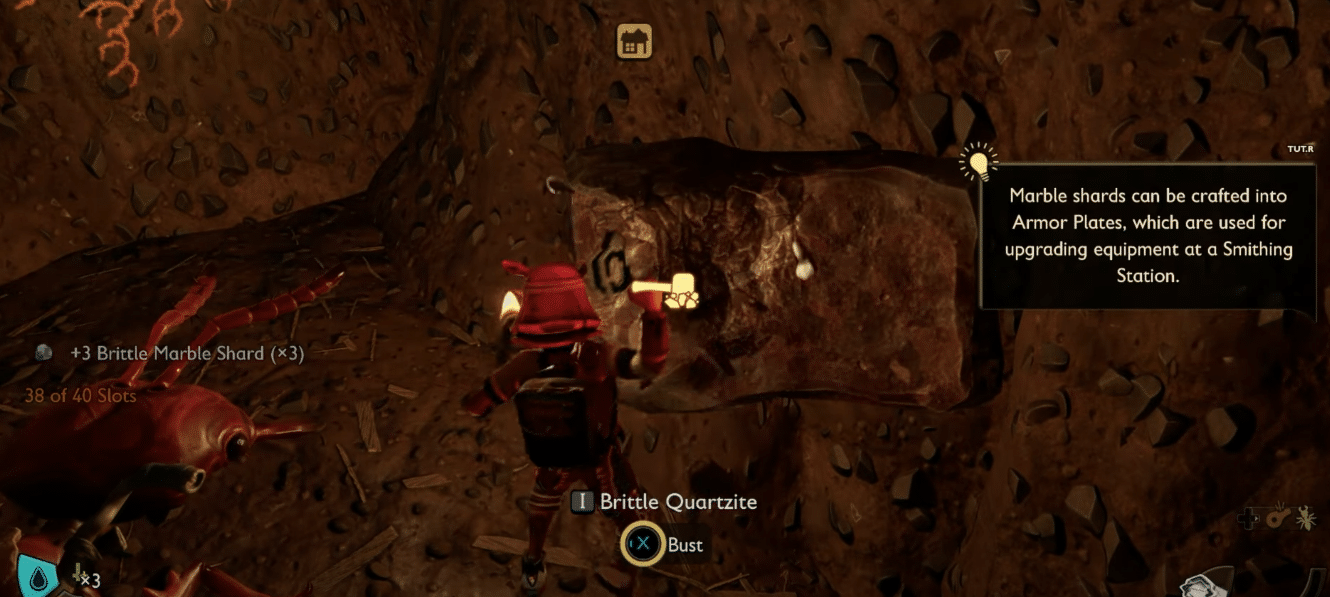
You can’t just walk up and grab Brittle Whetstone off the ground. Getting your hands on it takes a bit of effort. First, you’ll need to track down Brittle Quartzite, a rare material that hides deep in underground caves.
Then there’s the crafting step, which involves using a Workbench and, eventually, a Smithing Station. And once you’ve got all that sorted, you’ll still need to keep farming more if you want to upgrade your gear past the basics.
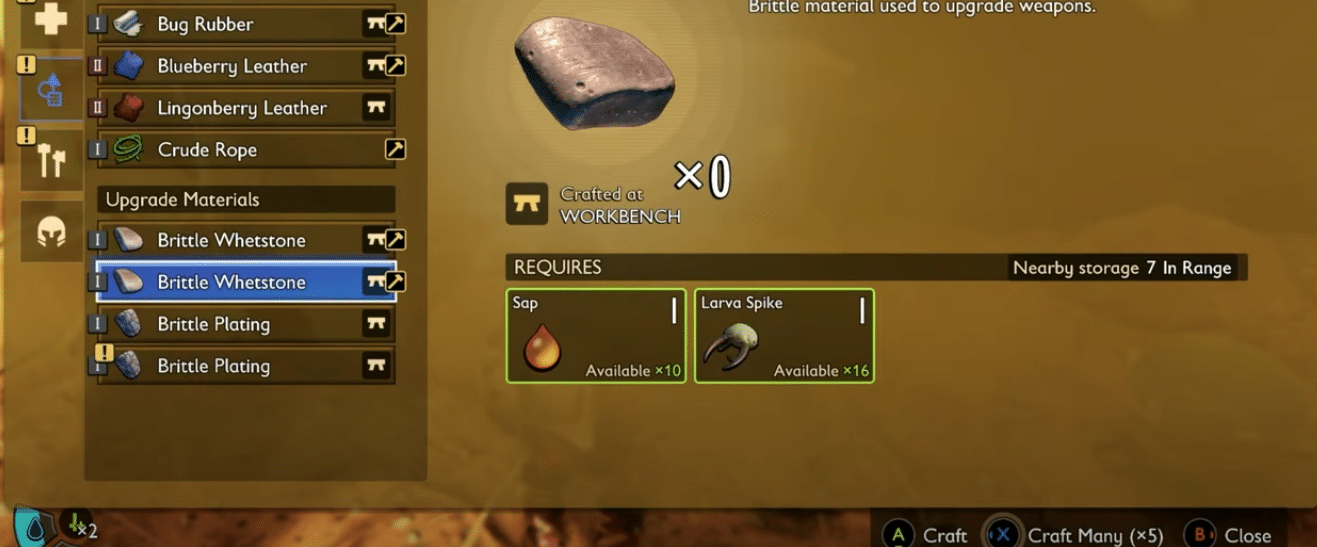
Here’s the crafting recipe:
- 1x Brittle Quartzite Shard = 1x Brittle Whetstone
To craft it:
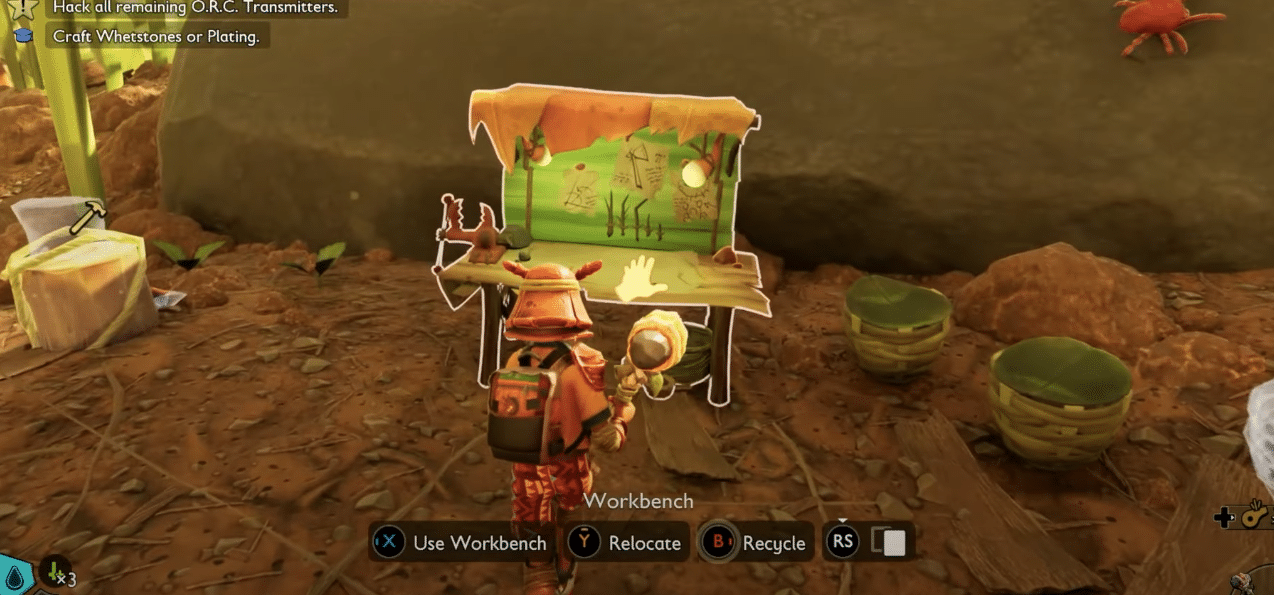
- Go to any Workbench
- Navigate to the Resources tab
- Convert Brittle Quartzite into Brittle Whetstone
Sounds easy — but actually finding the shards is the real challenge.
Where to Find Brittle Quartzite (for Whetstone)
Brittle Quartzite is mostly found deep in caves and underground areas, usually behind dry roots that your Red Ant mount can chew through. If you’re new to exploring, the rocks blend in pretty well, but look for sharp, defined stone chunks.
Best Locations to Farm Brittle Quartzite
- Toxic Anthill (under the Picnic Table – best spot overall)
- Hatchery Anthill (during the ‘Investigate Snackbar Anthill’ mission)
- Scorpion Cave (from The Art of War mission)
- Red Ant Hatchery (near the Snackbar – break through roots to access it)
- Entrance Area (near the big tree in the center)
- Statue Area (among flower beds and garden paths)
Personally, I found the Toxic Anthill to be the jackpot. Head under the checkered blanket near the Picnic Table, take your Red Ant soldier mount to avoid drawing aggro, and light the way with torches. Once the dirt tunnels turn to stone and cockroaches start showing up, you’ll know you’re close to a ton of quartzite (and marble, too!).
Tip: Quartzite won’t show a gathering prompt if you’re mounted — hop off to harvest.
What is Brittle Whetstone (and Why You Need It)
Brittle Whetstone (and its armor cousin, Brittle Plating) is an upgrade material used at the Smithing Station to level up your gear. You’ll need:
- Brittle Whetstone to upgrade weapons
- Brittle Plating to upgrade armor
Each upgrade boosts damage, defense, and durability by 10%. But it’s not cheap:
- Weapons: 5x Brittle Whetstone per level
- Armor: 5x Brittle Plating per level
You’ll also need one of each just to craft the Smithing Station (after you unlock it by purchasing the blueprints from the Science Shop at the Snackbar Ranger Station). And from there… the grind begins.

How to Craft Brittle Whetstone Without Having to Grind for Shards
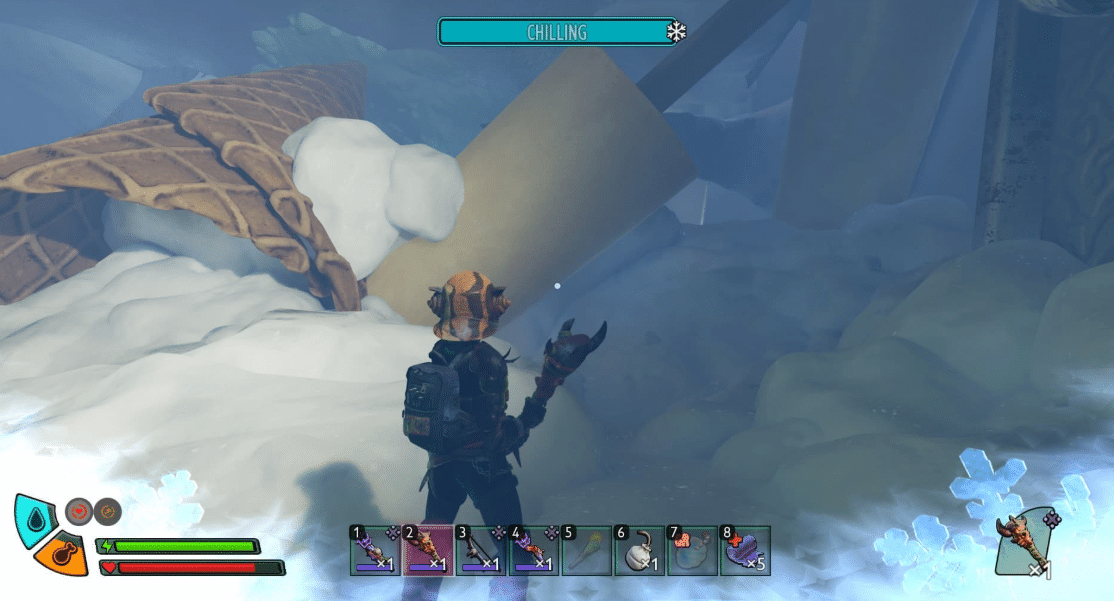
If you’re anything like me, the idea of crawling through anthills and busting every shiny rock for Brittle Whetstone gets old fast. Luckily, there’s a much easier way — and it’s hidden in the frozen chaos of the Ice Cream Cart.
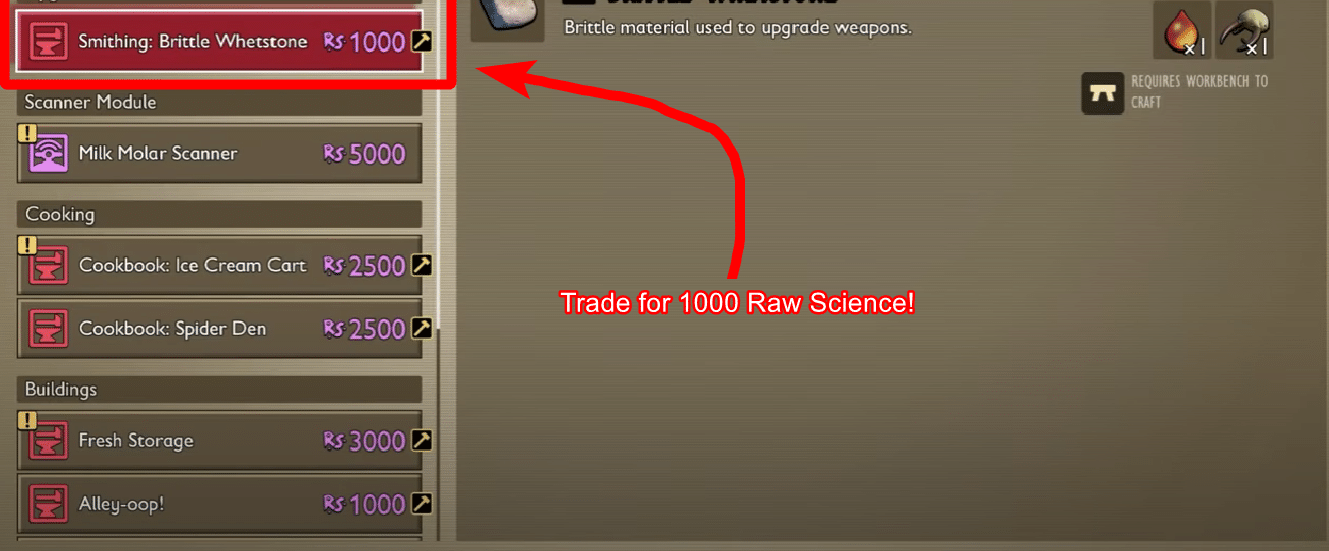
That chilly freezer-on-wheels in the northeast holds an Optical Disk that unlocks the ability to craft Brittle Whetstone without mining — all for just 1,000 Raw Science. No shard farming. No grinding. Just grab the disk, unlock the recipe, and get to upgrading.

Getting there’s a bit of a pain, though. The area is freezing, so pack Blazing Brew, throw on Chill-resistant gear, and activate Spicy Safety. Oh, and bring a smashing weapon — scorpions live there now.
When you arrive at the cart, look for a small tunnel entrance on the right side. Enter the tunnel and stick to the right wall as you move forward.

You’ll come across a line of ice cream cones — head between two popsicles just past them, keeping the cones on your left. Continue upward until you see an ice column, and next to it, you’ll spot a frozen body holding the Optical Disk. This is just before the cone filled with Raw Science.
Once you’ve got the disk, return to the Science Shop and you’ll unlock the ability to craft Brittle Whetstone for just 1,000 Raw Science. No shard mining — just straight-up buy it, craft it as many times as you want (with Sap and Larva Spike) in the Workbench and upgrade away.
How to Craft the Smithing Station
Before you can upgrade anything, you’ll need to build the Smithing Station.
Here’s what you need:
- 1x Brittle Whetstone
- 1x Brittle Plating
- Crude Rope
Buy the blueprint from the Science Shop at the Snackbar outpost’s Ranger Station, then head to your base and craft it.
How Weapon & Armor Upgrades Work
Weapon Upgrades
- Cost: 5x Brittle Whetstone per level
- Increases: Damage & Durability +10% per level
- Max Level (Tier 2): Level 3
Armor Upgrades
- Cost: 5x Brittle Plating per level
- Increases: Defense & Durability +10% per level
- Max Level (Tier 2): Level 3
Tip: Repair your upgraded gear instead of crafting new ones. It’s cheaper, and materials get expensive fast.
Wrap-Up
And there you have it — everything you need to know about Brittle Whetstone in Grounded 2. Whether you’re mining your way through dark anthills or braving the Chill zone for that Optical Disk shortcut, getting your gear upgraded is 100% worth the effort. Stronger weapons and tougher armor make a massive difference, especially when the bugs start getting bold.
Personally, I love having the option to skip the shard grind thanks to the Ice Cream Cart method — it saved me hours of cave-diving and gave me a huge power spike early on. So whichever path you take, just remember: upgrade smart, repair often, and never underestimate a properly sharpened stick. Up next, if you’re hunting down the Orb Weaver Egg, check out our guide — it shows the exact location and how to get your hands on it, step-by-step.


