Bayonetta fans rejoice because there’s a new game out there for you and it’s one where the witch is a bit too short to be a protagonist. Bayonetta Origins is a prequel to the series and it tells the story of little Cereza and her cute demon Cheshire. Go into an adventure with your normal sized demon cat, as you go through beautiful levels filled with enemies to beat up, puzzles to solve and a lot of platforming to do. In this guide we’ll show you how to do one of the levels in the game for those who might be lost on what to do next!
Bayonetta Origins: Cereza and the Lost Demon | Chapter 3: The First Elemental Core | Follow the Wolf
Start off by going to the Sanctuary nearest to where you start off and continue down the path. Watch out for traps that Cereza can step on, you’ll need to use Cheshire to destroy them when you do.

Continuing down the level you’ll see an enemy spawn, be careful since there’s traps around it as well. Once you defeat the enemy destroy the brambles to continue down the path.

You’ll reach a clearing where you’ll see the enemy that’s been placing down those dastardly traps, the Devious Trapper Leipreachan. You’ll need to defeat them to continue, watch out for traps since Cheshire can set it off too and won’t be able to move for a while.

Continue through the level until you reach Tir Na Nog Calamity. Go forward up the stairs and you’ll do a small mini game to continue.

Once you go through the area you’ll reach another one that will be blocked by some enemies. It’s the same trappers as before and once you defeat them the path will open up.

Continue up the level until you reach the area shown below, you’ll need to do another mini game to continue. This will transfer you to the next area.

We’re back at the forest again, go forward and you’ll find another Sanctuary, this time you have a mirror to learn new skills.

Continue down to the right and cross a vine bridge, don’t worry this time it won’t break. Use the green plants to jump from platform to platform until you reach the next area where you’ll need to time crossing to avoid the lasers.

Continue follow the path to the left until you reach the area shown below. Here we’ll go to another rift again back to Tir Na Nog and this time it’s Limitations.

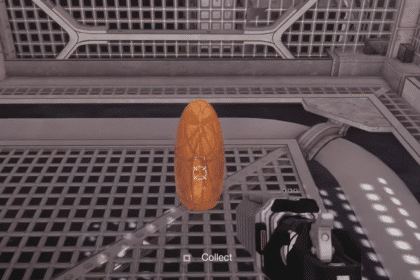
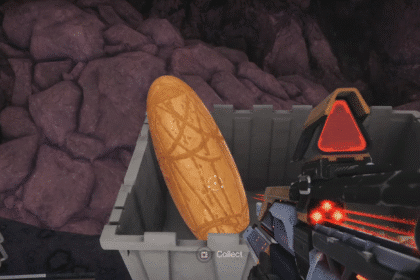
Once you get in you’ll need to defeat a group of enemies before the timer runs out, use binds to defeat the enemies easier and focus on one at a time. Afterwards it’s the same as the previous one where you’ll just need to go to the end of the level and do a mini game. Don’t forget to get the chest!

Once you’re back, go backtrack and sticking to the right through some brambles until you reach the area shown below.

Use Cereza to make a path by doing the mini game and on the other side you’ll see a bunch of enemies. Beat them up to continue. Go to the upper left following the path. Play the mini game to make a platform to go up.

Continue through the path until you see the new enemy type, a Siren Defender Spriggan. Once you defeat it continue with the level until you reach another area in Tir Na Nog.

In our guide for Tir Na Nog Rotation we go in depth on how to finish this area of the level, so go check it out.

Once you’re out a chest will be unlocked, go open it and go back to where you first entered the Rotation Tir Na Nog and go to the upper left to another Sanctuary.

Afterwards continue down the path and you’ll see the White Wolf. Despite them sounding like this is a timed event, it’s not so don’t worry.

Follow the wolf until you reach the area where you’ll need to fight the boss Fomhorach. Once you defeat the boss don’t forget to open the chest before continuing on.

There you’ll find the Wood Shrine and the White Wolf at the end. A cutscene will play and Cheshire will have a new ability, and that’s to turn to the Wood Version.

Use this new ability to open the path to the left and follow the path till the next levle!

Congratulations you now know how to do this level in Bayonetta Origins, now go out there and try to do it yourself!
ALSO READ: Chapter 3: Tir Na Nog Rotation | Bayonetta Origins: Cereza and the Lost Demon