There are so many secrets in The Legend of Zelda: Tears of the Kingdom and we love discovering them. From navigating through labyrinths, solving puzzle shrines, it’s all the good things that also made Breath of the Wild amazing. The North Lomei Labyrinth is one of the many labyrinths that can be frustrating to navigate through.
We’ll show you the way to find the North Lomei Labyrinth in the sky and on the surface. And along with that, the solution to find all the terminals necessary to open get the final chest.
How To Reach North Lomei Labyrinth
The North Lomei Labyrinth is to the east from the Pikida Stonegrove Skyview Tower on coordinates (-2139, 3067, 0443). Launch from here and we’ll make several stops on floating island on our way there. We’ll start by heading northwest and land on one of the islands of East Hebra Sky Archipelago.

Find one of these contraptions that’ll periodically launch you forward. Launch up and go to the island next to you to the north. There’s going to be a platform with a fan on top of it.

You need to first face the fan down and hit it. This will bring the platform up. You will need to use a Large Zonai Charge or plug in a battery on the fan. Let the fan run until the full charge runs out.
Then pick it up and face it behind, so it blows forward to the east.

You’ll reach North Lomei Castle Top Floor which is next to the Tenbez Shrine. When you try to interact with the entrance, it’ll deny you. So now you need to find a way to get it to open.
Jump down to the North Lomei Labyrinth on the Surface. Make sure to drop on the labyrinth wall on the spot as indicated here.

When you drop down, you’ll see a slightly lit up area here. Go towards the light and climb up the ladder. Go straight for a bit and then take the stairs on your left. Keep following the path and you’ll end up in an area with a huge ice block.

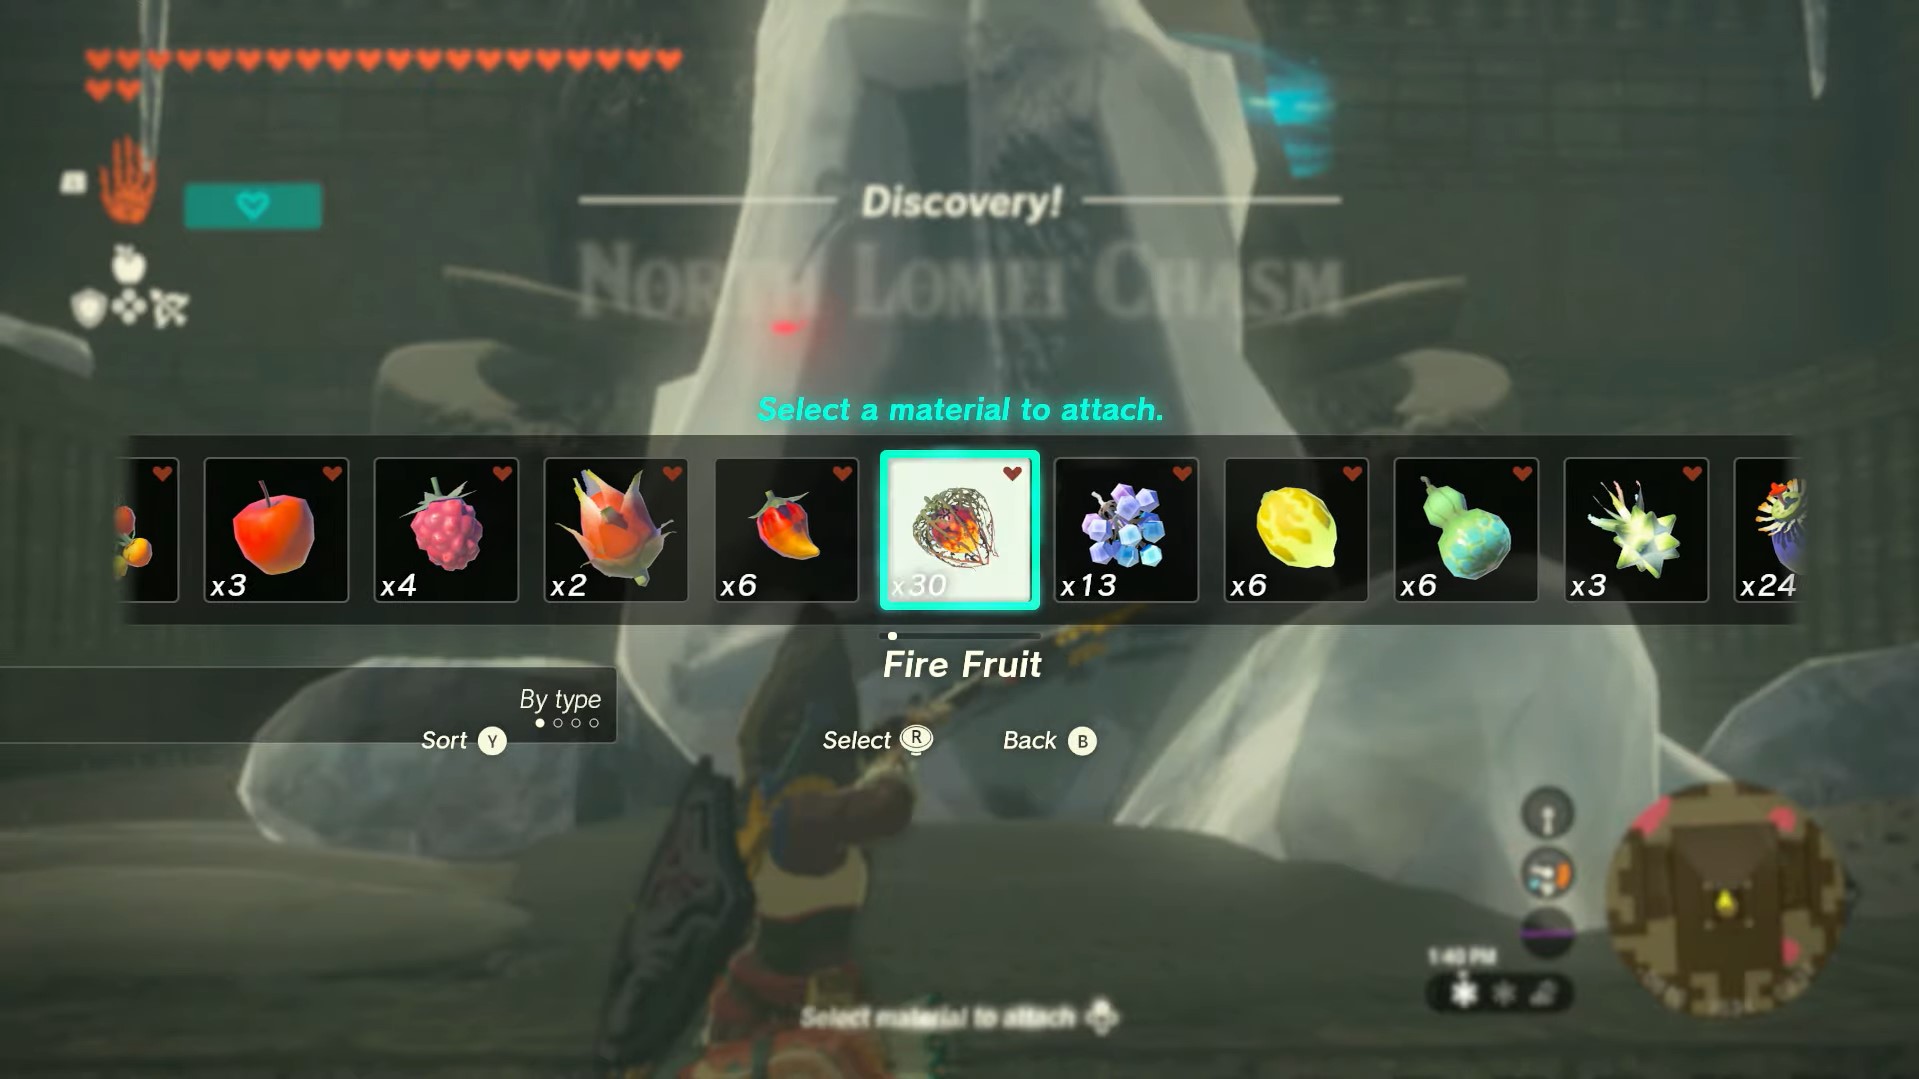
You’ve arrived in North Lomei Chasm. The ice block can be melted with Fire Fruits. You’ll unlock the Mayaotake Shrine here. And behind you is the terminal that will unlock the entrance to the North Lomei Labyrinth in the sky. It also starts ‘The North Lomei Prophecy’ quest.

Now you can teleport back up via Tenbez Shrine. The door to the labyrinth will open now.
North Lomei Castle Top Floor Terminal Locations (Travel Medallion Method)
Here are the locations of the four terminals.

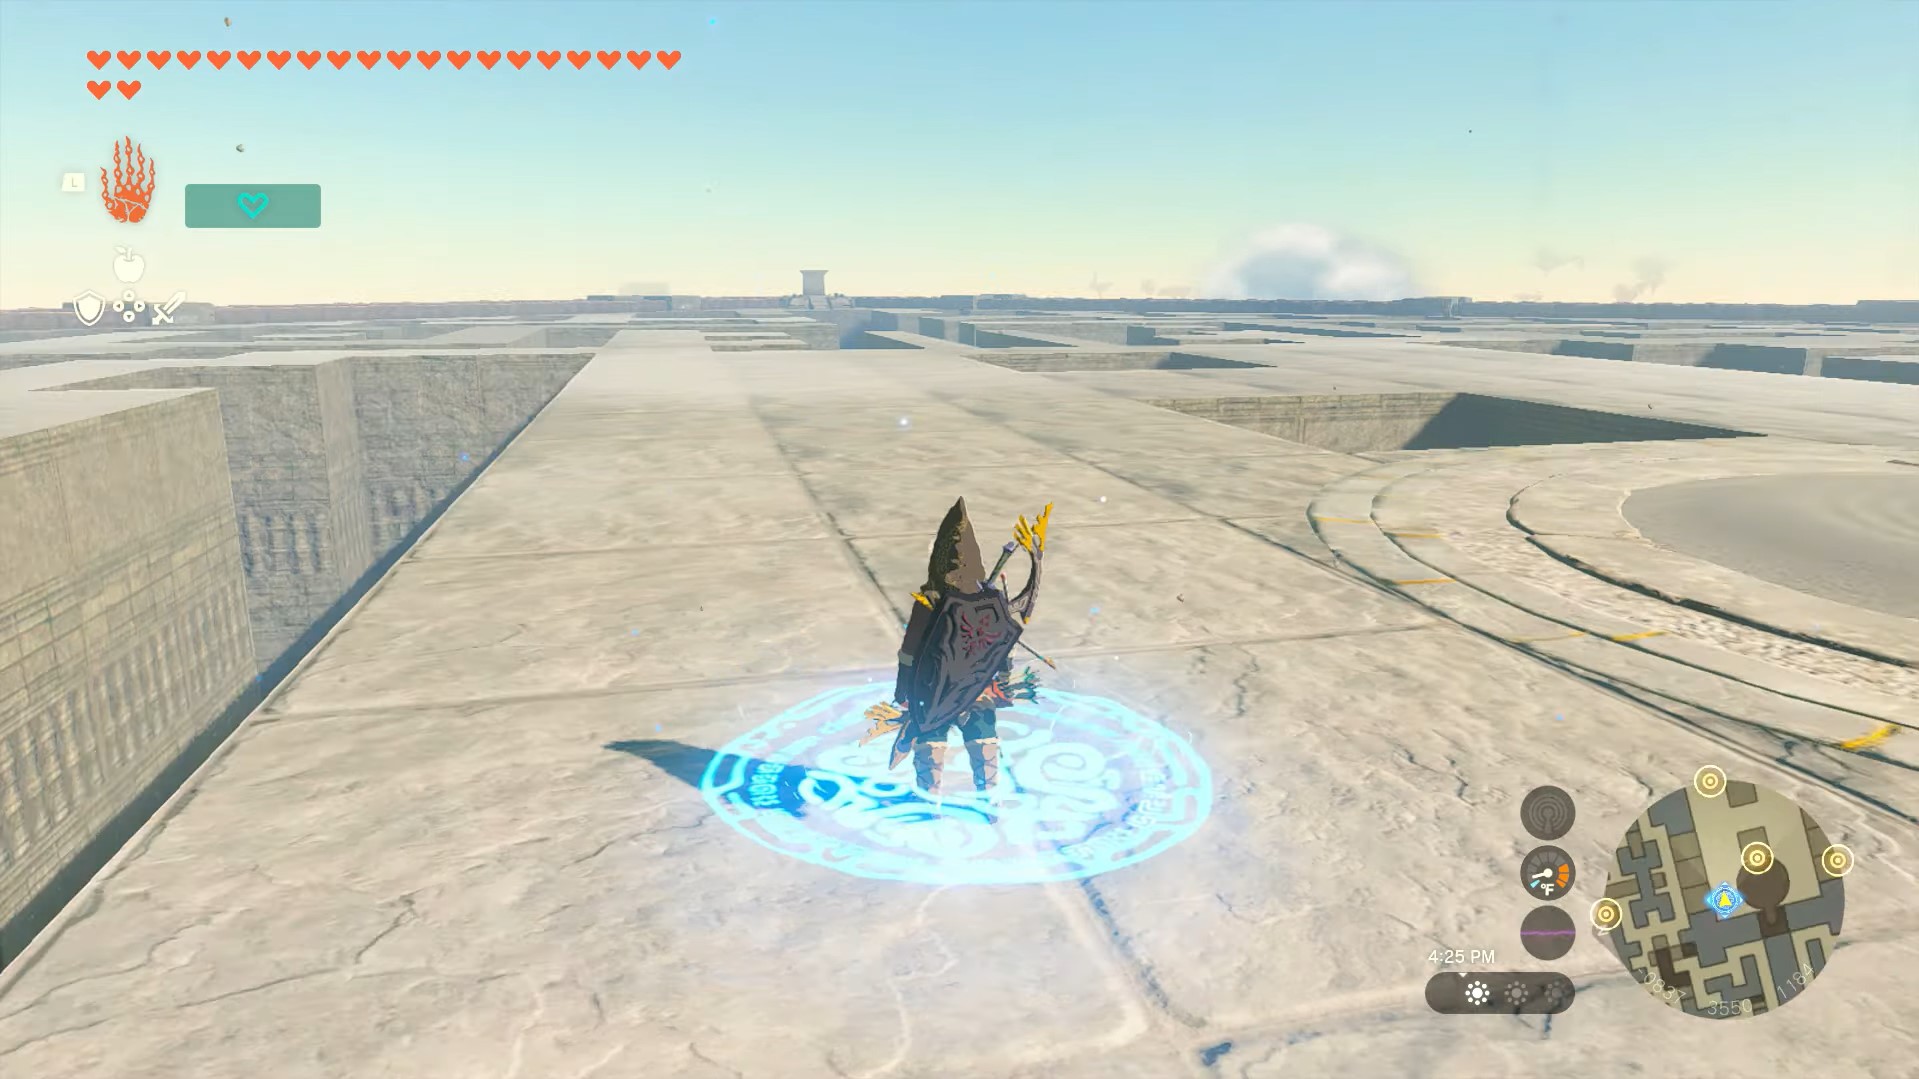
There are two ways to do this. The first way is by using the Travel Medallion on top of the labyrinth. And you do this by climbing up the walls from outside the labyrinth because you can’t do it inside the maze. Place the medallion in the middle and you can pop back here every time you turn on a terminal!
And you can see the first terminal is just right in the middle of the map. Drop down, activate it, and then teleport back up. The second, third, and fourth are all in the corners of the maze to the north, south, and east.
North Lomei Castle Top Floor Terminal Locations (“Intended” Method)
Perhaps you don’t have a Medallion with you in hand. And you’ll have to finish this labyrinth the intended way. Don’t worry, the labyrinth doesn’t necessitate the use of any skills or items because it relies entirely on wind shafts. You just need a navigation skill.
Starting from the middle one, just glide to the big platform ahead of you.

Now follow the route as shown while following the minimap. You’ll see several platforms that you can stop on to gain your stamina back. As the air current keeps you up, you will reach the height enough to go beyond the fence, or stand on the ledge to jump in. There’s your first terminal in the middle.

And now we’re going to head to the terminal in the south and go counter-clockwise as we activate the rest of the terminals. Go back to where you came in from and start gliding south. It’s not far and is mostly just straight down until you see the second terminal.

Next is the terminal on the east. For the third terminal, glide to the east from where you came in. There are several lands you can stop on for stamina if you need to.

From the third terminal, the route to the fourth terminal is as shown below. It is also pretty straightforward.

The overall complexity of the labyrinth is considerably easier compare to the Lomei Sky Labyrinth.
North Lomei Chasm
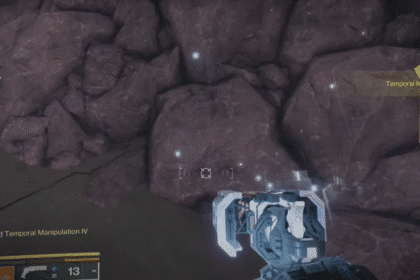
Once you’re done with the labyrinth, you’ll have unlocked the depth. Jump down from the platform and aim towards the glowing red area. That’s the path that goes straight down into the chasm area.
If you have Miner’s Gears, here’s where you want to put it on. It’s pitch dark there so it’ll give off some light.

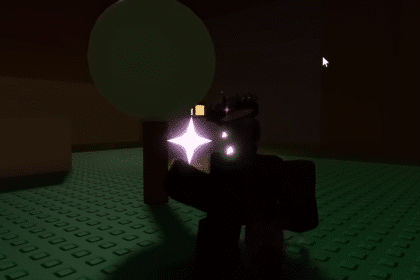
Otherwise, you can use Brightbloom Seeds to lit up the area to navigate. It’s not a long way down with only several flights of stairs to the basement. You’ll see red light shining in the dark down there. That’s the Flux Construct III.

Use your preferred light source and equip your fighting gears now. After litting up the area, use the Bomb Flower as your first hit on the head. That’ll break the boss down and you can damage the core before it gets back up.

By killing the boss, you unlock the final terminal you can interact with to get the chest. Don’t forget that you can fuse the core with your weapon after killing it for a nice buff.

ALSO READ: Tears of the Kingdom: North Akkala Beach Cave Bubbul Frog Location