
You just got into Arise Crossover and don’t know where to start? If you want to begin leveling up the right way, then look no further! This summarized guide covers everything you need to know when starting out as a beginner. After this, you will learn all the necessary items and features as of the current state of the game. Without further ado, let’s jump right in!
Beginner Essentials in Arise Crossover
Keybinds
The following table shows all of the controls that are unique to Arise Crossover! (Other than your usual WASD buttons, of course).
| Button | Function |
| Mouse 1 (Left click) | This is your basic attack. |
| V | Open your inventory of weapons; choose which one to be equipped. |
| Q | Uses the dash ability for faster land movement. |
| M | Choose your mount to help you travel to another location much faster. |
| B | This will spawn/despawn your Arised units in the field. |
Shadows
These are the shadows of fallen NPCs that you can obtain and include as one of your companions. This is done by pressing “E” on your keyboard after defeating an enemy. In the beginning, you only start with four (4) units! Arised NPCs can help with defeating enemies and make farming much faster. As stated earlier, ideally, you want to grab all the ranks of a single Shadow to unlock its G rank. However, this is more so for the endgame stage and not as a beginner.

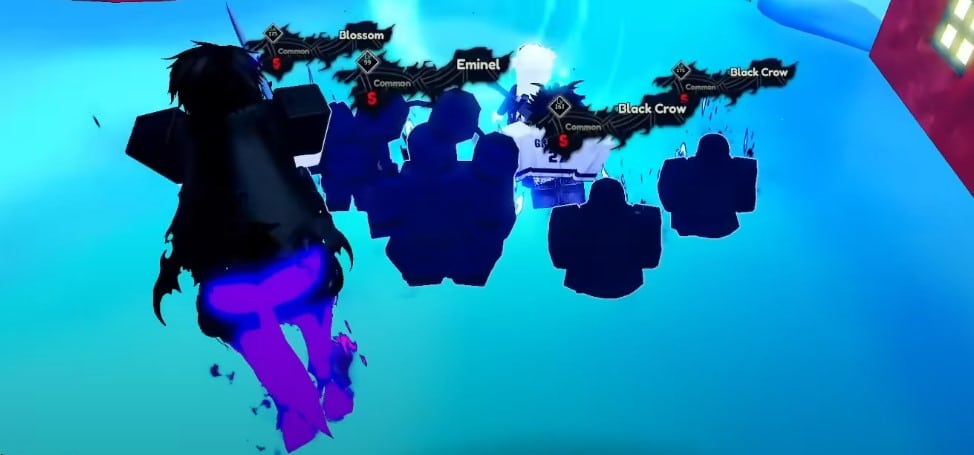
You can find these mobs scattered throughout each island (or dungeon). As your character grows stronger, you’ll be able to take on higher-level enemies with ease and include them in your arsenal.
Mounts
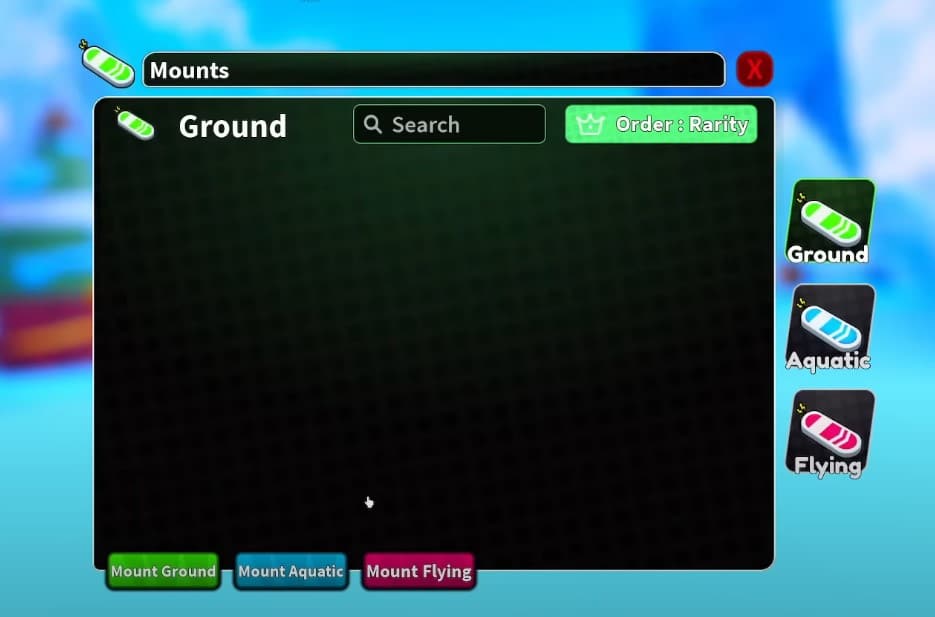
Mounts are essentially vehicles/modes of transportation that you can use to get from point A to point B way faster. There are three types: Mount Ground (for land), Mount Aquatic (when at sea), and Mount Flying (in the air)! Also, some mounts are obtainable through their in-game announcements. If you plan on getting them, their location will not be disclosed, so you will have to find them. A notification will pop up on every player’s screen when someone has attempted to grab them (once this appears, you will have to wait for the next one to appear).
Currency

Arise Crossover has two (2) types of currency that you can earn by defeating mobs or bosses.
| Currency | What It’s Used For |
| Money | For buying any weapon from the Weapon Shop. |
| Gems | Used to either redo dungeons or merge weapons/Arised characters to make them stronger. |
Cross-overs
These eight (8) are the different locations you can visit within Arise Crossover, with each island being more difficult than the previous one!
- Leveling City
- Grass Village
- Brum Island
- Faceheal Town
- Lucky Kingdom
- Nipon City
- Mori Town
- Dragon City
The general rule for each location is to farm lower-level mobs until you get strong enough to easily take on higher ones. Start from Leveling City (where all new players start) all the way to Mori Town (endgame)!
Speaking of endgame content, we have a guide on how to reach N+ rank that you should check out!
NPCs
These characters feature unique functions that can help with your journey to a higher level. They also appear at each of the four locations within the game.
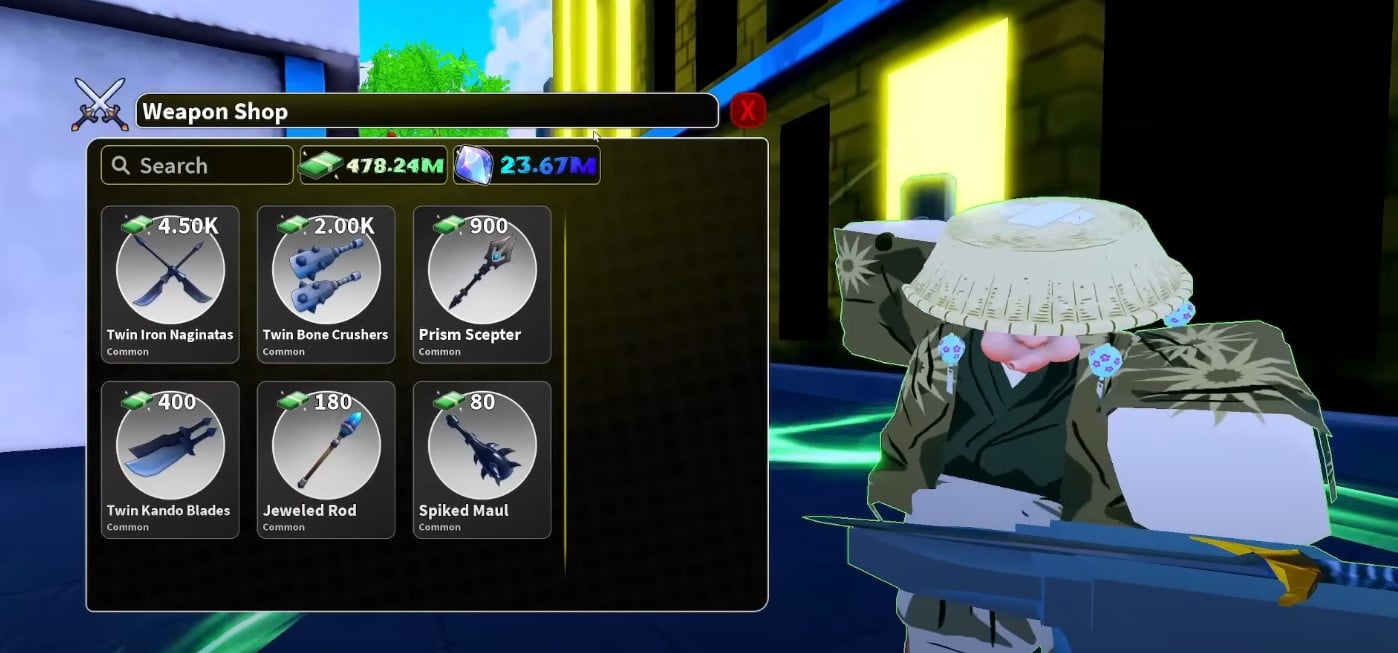
| NPC | Function |
| Weapon Shop | You can purchase weapons from here. |
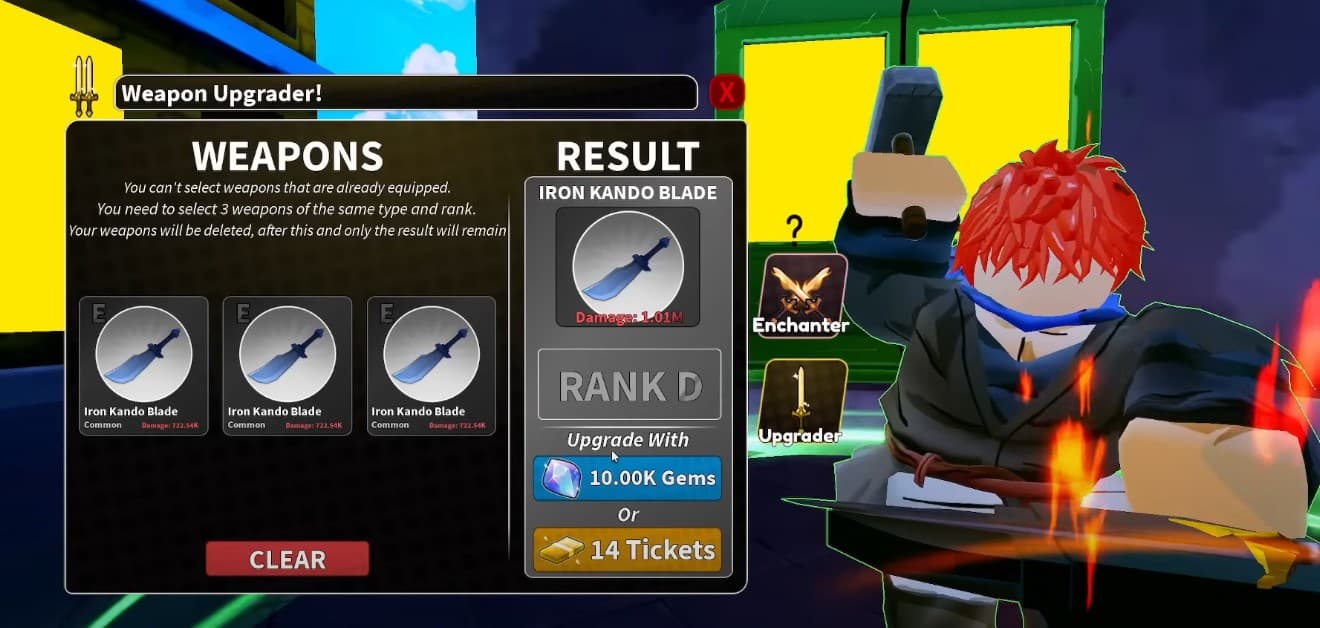
| Enchants | With multiple copies of the same weapon, you can combine them to create the same one with stronger stats. |
| Shadow Upgrader | When you collect all the different ranks of the same Arised NPC, you can upgrade them to make one G rank Shadow. |
| Boat Shop | You can purchase boats (mounts) to help you travel the seas much faster. |
Dungeons
Blue portals will appear throughout the game that can take you to dungeons where you can fight different mobs and bosses. These dungeons can vary in difficulty depending on which rank they spawned, with E-rank being the easiest and S-rank being the most challenging. If you find it difficult doing solo, fear not! You have the option to join another player’s party or have someone tag along with yours. If you’re lucky enough, you can have someone carry you to speed up your progress!
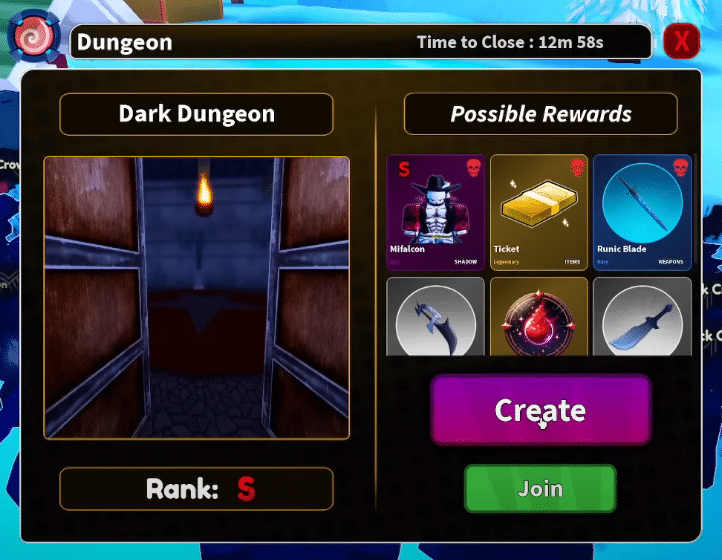
Take note that if the portal spawned is red, the mobs you will encounter are their “brute” versions (much stronger and beefier units). Defeating them and using Arise on them will essentially gain you better units.
| Dungeon Rank | Time of Appearance |
| E to S-rank Dungeons | Every 30 minutes. |
| S-rank Dungeons | Every 3 hours. |
When finishing dungeon runs, you can earn Money, Gems, Tickets, and Legendary Powder Dust!
Double Dungeons
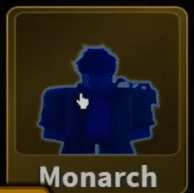
This is a very rare feature within the game where you are able to redo the whole dungeon and earn more drops and XP. You will know if you can do it when the timer (at the end of finishing a dungeon) resets, and you are not teleported back to the normal map. It is highly recommended that you finish this, as not only do you get more items, but you also have the chance to obtain the Monarch unit! At the end of the Double Dungeon, a door will appear where you can fight against this enemy and have the chance to Arise him.
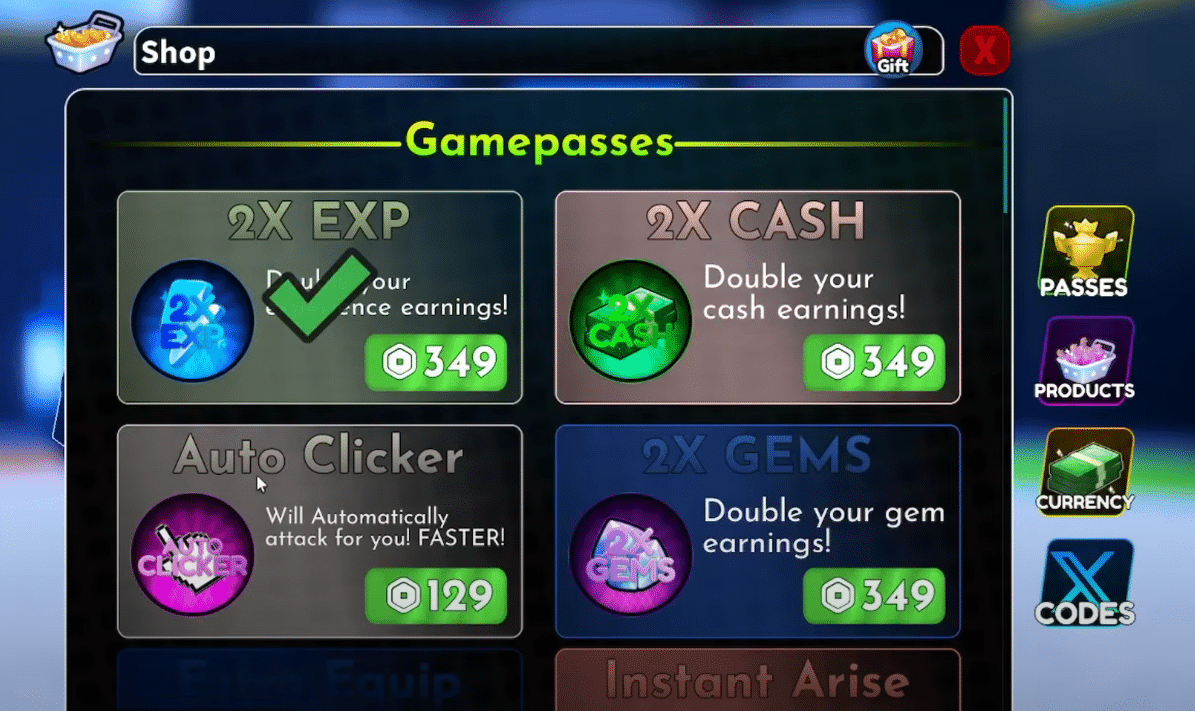
Tickets

Speaking of dungeons, clearing these locations can also give you Tickets. These can be used as currency to buy items from the Gampasses that regularly need to be bought with Robux (another win for F2P players!).
Depending on the rank of the dungeon, you are awarded the following number of Tickets:
| Dungeon Rank | Tickets |
| S | 20 or 30 |
| A | 15 or 20 |
| B | 6 |
| C | 3 |
| D | 2 |
| E | 1 |
Now that you have read about all this beginner stuff, it’s time you start playing! Remember to take your time leveling up, take advantage of the Double Dungeons mechanic, and press Q (dash ability) when you can. Come back here to this guide when you need more clarification on certain items or features! In the meantime, try exploring our other wonderful articles about Arise Crossover down below.


