Destiny offers a whole lot of dungeons and raids. All of them are very different from each other and all have some difficulties. In this guide, we will be showing you how to pass the Proving Grounds Grandmaster and with it doing the Silicon Neuroma Farm. Let’s get started.
Proving Grounds Grandmaster Guide | Silicon Neuroma Farm – Destiny 2
The Proving Grounds is one of the more challenging runs to accomplish and also it is one of the longer ones too.
First Area Approach
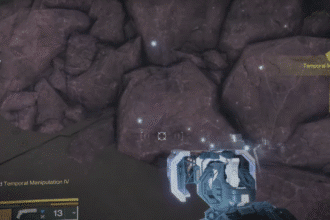
So you will start out being outside and going to the inside of this big massive ship that will be in front of you. While running to the big ship you will get encountered by lots of enemies. The key here to winning the battle is finding this rock formation:

From here you will be able to shoot down at your enemies. They won’t be able to reach you as high up as you will be. Use all your grenades, keep your distance, and the enemies will start going down one by one.

Then while this is finished you will start moving to the left. On the left, you will see one more rock formation which you can hide behind yet again. Just stay behind cover and let the enemies come to you. Also, when the boss comes you will stick with the same strategy.
Double Tank Room
This part comes right after you use the elevator. The Double Tank Room might be as hard or even harder than the previous location. First of all, you will want to come up here and take out as many enemies as you can without actually dropping down. Make sure that one of your teammates will move in front and next to the window. This will get the enemies down below to get in your vision. Then just lay fire on top of them!

Drop down once all the enemies have been killed and none or coming this way no more. Look for this obstacle down below and hide with your team. Keep shooting at the enemies while being behind cover once again.

After you’ve cleaned all of them out you will move together with your team to face the final enemies that are stuck on the other side. You will see this obstacle that you can use once again to get some very good protection.

Redirecting the Tank Power Flow
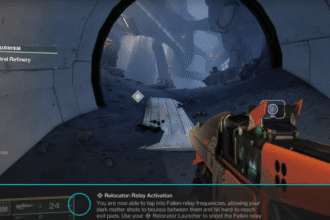
This is the room where the rocks will be flying around the entire area. You will have to divert the power. First of all, you will stay at the very entrance of this area. Just shoot at all the enemies you’ll see out of this starting tunnel. Keep your distance and keep shooting until you don’t see more enemies coming by.

The next position where you’ll be holding off the enemies will be the following one:

Here you will be shooting at one side at first and then proceed to shoot at the other side. No matter what you’ll be doing, never go out of this little safety tunnel until the enemies have been cleared out. Once all of them are down you can proceed to move to the Boss Room.
Boss Fight
Buff up and get your survivability and your teammates to as high as possible. Then one of you needs to go in the middle and activate the Flag. This will the boss activated and very mad. Your safety location and position should be here:

The tunnel which you used to enter the boss arena. This is where you will want to stick around and just proceed to shoot at the boss. Make sure to clear out all the smaller enemies that will come around first.

Once he gets immune you will need to push up with your team. You will go to the other corner of this room, or directly the opposite corner from where you’re now. This will be your hiding spot while he is immune.

Then once you can deal damage to him again, go back to your original location. Now just keep shooting him and he will go down.
Congratulations on beating this very difficult level and boss. We hope that this guide was helpful. A very big thank you to iheartstrudel from YouTube for showing us the full level. You can check him out here.
READ NEXT: Spider-Man Remastered: Steam Deck Best Settings | FSR 2.0 vs Standard


