Elden Ring: Nightreign is finally here, and it’s proving to be quite a tough challenge even if you’re not a brand-new starter for Souls games. There are a lot of unique quirks and whatnot to keep in mind with this game, which can be particularly shocking if you expect it to play just like Elden Ring! Our ultimate guide should help you better understand the main major gameplay aspects so that you’re ready to face against the night itself.
This Isn’t The Standard Elden Ring

While Nightreign is an Elden Ring spin-off, it’s important for every starter to understand that the game’s flow is completely different this time. The main difference is the gameplay pace itself.
In Elden Ring, you pretty much have all the time in the world to explore. You can go as slow as you want, slowly taking out foes and checking every nook and cranny.
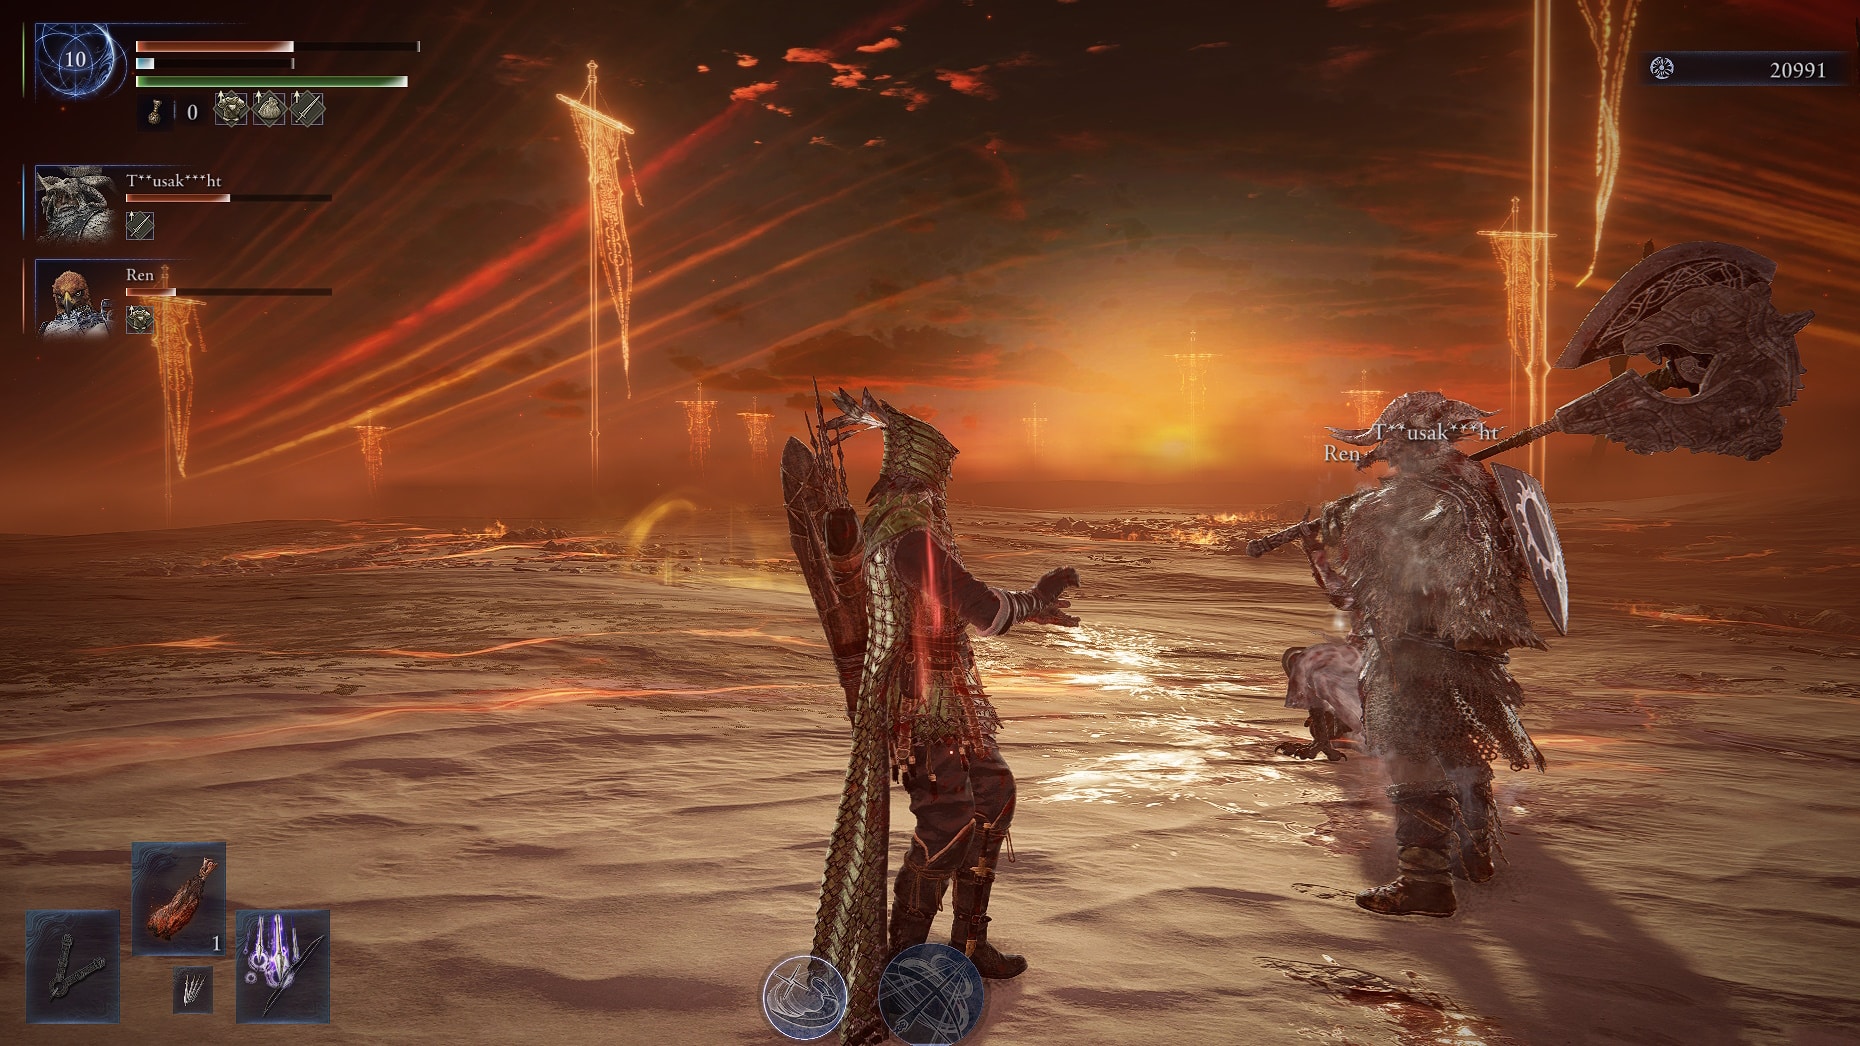
In Nightreign, however, speed is key! You want to kill foes and pick up loot as fast as you possibly can. As the night approaches, a raining circle of fire will slowly encroach upon Limveld. Being caught out in the fire is fatal, and dying can make you lose your levels as well as your Runes!

When the ring closes, look for a white glowing tree floating above Limveld. This tree appears in your compass and in-game map, as well, so it’s easy to spot. The boss for the day will appear in the area surrounding the white tree. Lose against this night boss and you’ll need to start a new Expedition. Win and you’ll get to see the following day!
On that note, know that each Expedition consists of 3 days. On days 1 and 2, you can explore Limveld to gear up and power up. At night, you’ll face a boss, as mentioned before. Ideally, you want to be at least Level 5 at the end of day 1 and Level 10 at the end of day 2. The more the merrier, however!

That aside, Day 3 is different. You’ll instead get to take on a powerful Nightlord, a final test and the main target of your Expedition. This is what Day 1 and Day 2 prepare you for! Conquer this fearsome foe and you’ll win the run.
Overall, a single Expedition can take around 40 minutes or so, depending on how far your team gets.
Limveld, the Shifting Land

As we mentioned before, Nightreign mainly takes place in Limveld. This is a shifting land that’s similar to Limgrave from the original Elden Ring. However, the main difference that sets it aside is that it changes somewhat every Expedition.
Now, there are a lot of things that remain the same. For example, the overall geography is always the same, as is the location of Sites of Graces and Spiritstreams. However, most other points of interest change every run.
Additionally, the enemies and loot you find will also change, which adds another element of randomization. You’ll need to quickly plan out a route to hit the key locations spread across the map so that you can gear up!
We highly recommend learning the basics of how Limveld works. If you want to know more, make sure to check out our complete Limveld guide for all of the details!
Pick Your Nightfarer
Another major difference in Nightreign is that you don’t get to make your own custom character. Instead, you get to pick from 8 different Nightfarers, though two of them aren’t available from the get-go. Here’s a quick summary of these characters:
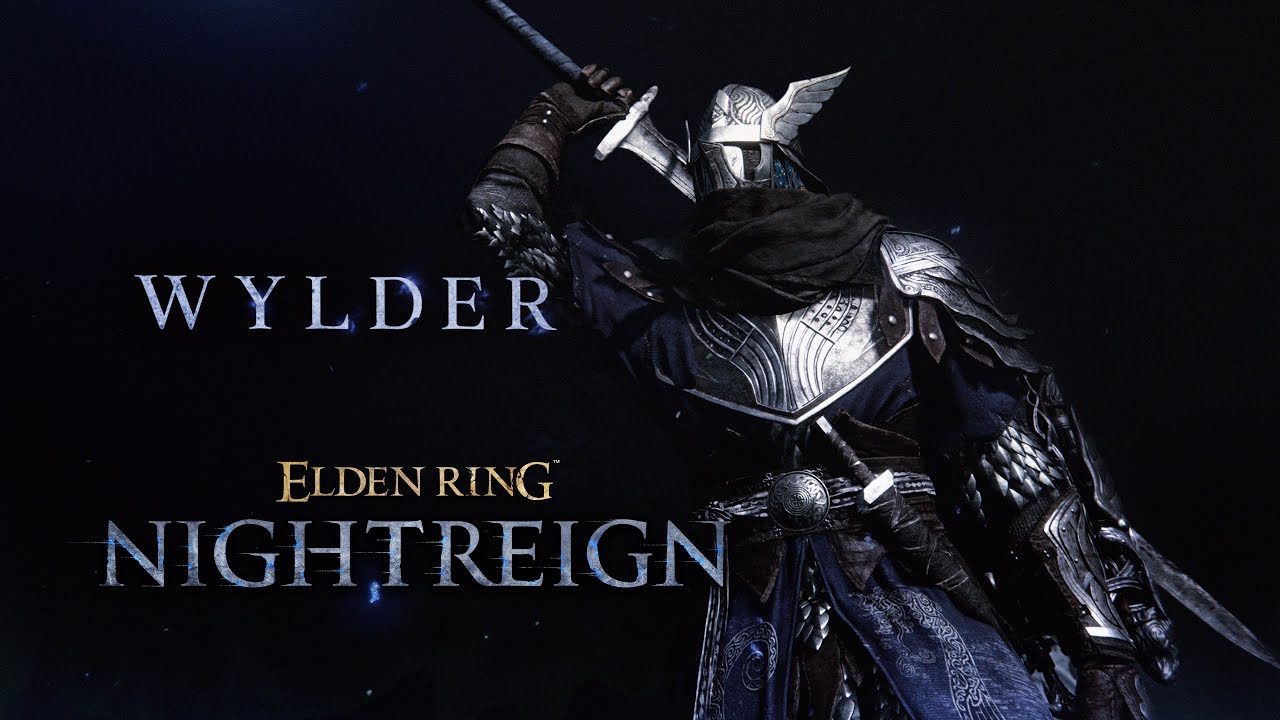
Wylder – A jack-of-all-trades character, he can use every weapon decently well. His main ability is a grappling hook, which he can use to either pull enemies or pull himself toward enemies. His ultimate is excellent for staggering foes.

Guardian – The tank. Resilient and great at protecting his fellow Nightfarers! Excels at using shields and has the highest HP of all characters. His abilities cover wide areas and are great for reviving allies.

Ironeye – The token archer, has high Dexterity but low HP. His passive boosts the whole party’s luck finding items, while his main ability allows him to mark targets for extra damage.

Raider – A brutish pirate who has the best Strength and pretty decent HP. Ideal for using colossal weapons. His main ability poises through attacks to deal damage, while his ultimate summons a pillar that boosts allies’ damage.
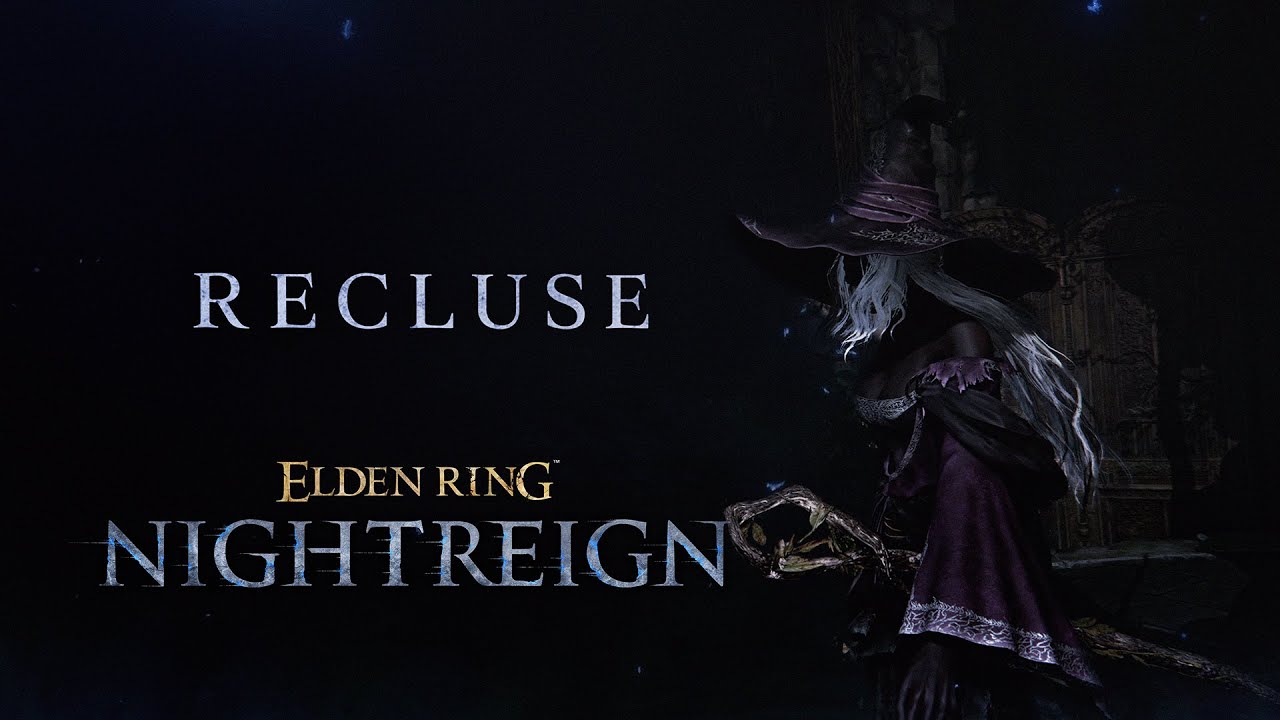
Recluse – Very squishy, but her excellent Faith and Intelligence make her a pure caster. She can also siphon elemental damage taken by enemies to create new unique spells.
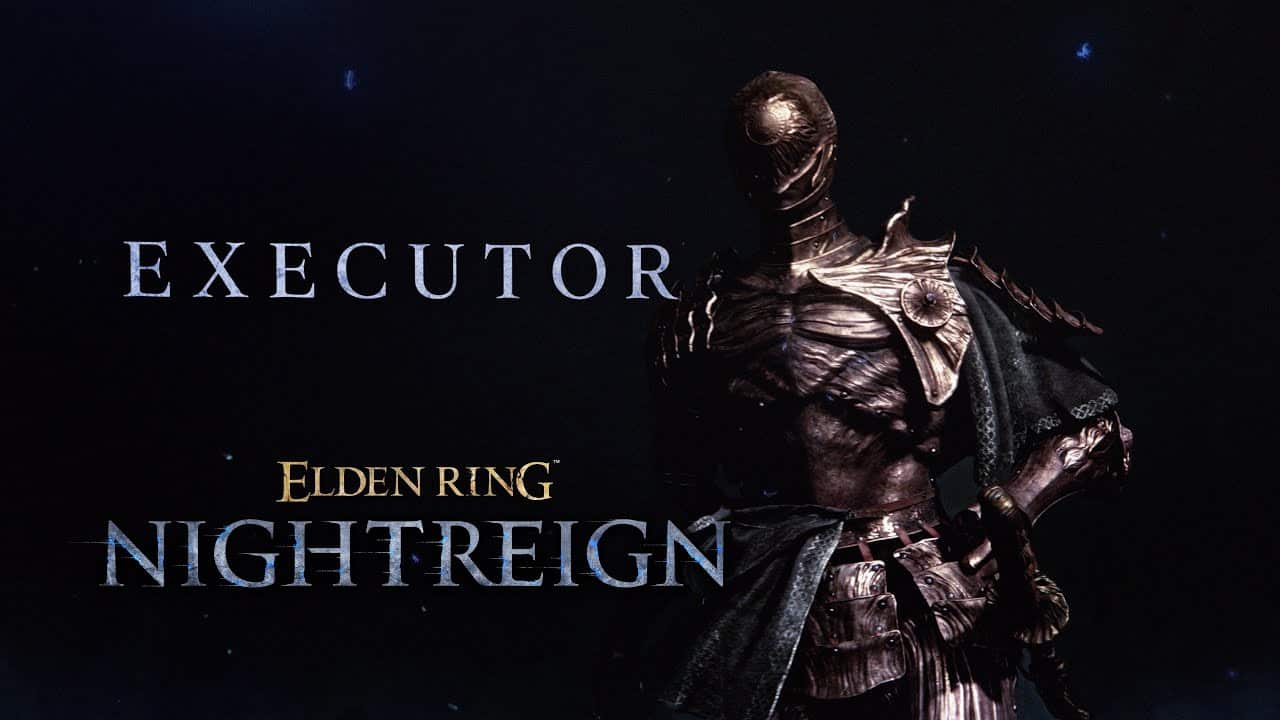
Executor – A dexterous warrior who can use a cursed blade to deflect enemies’ attacks with precisely timed blocks. Favors katanas and can transform into a massive Crucible Beast.

Duchess – Very agile, and also has pretty high Intelligence. Great with daggers and Sorceries. Can shroud allies to make them invisible, as well as repeat the damage recently taken by enemies.

Revenant – If you miss Spirit Summons, Rev’s your gal! Her abilities all involve summoning and empowering spectral allies. Her low HP and high Faith make her primarily a supportive character.
For a more detailed overview, check out our guide on all characters’ abilities and skills!
Check out the Sparring Grounds and Explore the Roundtable Hold

Now that you know the basic gist of what each Nightfarer is like, we recommend visiting the Sparring Grounds within the Roundtable Hold. You can find it on the northeastern part of the hold’s exterior. We recommend warping to it from the map screen.
If you don’t know yet, you can bring up the map screen by pressing View (Xbox), Touchscreen (PlayStation) or the M key (PC). It’s particularly helpful in the Roundtable Hold if you’re just starting out since it shows all the facilities you can use!
Anyway, the Sparring Grounds is particularly useful as it lets you test out all of the Nightfarers. On top of that, you can even use the container there to pull out any of the armaments, Incantations, and Sorceries you’re likely to find on your runs. You can change your Level from 1 to 15, practice using your skills, and more!
All in all, it’s a fantastic place to visit if you need to get your bearings with the Nightfarers’ unique abilities and the game’s controls.

While we’re at it, shout out to the Visual Codex, as well! You can also find it in the Roundtable Hold, on the western wing. It lets you check all of the game’s tutorials and the in-game guide.
In fact, make sure to thoroughly explore everything the Roundtable Hold has to offer. Itsmany facilities can help you better prepare for Expeditions… or at least just let you take a breather before you go back to Limveld again!
Use Your Relics

If you find the night’s challenges to be a bit too much in Elden Ring: Nightreign, make sure that you don’t make the starter mistake of ignoring Relics.
Relics are essentially the game’s metaprogression system. This makes them vital since equipment and levels are lost from one Expedition to the next!
You’ll mainly get these as a random assortment of rewards at the end of every Expedition. The further you manage to go, the more and better Relics you get. Managing to defeat a Nightlord successfully has the best yields! Nonetheless, you’ll be getting these Relics even if you fail.
When you have some Relics, you can equip them at the Relic Rites altar in the Roundtable Hold. Relics are color-coded and each character can only equip specific colors, though you’ll get the option to customize these more later on in the game.
Nonetheless, equipping Relics is essential to victory as it gives you some permanent upgrades that carry through Expeditions. Some can be basic, such as just increasing a stat, while others can add new effects to your Nightfarer’s abilities!
If you want to know more about these, make sure to check out our article on what the Relics are. It has some extra details to help you use them.
Pick Up the Loot!

As our last tip in this starter guide for Elden Ring: Nightreign, we want to just remind you to try to pick up as much loot as you can.
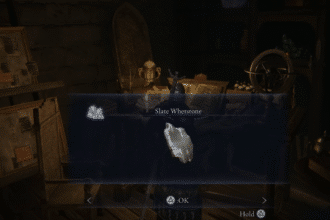
In this game, the weapons and shields you pick up all have passive effects. The vast majority of these are applied even when you don’t currently have the armament in your hand, too! Just having the armament in your inventory is more than enough.
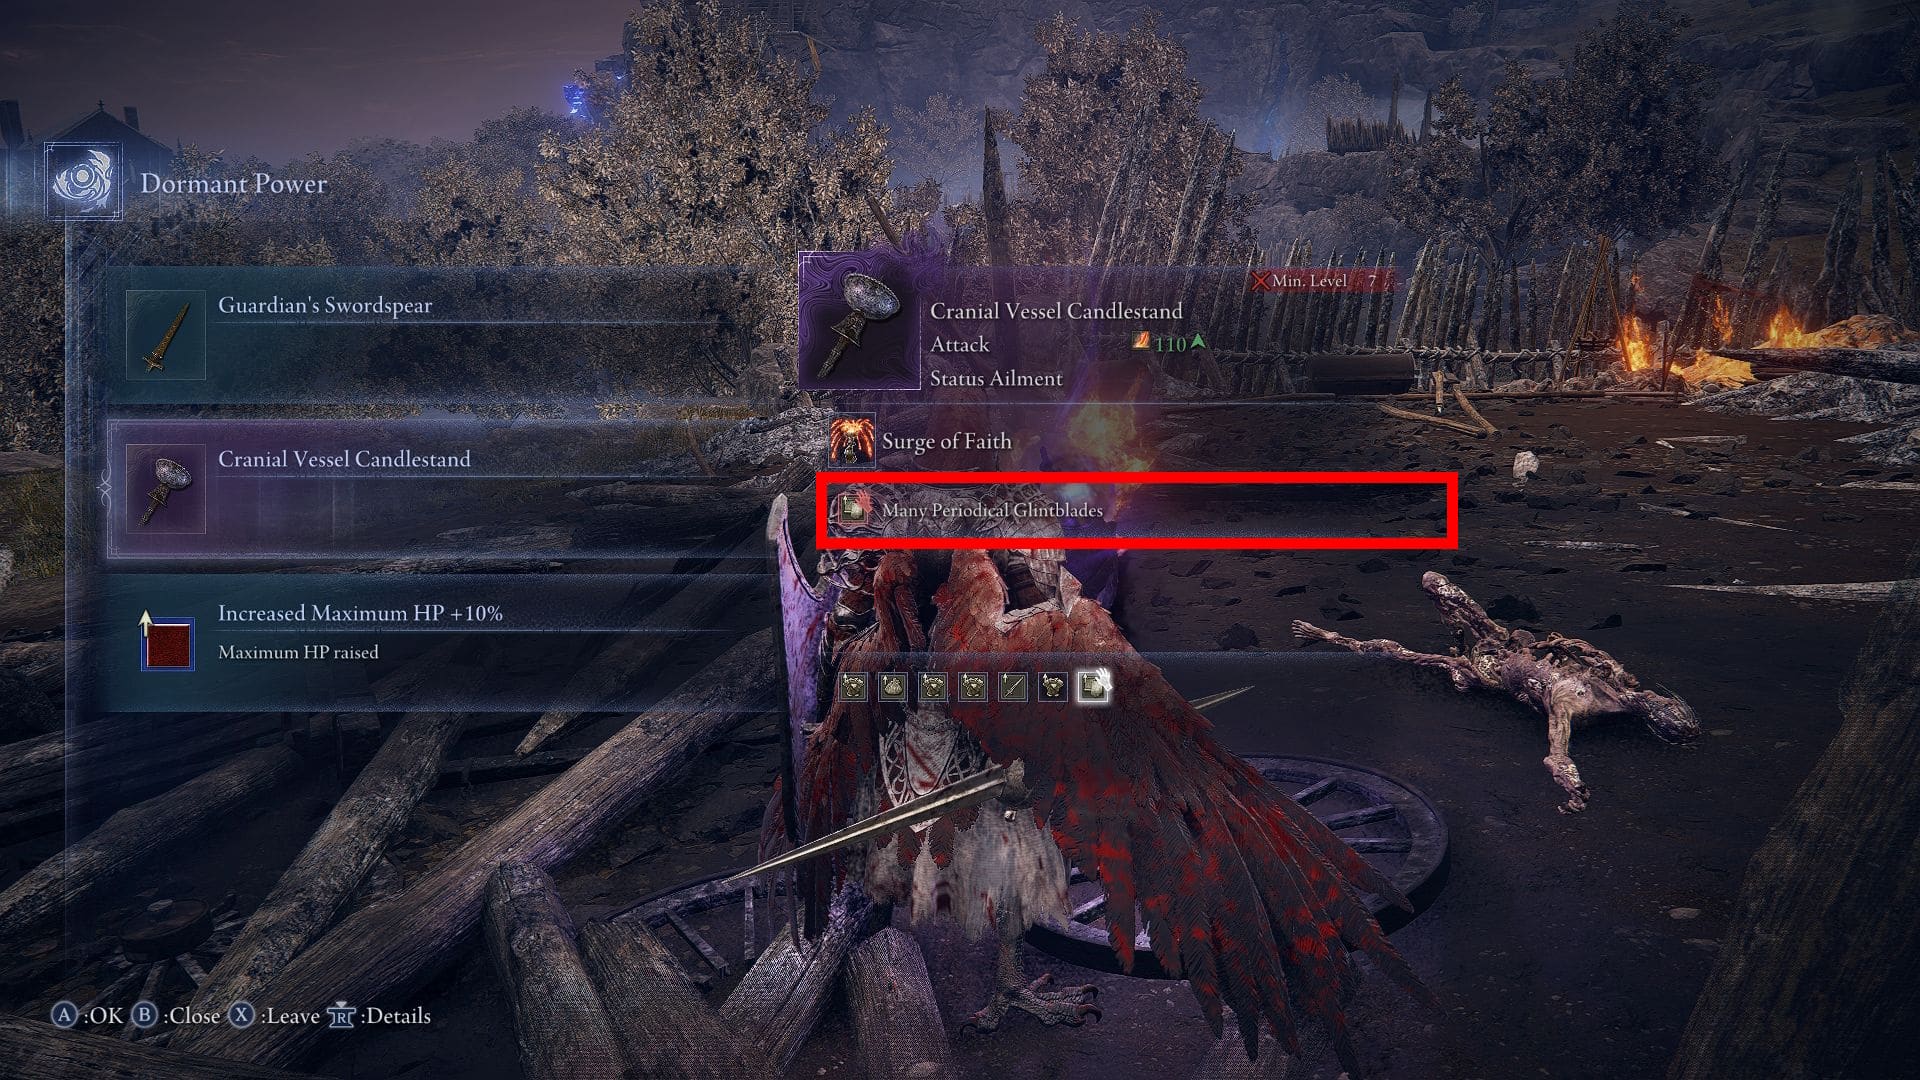
That said, some armaments do require to be actively held for their effects. These will have an icon with a hand on their effect description to let you, like the one shown above.
Picking up things is also particularly important while you’re on the outer rim of Limveld. The ring of fire can make items there unreachable at night. So, it’s ideal to just pick up as many things as possible if you have the empty space. Even if you don’t actively need it, maybe just pick it up so you can give it to a teammate who does.
Weapons and the like aside, it’s also a good idea to pick up and use as many consumables as you can. They can be pretty helpful in a pinch, plus you don’t have to worry about wasting them with how short each individual Expedition is!
So, there you have it, that’s the end of our ultimate starter guide for Elden Ring: Nightreign. The game’s still going to be tough, honestly, but we hope this helped you know how to deal with its intricacies a bit better.