Just getting started in Grounded 2? One of the first major steps to surviving the backyard is learning how to craft a Workbench, your go-to spot for making early weapons, tools, and armor. But before you can slap one down and start crafting acorn armor or pointy spears, you’ll need to unlock a few things, chop some grass, and collect the right resources. In this guide, I’ll walk you through how to unlock the Workbench, how to get Grass Planks, and how to craft it step-by-step.
How to Make Workbench & Get Grass Planks
To build a Workbench in Grounded 2, you need to unlock the lab by progressing the main story, get the Axe from your Omni Tool, chop tall grass to collect Grass Planks, analyze one at the Resource Analyzer to unlock the recipe, then place your blueprint and build it using 3 Grass Planks, 2 Sprigs, and 1 Sap. Once crafted, the Workbench unlocks a bunch of essential gear to help you survive the backyard. If you want it more in detail, here’s how to craft it step-by-step.
Step 1: Progress the Main Story to Unlock the Lab
To get the ball rolling, just play through the main story for the first 5–10 minutes. Eventually, you’ll reach a section where you have to sneak into a base through the back. Once you’re in, you’ll unlock a small lab or base area.
Inside, you’ll find your Omni Tool, or if you already have it, this is where you’ll be able to upgrade it for the first time.
Step 2: Get the Axe Module
The Omni Tool comes with an Axe module by default—or you’ll be able to unlock it from the terminal inside the lab. This lets you chop down tall blades of grass in the yard, which is exactly what we need next.
Equip your axe and head outside. You’re about to go full lumberjack.
Step 3: Chop Grass to Get Grass Planks
Approach any tall grass and you’ll see a small axe symbol appear. That means you can start chopping.
Once it falls (think Valheim vibes), it’ll break into Grass Planks—those giant green slabs you have to carry over your shoulder. You can carry up to three at a time, and they can’t go in your inventory. These are a special kind of resource that’s used in many large constructions.
But before you run off to build your Workbench…
Step 4: Research the Grass Planks!
NOTE: You must research Grass Planks to unlock the Workbench recipe.
Find a Resource Analyzer (usually in the lab or nearby), pop a Grass Plank in there, and boom—you’ll unlock the Workbench in your crafting menu. Without doing this, the blueprint won’t show up at all.
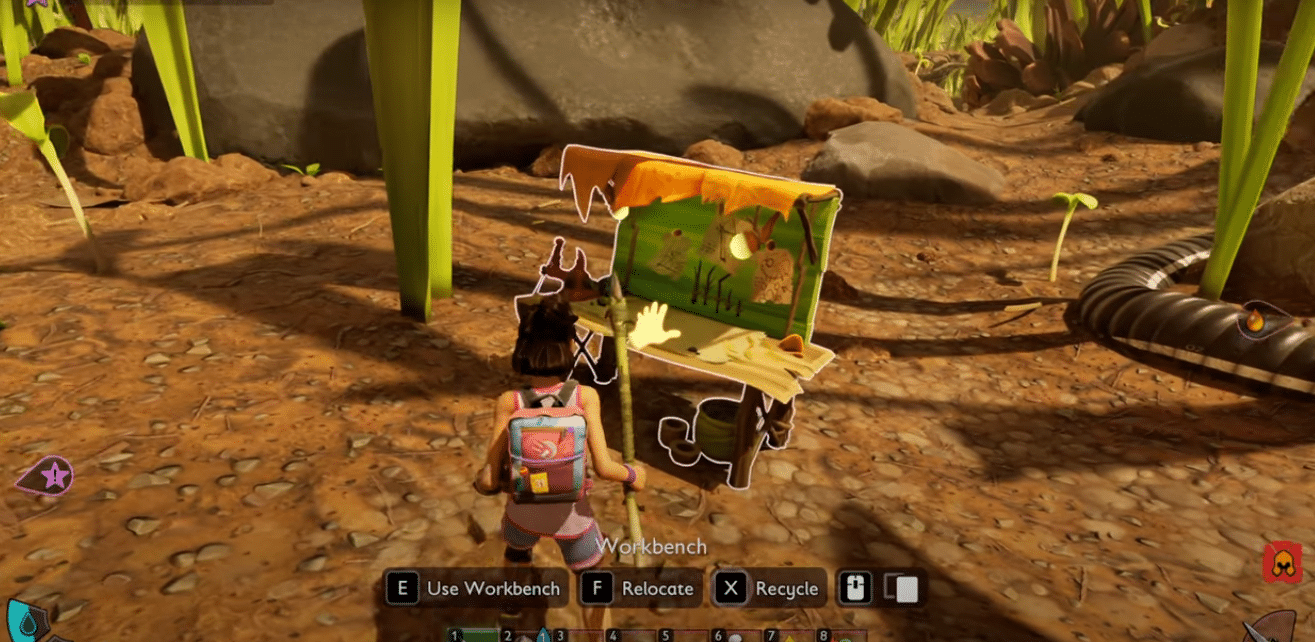
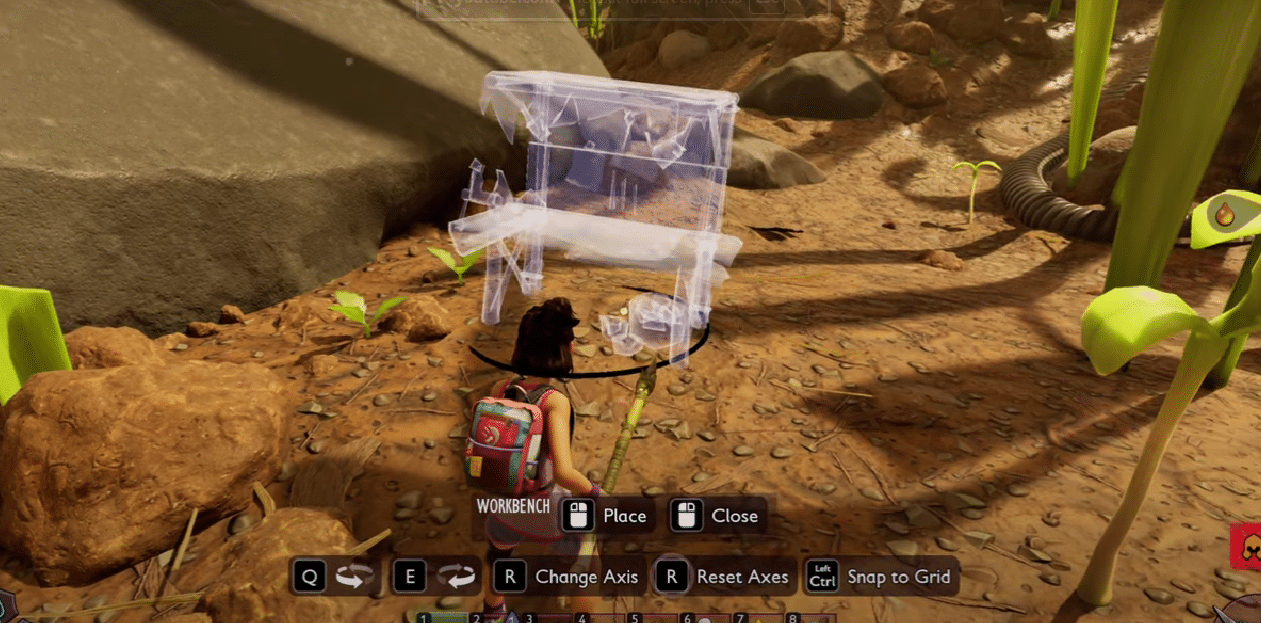
Step 5: Place the Workbench Blueprint
Now that you’ve unlocked the recipe, press B on keyboard or Up on the D-pad to open the Construction Wheel.
Scroll to the Workbench and place the blueprint down wherever you want it in your base. Don’t worry—you don’t need to be holding any of the required materials yet to place the blueprint.
Step 6: Gather the Materials & Build
Here’s what you’ll need to complete your Workbench:
- 3 Grass Planks
- 2 Sprigs
- 1 Sap
Sprigs grow straight from the ground and are everywhere.
Sap is usually found sticking to tree branches, twigs, or fallen logs. It looks like a small amber glob.
Grass Planks, though, need to be chopped and carried back manually. Make sure you’re holding all three and walk up to your Workbench blueprint. Once you’re close enough, you’ll see the prompt to add them in.
Once all the parts are in—bam, Workbench complete.
What the Workbench Does
Now that you’ve got it built, you can use your Workbench to start crafting more advanced gear—like early weapons and armor, especially helpful if you’re heading toward places like the Snackbar Anthill, where the bugs start getting real aggressive.
It’s a small upgrade with a huge impact.
Wrap-Up: You’re One Step Closer to Surviving the Backyard
The Workbench might seem like a small step, but it marks a huge shift in how you play Grounded 2. You’re no longer just scrounging for scraps, you’re now crafting your own gear and building up your base, one plank at a time.
Once it’s built, the game really opens up. So grab your axe, scan that grass, and get to building, your survival (and your future ant battles) depend on it.
If this helped, stick around, I’ll have more guides soon on crafting tools, armor, and base setups.