PEAK recently launched the new Mesa update that adds a new biome to the game. Additionally, you can also get new items, cosmetics, badges and more as part of the new update. To get all the cosmetics and achievements, you will need to unlock the badges. Each badge requires you to do a particular task – some of which are pretty vague or glitchy at times. If you’re struggling to get them all, we got you sorted. We’ll show you all the steps you need to follow to unlock all the new badges so you can get the cosmetics. Without further delay, let’s get into it!
- How To Unlock ALL 10 New Badges & Cosmetics
- Mesa Update Badge #1 – Ultimate Badge (Coop Required)
- Mesa Update Badge #2 – Resourcefulness Badge (Coop Required)
- Mesa Update Badge #3 – Aeronautics Badge
- Mesa Update Badge #4 – Astronomy Badge
- Mesa Update Badge #5 – Cool Cucumber Badge
- Mesa Update Badge #6 – Daredevil Badge
- Mesa Update Badge #7 – Megaentomology Badge
- Mesa Update Badge #8 – Needlepoint Badge
- Mesa Update Badge #9 – Nomad Badge
- Mesa Update Badge #10 – 24 Karat Badge
- Wrap Up
How To Unlock ALL 10 New Badges & Cosmetics
There are 10 new badges that you can unlock in PEAK as part of the Mesa update. Doing so will help you unlock cosmetics and achievements. Keep in mind that you will need to play coop for at least two of the badges. Without another player, it’s impossible to obtain them.
For the rest of the badges, you can play offline completely solo – although having a friend can certainly help!
Additionally, some of the badges are glitched so you might not be able to get them now. However, we’ll still go over the methods so you know what to do once the issues are resolved.
Mesa Update Badge #1 – Ultimate Badge (Coop Required)
Description: Catch a Flying Disk from 100m away.
Cosmetic: Visor
For the Ultimate Badge, you will need at least one other friend. After loading in together, grab the Flying Disk that can be found next to the plane wreck at the spawn point.

Next, all you and your friend need to do is stand apart 100m or more. We recommend going a little further just to make sure you get it. From here, throw the Flying Disc at each other and make sure to catch it.
Doing so will allow you both to get the Ultimate badge and achievement.
NOTE: Currently, this badge is impossible to get because it is bugged with many players facing this issue. So, you’ll likely need to wait for an update where the developers fix it before you can unlock it.
Mesa Update Badge #2 – Resourcefulness Badge (Coop Required)
Description: Give in to your hunger.
Cosmetic: Evil Smile
For this achievement, you will also need to play with another friend. Once in game, you will need to reach above 75% Hunger. When this happens, your friend will turn into a meal.
When you approach them now, you will get the opportunity to eat them. Hold the button to E eat your friend and doing so will allow you to earn the achievement and complete the Resourcefulness Badge.
Mesa Update Badge #3 – Aeronautics Badge
Description: Achieve Flight.
Cosmetic: Space Outfit
To earn the Aeronautics Badge, your mission is simple: equip six balloons at the same time. You can also check out our aeronautics badge guide for additional details.
Here’s the breakdown:
- Collect balloons — either as singles or in bunches.
- Equip all six from your inventory.
- Press Space to take off and enjoy your moment of glory.
A few important things to keep in mind:
- Balloons pop after about a minute, so keep extras handy.
- Mods don’t count — no matter how tempting it is, the game will only register legit balloons.
- When the balloons go, you will crash down. So don’t hover over a cliff unless you’re ready to respawn.
It’s a great shortcut for climbing and reaching hard-to-access areas… until you’re suddenly reminded that PEAK is still a survival game.
Finding six balloons is all about RNG — sometimes the game blesses you, sometimes it doesn’t. Your best bet:
- Search every chest you see, especially the big white suitcases, which can contain triple balloons.
- If your first chests are empty or unhelpful, restart and try again.

Mesa Update Badge #4 – Astronomy Badge
Description: Look a little too closely at the blazing sun.
Cosmetic: Sunglasses
If you want to only get this specific achievement, check out our astronomy badge guide!
Starting off, when you first spawn you will need to get the Binoculars. These can be found on the right side of the plane crash at the camp you spawn near the beach. Simply approach the binoculars and equip them.
Doing so will take up one item slot. Luckily, the binoculars do not have any weight.

From here, you will need to go to the Mesa biome, with the binoculars still in your Inventory. This will be a little harder than before since you’ll have one item slot less. Typically, this means that you’ll need to go through the Shores and Tropics to get there.
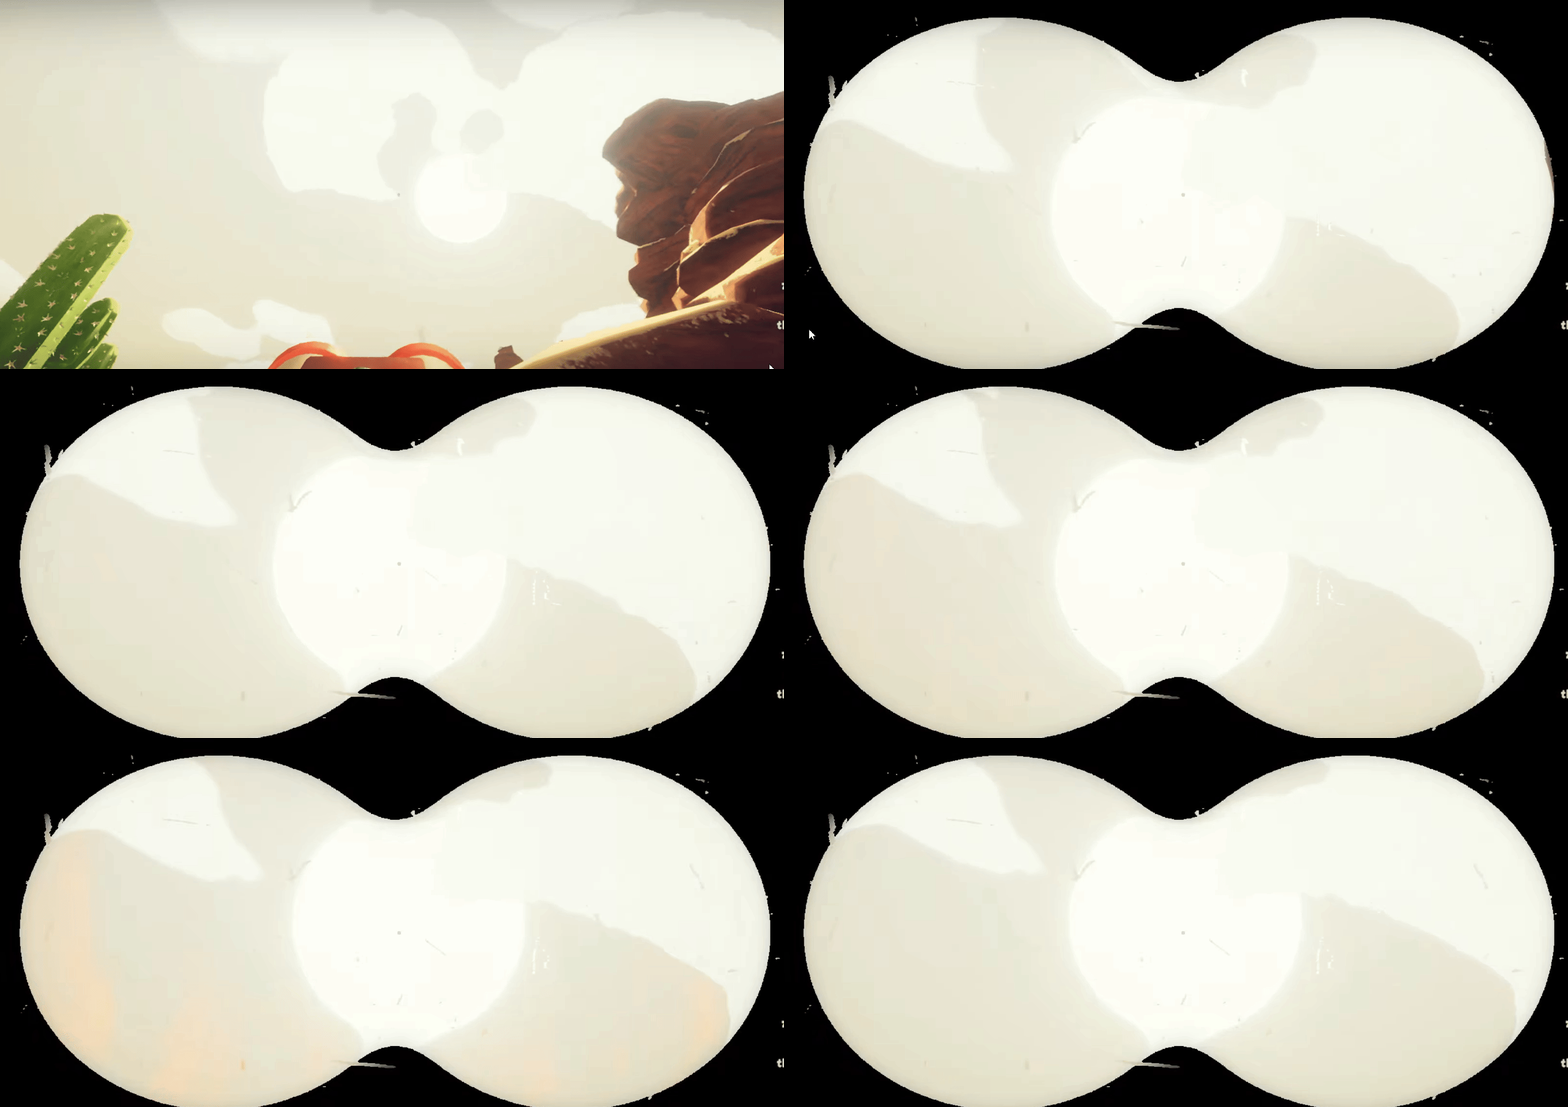
Once you do arrive at the Mesa, make sure that it is the middle of the day. That means you need to be receiving Burn damage from the sun.
After that, simply magnify your binoculars all the way into the sun. The badge should pop up shortly after. You will not only get the Astronomy achievement but also unlock the Sunglasses!
Make sure that you avoid the following mistakes though:
- Do not look at the sun while partially in the shade or it won’t count
- Make sure that the sun is active and giving you burn damage
- Try to look at the sun in an open area to avoid obstacles
- Make sure it is the middle of the day and not night in the Mesa.
Mesa Update Badge #5 – Cool Cucumber Badge
Description: Climb past the Mesa without ever having more than 10% heat.
Cosmetic: Cowboy Outfit
To get this badge, you will need to avoid the sun when it is active during the middle of the day as much as possible. That means not taking any Burn damage.
Here are some tips, you can utilize to get the Cool Cucumber badge in Peak:
- Utilize Sunscreen as much as you can to avoid the heat
- Go into shadows as much as possible
- Avoid thin or small shadows because the game can glitch and will still give you heat damage
- You can use the Umbrella to block the sun
- The best way is to simply travel during the night although this is time consuming.

Mesa Update Badge #6 – Daredevil Badge
Description: Shoot across the Mesa canyon in a Scout Cannon.
Cosmetic: Crash Helmet
To get the Daredevil Badge, the first thing you need to do is get your hands on the Scout Cannon. Ideally, you should start looking for it from the start the moment you enter the Mesa.
You can find it by opening Luggage and hoping that it’s inside.
Once you find one, you need to place it on the edge of the canyon in the Mesa. A great tip is to use the scroll wheel to adjust the angle of the cannon. After that, light the fuse and jump inside the Scout Cannon – you’ll be shot across!
Your goal is to land all the way on the other side of the canyon. If you hit the wall and fall down, then the badge will not unlock.
Mesa Update Badge #7 – Megaentomology Badge
Description: Survive an Antlion attack.
Cosmetic: Face Scar
For a more detailed specific guide for this achievement, check out our megaentomology badge guide!
Antlions are only found in the Mesa biome, the game’s arid new desert area. They live inside large, bowl-shaped sand pits that you can spot from a distance by looking for:
- A circular depression in the sand
- A piece of luggage conveniently placed in the center (bait for curious players)
The moment you step toward the middle, the Antlion will erupt from the sand, grab you, and try to drag you under.

Here’s how you can trigger the badge requirement:
- Walk into the Antlion pit until it attacks.
- Let it land at least one hit on you (yes, this is mandatory).
- Escape the pit without fainting.
- Move about 10 meters away from the pit.
At that point, you should see the badge unlock. No need to defeat the Antlion — just survive.
Here’s some tips to help you survive the attack:
1. Prep Before You Enter
- Full stamina bar is a must.
- Bring stamina boosters for extra safety.
- If you’re solo, pack a rope and pitons for a faster climb out.
2. Fight the Pull
When the Antlion grabs you, move directly against its pull while jumping repeatedly. This is the fastest way to gain distance.
3. Bring a Friend (Optional but Smart)
If you’re with a friend:
- They can help pull you out if you’re trapped.
- If you faint, they can use a revival item to get you back on your feet — and it still counts for the badge.
Mesa Update Badge #8 – Needlepoint Badge
Description: Have a lot of cactuses stuck to you.
Cosmetic: Summer Hat
For the Needlepoint Badge, you need to get a lot of cactuses stuck on you. Do not try to get stuck on the large cactuses in the Mesa.
Instead, you need to find small Cactus balls and walk over them to get them stuck on your body. Usually, a great spawn for these is at the bottom of the Canyon.
Keep walking and getting them stuck to you until you get the satisfying ping of the achivement!
Mesa Update Badge #9 – Nomad Badge
Description: Climb past the Mesa biome.
Cosmetic: Flap Hat
The Nomad Badge is the easiest badge to get in the Mesa update of Peak. All you need to do is simply play the game and progress through the Mesa biome. Just reach the top of the biome and go to the campfire.
Doing so will allow you to get the Nomad Badge!

Mesa Update Badge #10 – 24 Karat Badge
Description: Offer the Kiln a worthy sacrifice.
Cosmetic: Bing Bong Hat
The “worthy sacrifice” is the Ancient Idol, a hefty golden statue tucked away in the Tomb, a secret underground area in the Mesa biome. But here’s the catch: the temple only has a 25% chance of being open when the daily seed is generated. That means you cannot just reroll your seed to get it open. It’s entirely up to how the devs generate the seed that day.

The Tomb itself is no walk in the park. Expect narrow, torch-lit passages, big open gaps, and the need for tools like the Parasol (to glide across ledges) and the Chain Launcher (to grapple over tricky spots). At the end of the path, you’ll find the Ancient Idol sitting on a slab, practically begging to be picked up. Once you have it, the real work begins, carrying it out.
When the temple entrance is open, the blocking boulder is gone and replaced by a drop-down hole (right across the glowing area at night). This is the organic way to get here by waiting till Day 6.
If you’d like to enter the Tomb via the glitch, you can find out more in our dedicated 24 karat badge guide!
After reaching the Tomb, you can expect the following:
- A rocky maze (which you can shortcut with certain items)
- A parkour section — bring a chain launcher or mobility tools if you’re on harder terrain seeds
- A climb to reach the idol
Once you have the statue, you do not need to follow the path you came through. Instead, you can use an alternate path that allows you to much easily get back to the Mesa.
From here, there is just one more thing you need to do to complete the 24 karat badge achievement.
Here are the steps you need to follow to complete the 24 karat badge achievement:
After grabbing the idol, you head down to the Kiln level (area with magma and lava) where you’re supposed to complete the offering for the 24 Karat Badge. Since you’re invincible while carrying it, you can literally wade through Caldera’s lava ocean without a care.
- At the Kiln, approach the central magma pit.
- Toss the Ancient Idol in.
- Watch it burn.
- Enjoy the satisfying ping of the 24 Karat Badge unlocking.
Wrap Up
That’s everything you need to know about unlocking all 10 of the new badges in the Mesa update of Peak. Some of these badges can be incredibly challenging, especially the final one because of all the RNG involved. Additionally, sometimes things can also glitch out which can be quite frustrating – such as badges unlocking but not achievements. Hopefully all the bugs are ironed out so that you can get all of them reliably! Be sure to try out all the new cosmetics and show them off your friends.


