In R.E.P.O., your goal is to extract as much loot as you can so that you can sell off items to fulfill the quota. The game offers a series of maps, each with its own unique features that can impact your experience. In this guide, we’ll be looking at all the maps to see what each of them has to offer, and how they rank with each other. We’ll be looking at both low and high quota, to see which map is suitable. WIth that said, let’s get into it!
Best Map Tier List & Guide
There are a total of 3 playable maps available in R.E.P.O. We’ll look at the items that you can get on each map, including whether they are suitable for low and high quotas. Keep in mind that maps change a lot with a lot of death pits appearing as the quota increases.
In this way, we’ll be able to see what makes each map the best or the worst. We will also take a look at the value that each valuable item provides. For more insight on that, check out our best valuable items guide.
With that said, we have the best map tier list for the maps shown below.

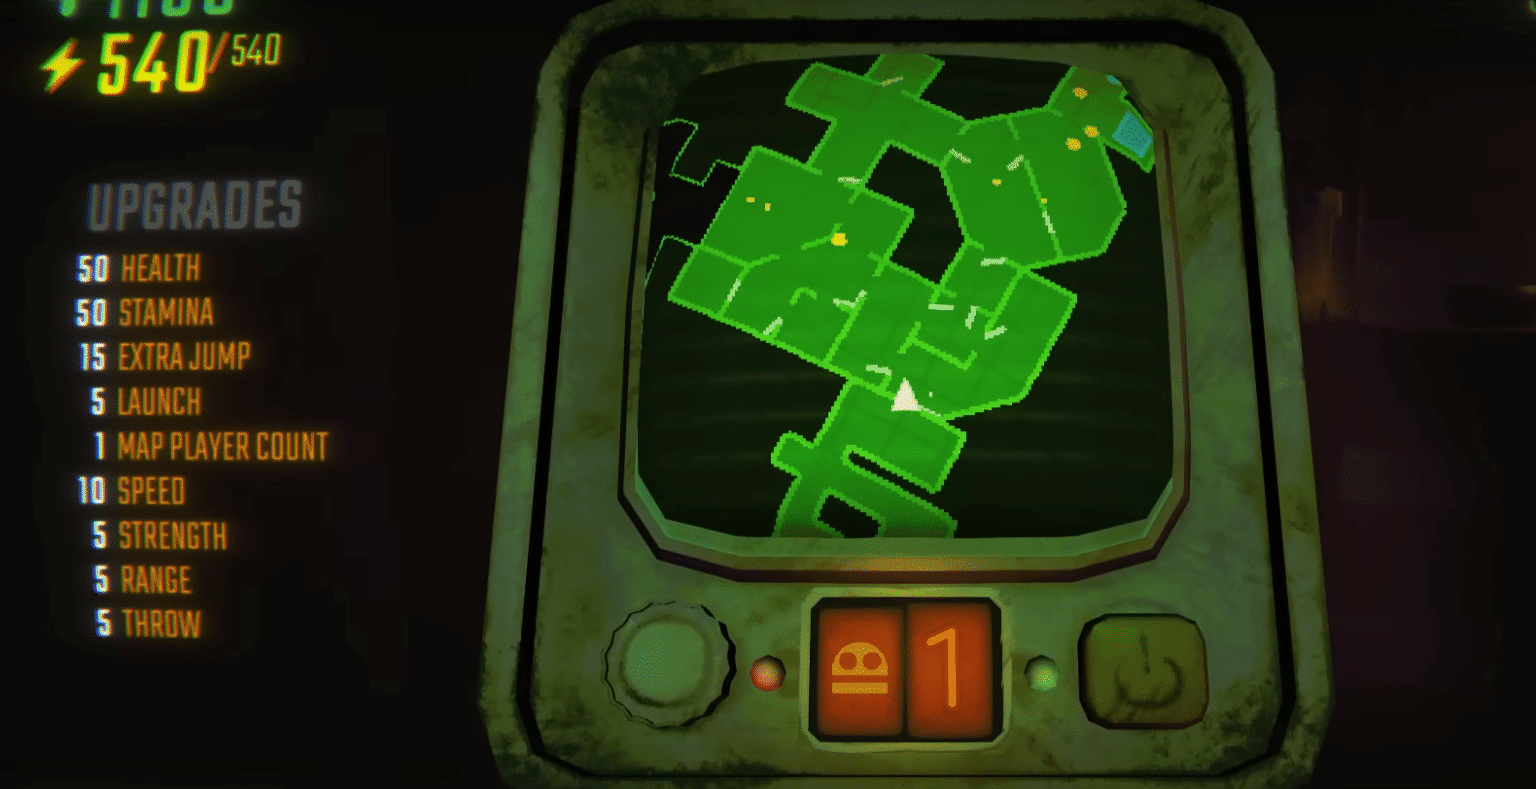
Swiftbroom Academy – S Tier
Here are the valuable props that you can expect to see in the Swiftbroom Academy:
- Chopping Book
- Time Glass
- Love Potion
- Goblin Head
- Power Crystal
- Master Potion
- Wizard Cube
- Griffin Statue
- Wizard Staff
- Sword
- Broom
Low Quota
Most people like this map because it offers really good value props, and is nice and spacious. On top of that, many of these props are usable to actually damage monsters. The map layout also has a lot of hiding spots allowing you to dodge many enemies.
Here are the positive features this map has to offer on low quota:
- Plenty of hiding spots
- The room design allows you to escape monsters easily
- Good assortment of valuable and useful props
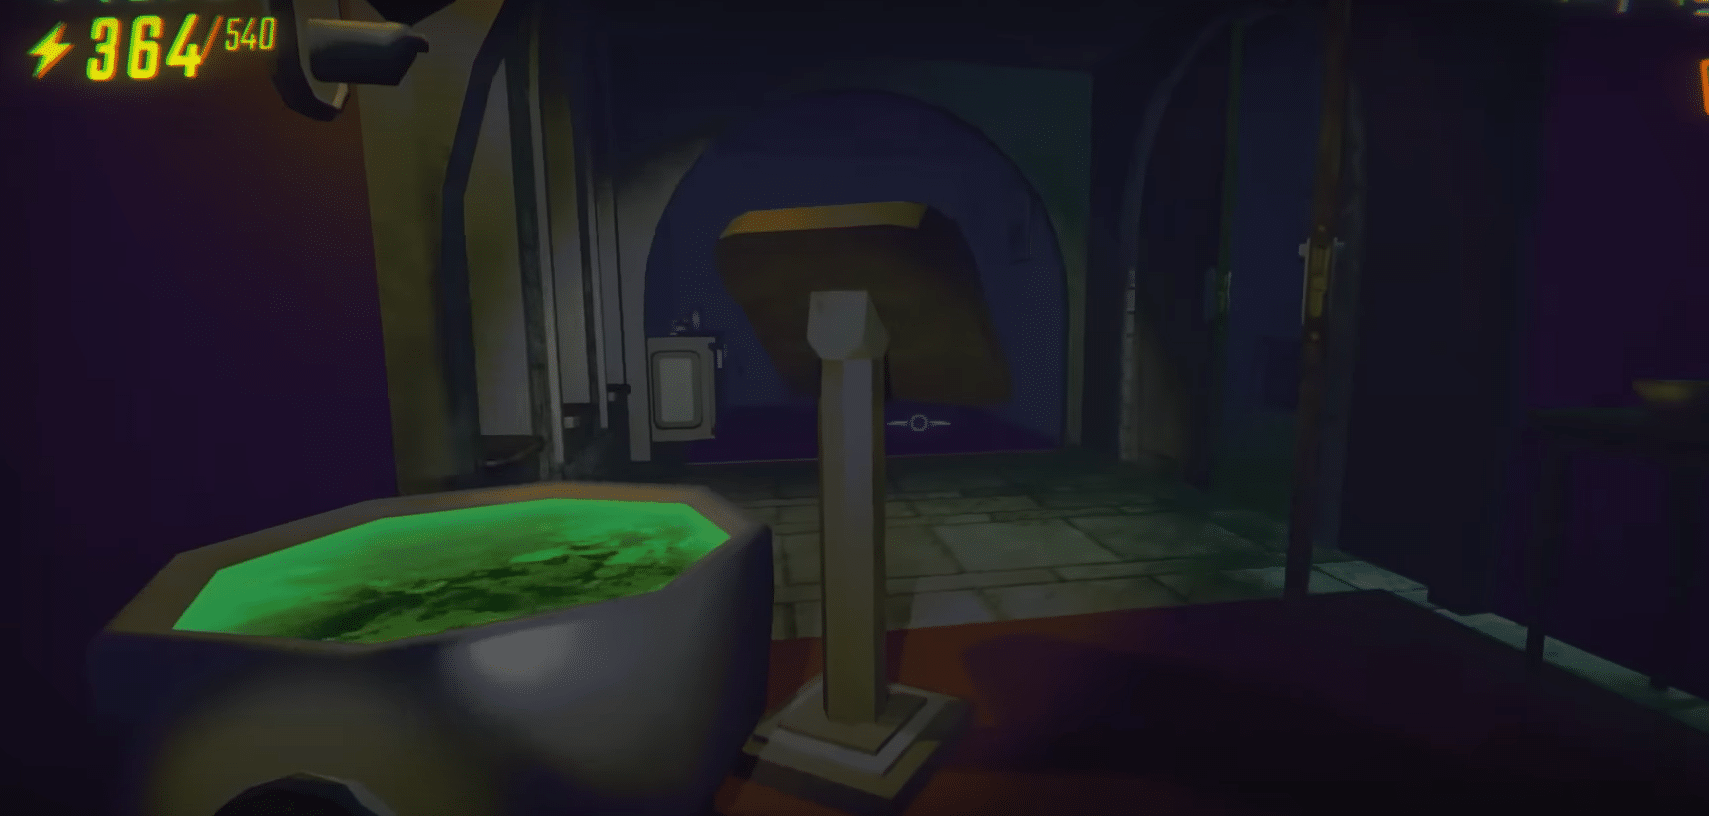
- Unique features like the cauldron to damage monsters like Ducks
- Huge doors that make it easy to move around props.
Just be careful, as there are Death Pits that can sometimes make an appearance on low quota.
High Quota
Even on high quota, this map is the favorite of most players – since the previous benefits still apply. The map is a little larger with more death pits.
However, you can actually use the doors to cover most of the death pits, allowing you to navigate. Additionally, you won’t really come across many death pits here anyway compared to other maps.
You can also use them to kill monsters that are chasing you – so they can be a positive as well.
The biggest downside of this map on high quota is the lava death pits found in extract rooms. Falling into the lava is basically death as you won’t be able to jump out in time. This is especially dangerous when you are trying to extract in a hurry.
Overall, Swiftbroom Academy is the best map in R.E.P.O. both for low quota and high quota.

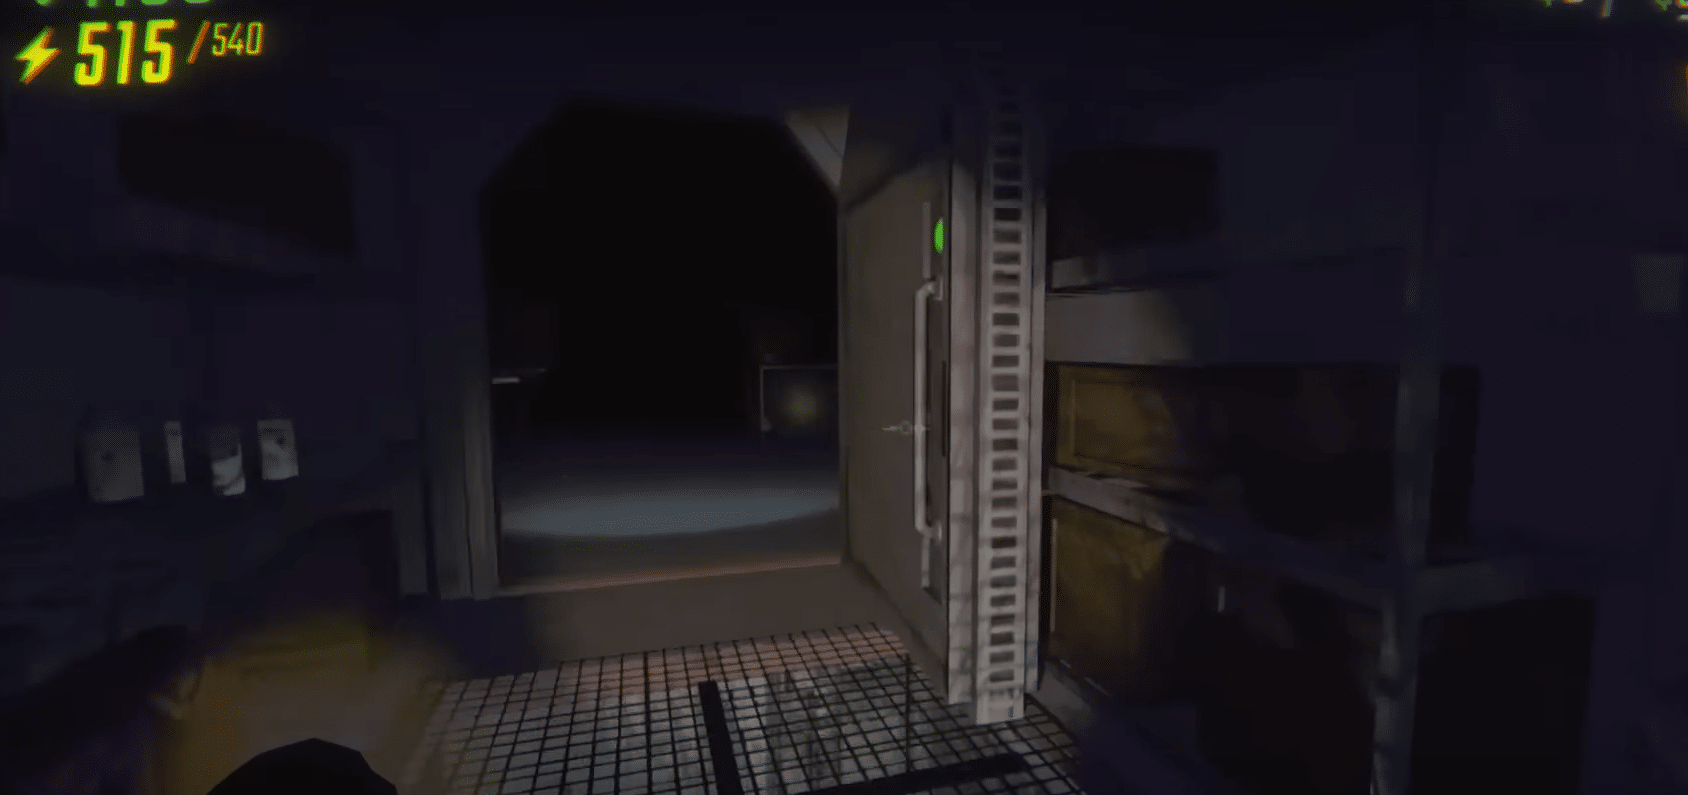
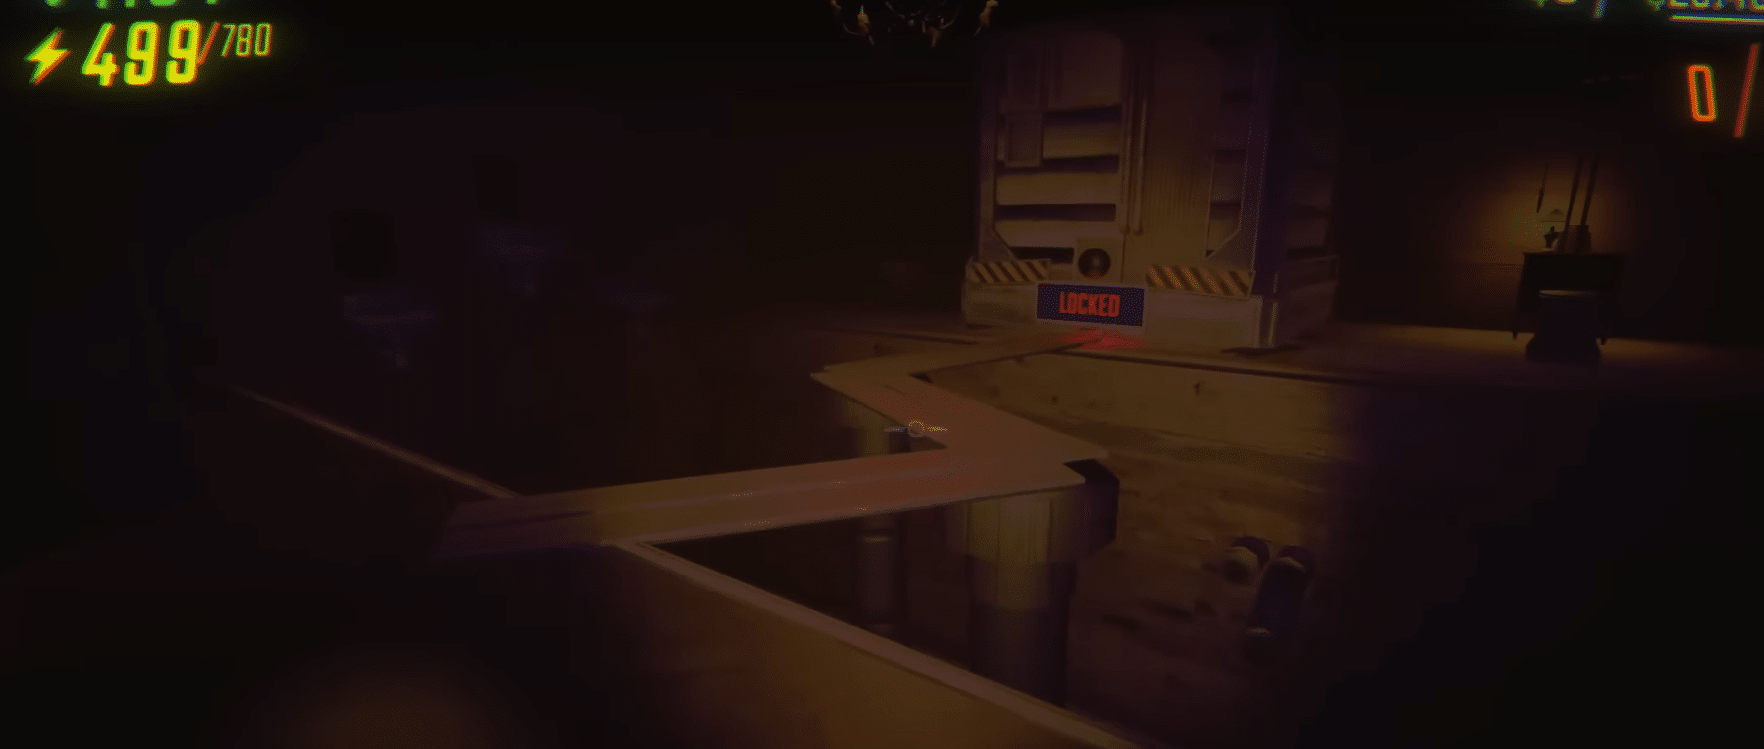
McJannek Station – A Tier
Here are all the valuable items that you can find on the McJannek Station map most frequently:
- Server Rack
- Science Station
- Ice Block
- Fan
- Computer
- Six Pack of Samples
- Singular Sample
- Propane Tank
- Laptop
- 3D Printer
- Hard Drive
- Bonsai
- Ice Saw
- Sample Cooler
- Guitar
- Flamethrower
- Creature Leg
- Explosive Barrel.
Low Quota
On low quota, this map offers a pretty good layout. The doors have a low threshold of stunning which is 10 speed – you’ll have to have a running start if you want to get stunned. Comparatively, Headman Manor has a 2 speed threshold.
With that said, here are the positives this map has to offer for low quota:
- Flamethrowers to use against Ducks
- Decent amount of hiding spots – including large tables
- Decent sized rooms
- Decent value for props
High Quota
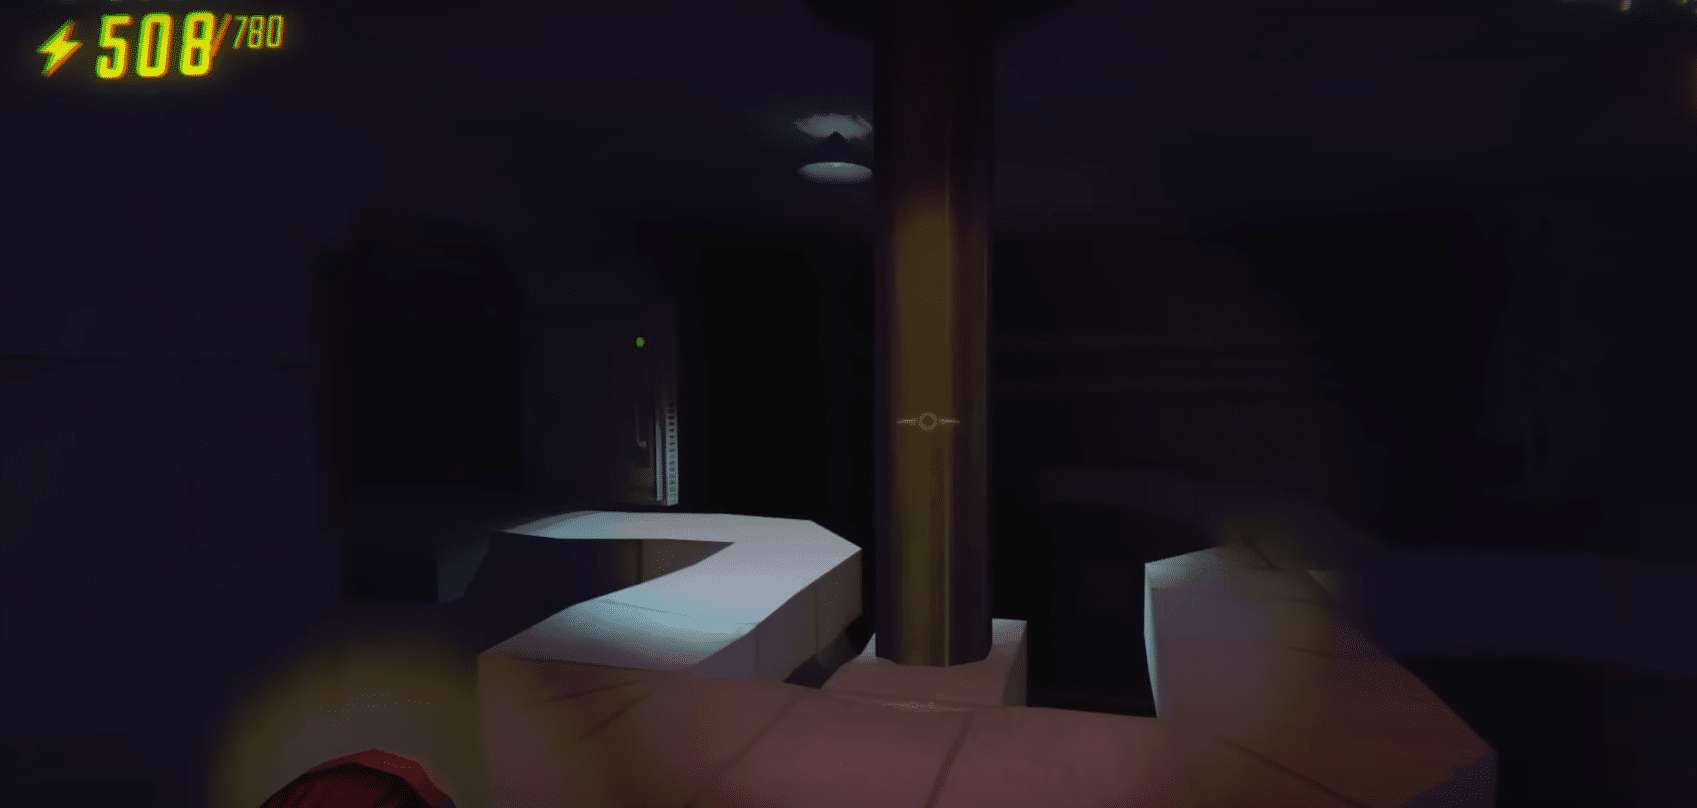
McJannek Station has a lot of dangerous death pits that you’ll need to worry about. You’ll also come across pits of liquid that can also kill you. Both of these can be difficult to navigate at times, requiring you to parkour.
There is also the vent catwalk room which is dreaded by most players. It’s very easy to fall down if you are being hunted by monsters. Your cart can also easily fall down and you’ll end up losing your money bag.
On the plus side, this map does offer plenty of great hiding spots and spacious rooms. In terms of extracts, McJannek Station offers the easiest ones compared to the other maps.
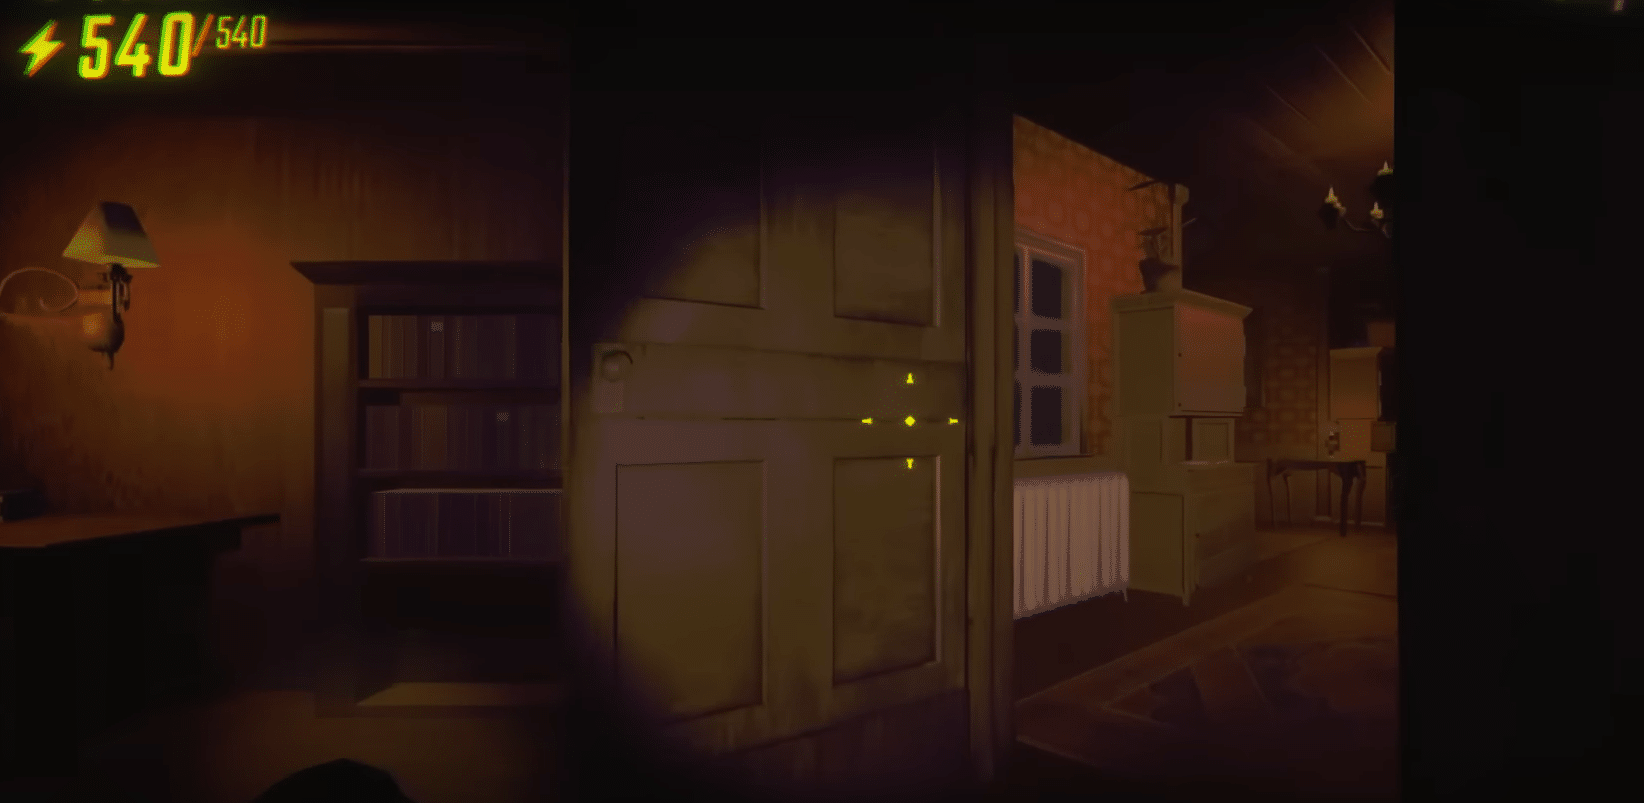
Headman Manor – F Tier
Here are the valuable props you can expect to find in Headman Manor:
- Ship in a Bottle
- Scream Doll
- Gramophone
- Radio
- TV
- Music Box
- Golden Statue
- Dinosaur Fossil
- Animal Box
- Clock
- Piano
- Painting
- Harp
Low Quota
This map is fairly annoying with most players not liking the way it plays. The design is claustrophobic with the clearance of rooms questionable. There are so many doors that moving around props becomes difficult.
Here are the negative features of this map for low quota players:
- Most props are fairly fragile
- Small doorways make moving things difficult
- Tight hallways make moving around difficult
- Two speed is enough to get stunned by doors
- Poor hiding spots that leave you vulnerable.
High Quota
The death pits on Headman Manor are pretty brutal. Pair that with the annoying doors, and you can get stunned by doors and fall into the pit instantly. The hallways are not as tight but not by much. You can simply turn a corner and end up dying.
The doorways on high quota are still tiny, so moving around props is still really difficult. Some of the high quota rooms have really long stairs that can be a nightmare to go up.
On top of that, some of the extracts on this map are the worst. You’ll find narrow walkways over gaps that lead to extracts. Taking a cart on these is extremely dangerous, as you can basically lose all your loot at once.
The only positive of the high quota maps is that there aren’t as many death pits as the Station map. But they are more difficult to navigate.
Overall, Headman Manor is the worst map in R.E.P.O. – for both low and high quota players.
That’s everything you need to know about the best map tier list and guide in R.E.P.O. Now, you have a good idea of which maps to go for when you’re trying to hit your quotas. You’ll also find that most players have the same opinion of these maps.


