
Have you ever dreamed about making your own game rather than playing with somebody else’s? Sure, it’s fun to take a break every once in a while, but why not do the hard work yourself and create something that people will enjoy using Roblox Studio?
The tools are right at your disposal. But of course, just like any other video game, Roblox Studios too, uses big words and numbers that may seem intimidating at first. Don’t worry though, we’re right here to help you with everything you need to know as a beginner. Now, keep on reading and start your gaming journey today!
Beginner’s Guide
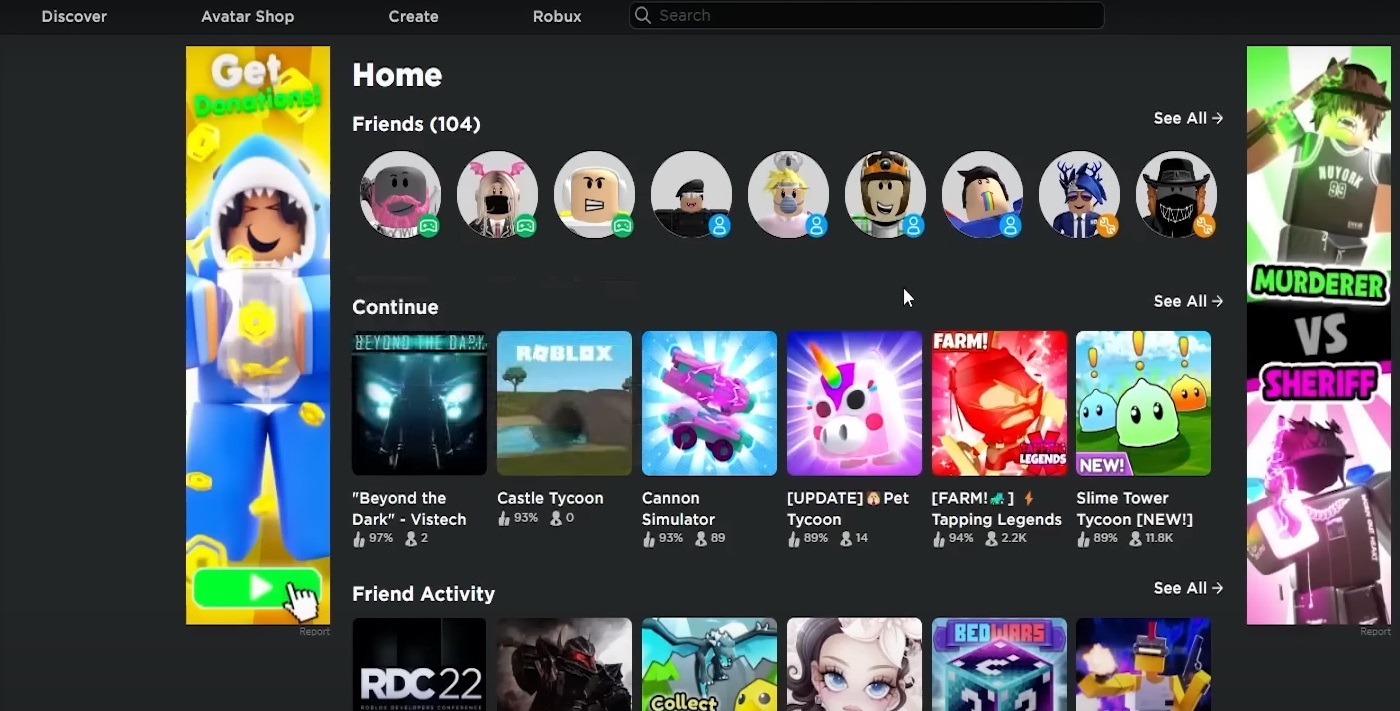
Knowing the core mechanics, features, and other basics is key to using Roblox Studio. But first, you’ll need the application itself. To do that, log in to your Roblox Account and find the tab that says “Create” on the left side of your screen. Its right next to the search bar if you’re having any difficulty finding it. You’ll get a notification asking you if you would like to get Roblox Studio, click on create or edit to get started.
Fundamental Basics
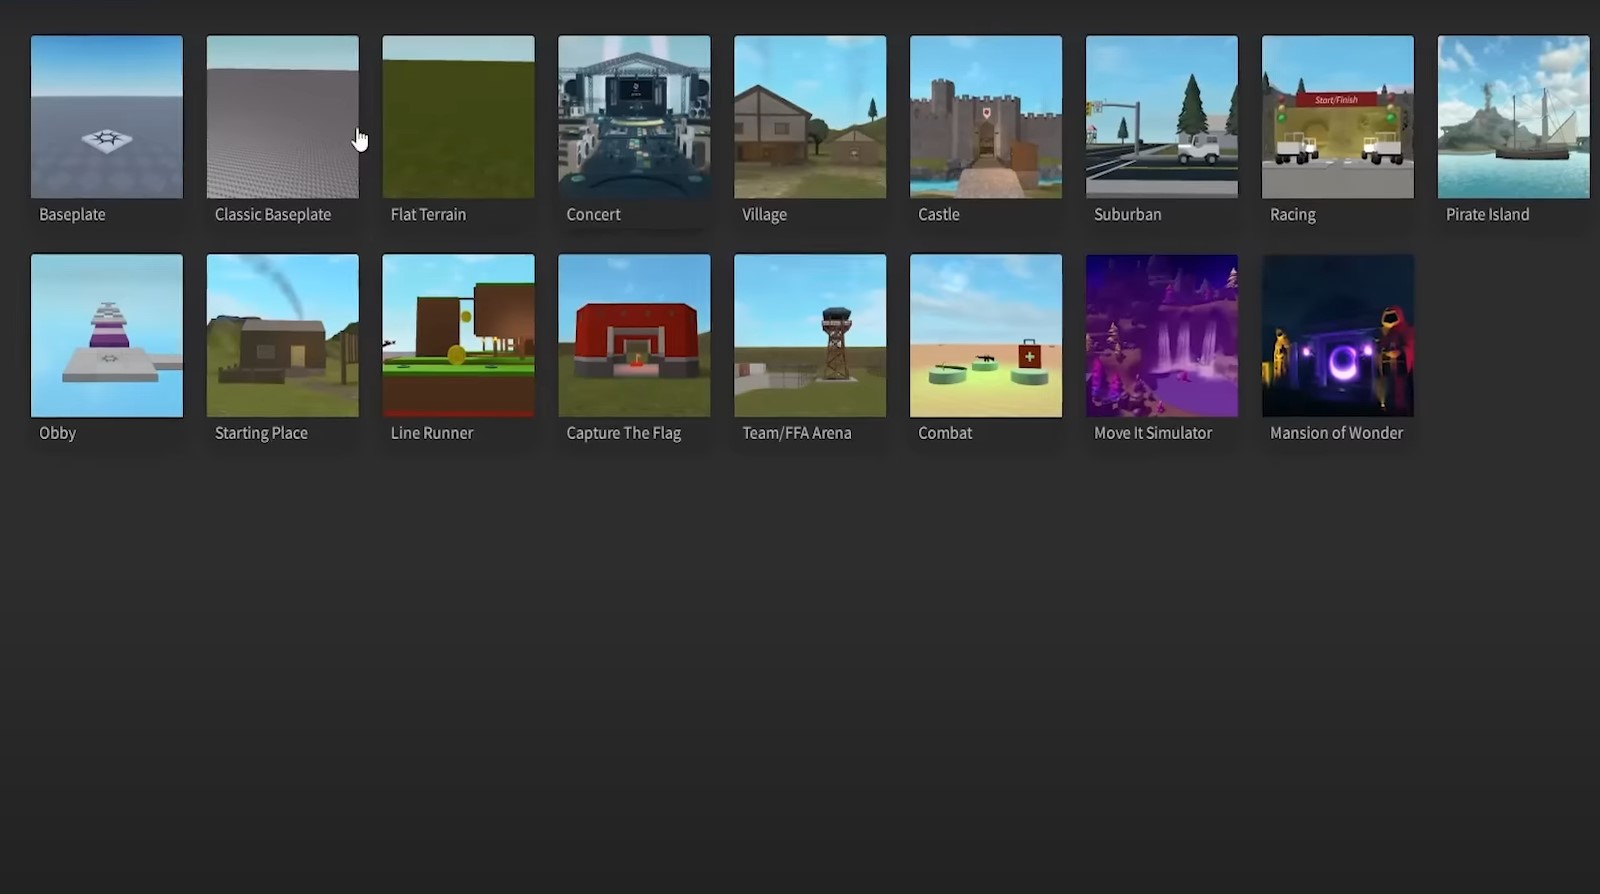
Once you have the application running, you’ll be presented with this page. Here you can see the pre-made assets, templates, and any games that you’ll be creating in the future again, on the left side of your screen. But for now, click on the Baseplate first.
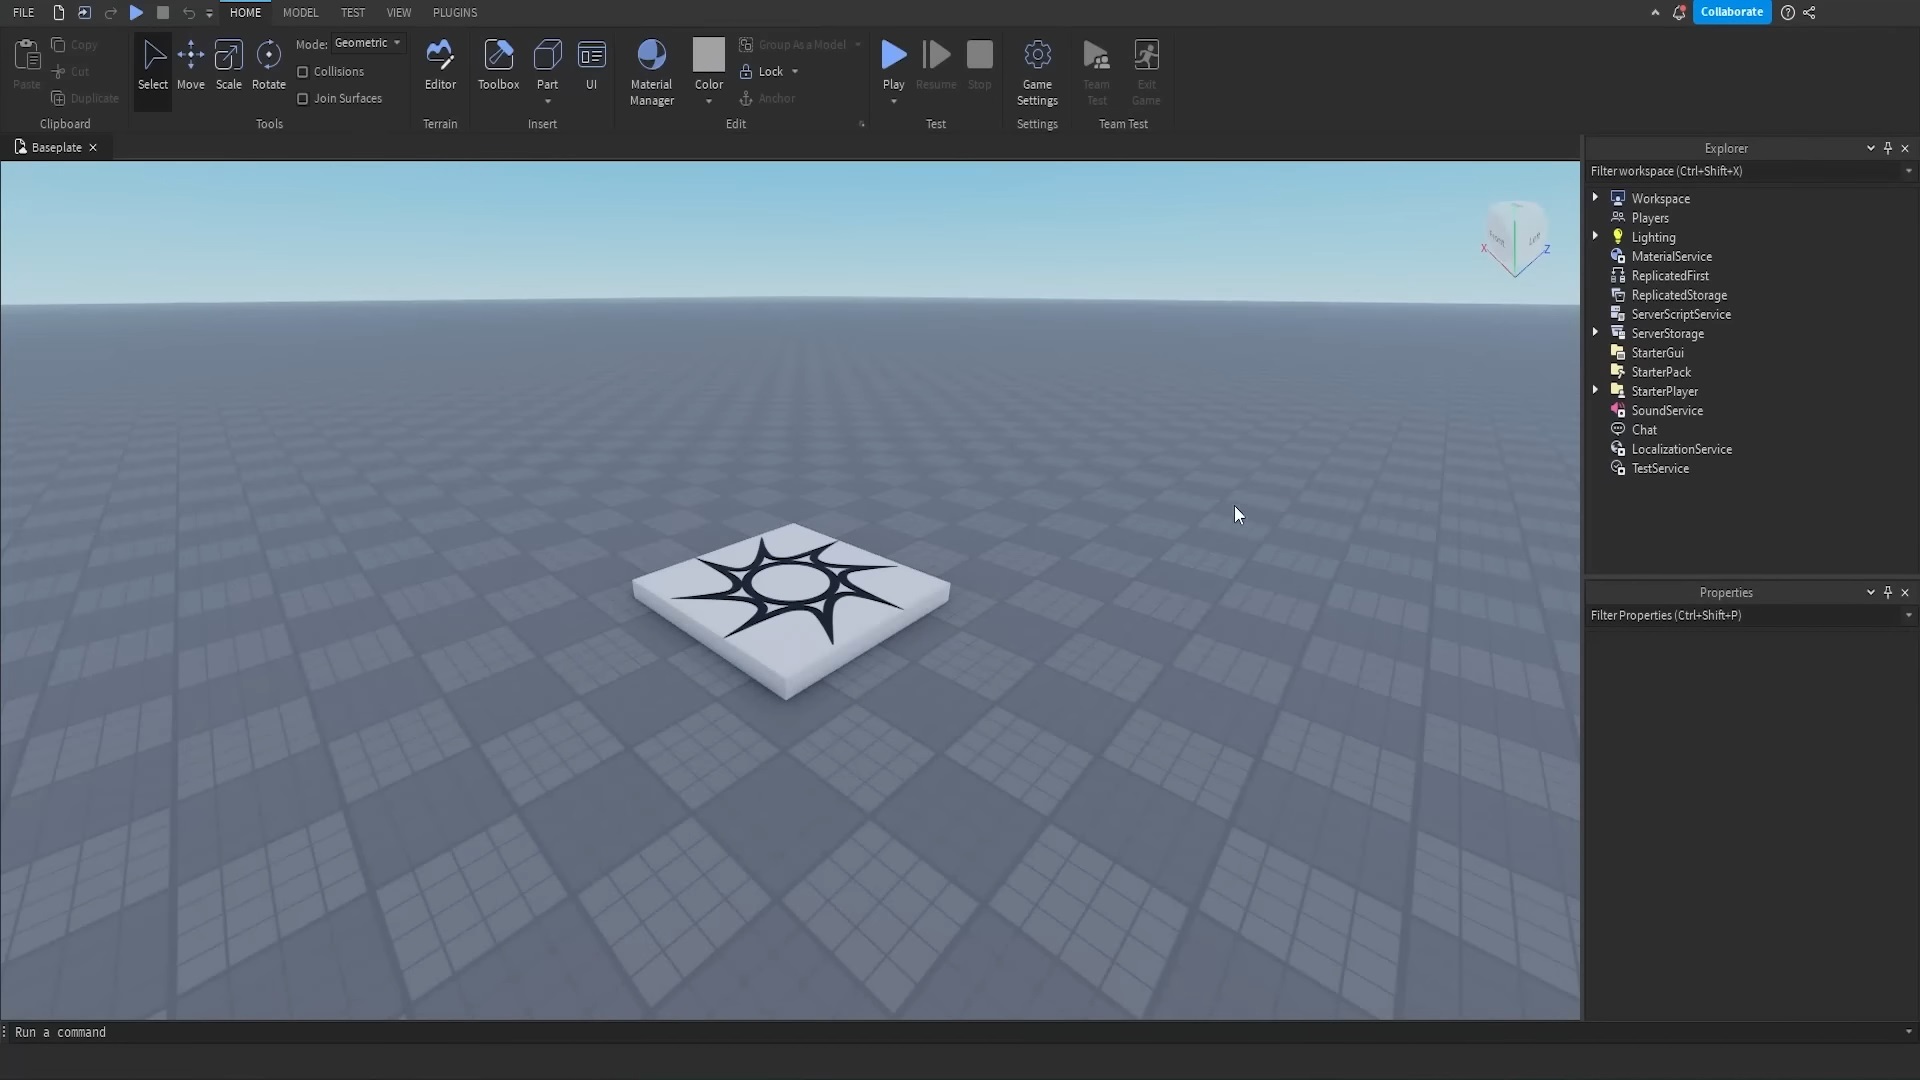
Now don’t be alarmed if the interface is starting to look like you’re using Blender. The left side of your screen is your best friend, so go up there and click on the tab that says “View.” After that, find “Team Create” and click on “Save to Roblox.”
A pop-up will appear shortly, make sure that computer, phone, and tablet under Devices are all checked and hit “Save.” What Team Create does is it lets you work on the game with your friends, but it also auto saves your game.

To move around, you can use your WASD keys as you normally would when moving inside of a game. You can also hold down right click while moving to look around the workspace you have. If you want to move slower, press the Shift key instead.
Using your Tools
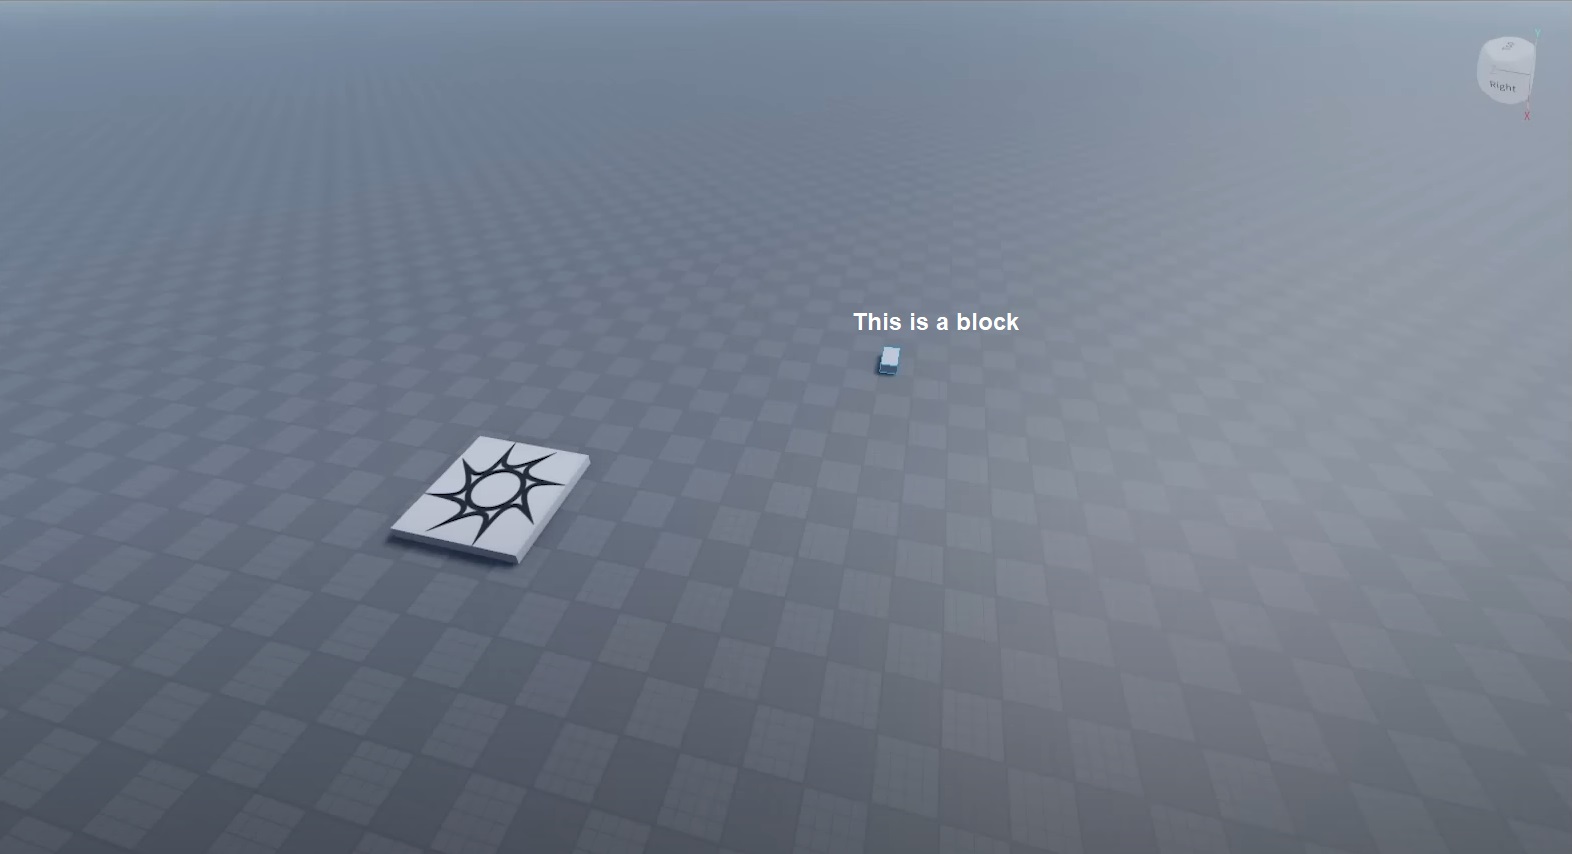
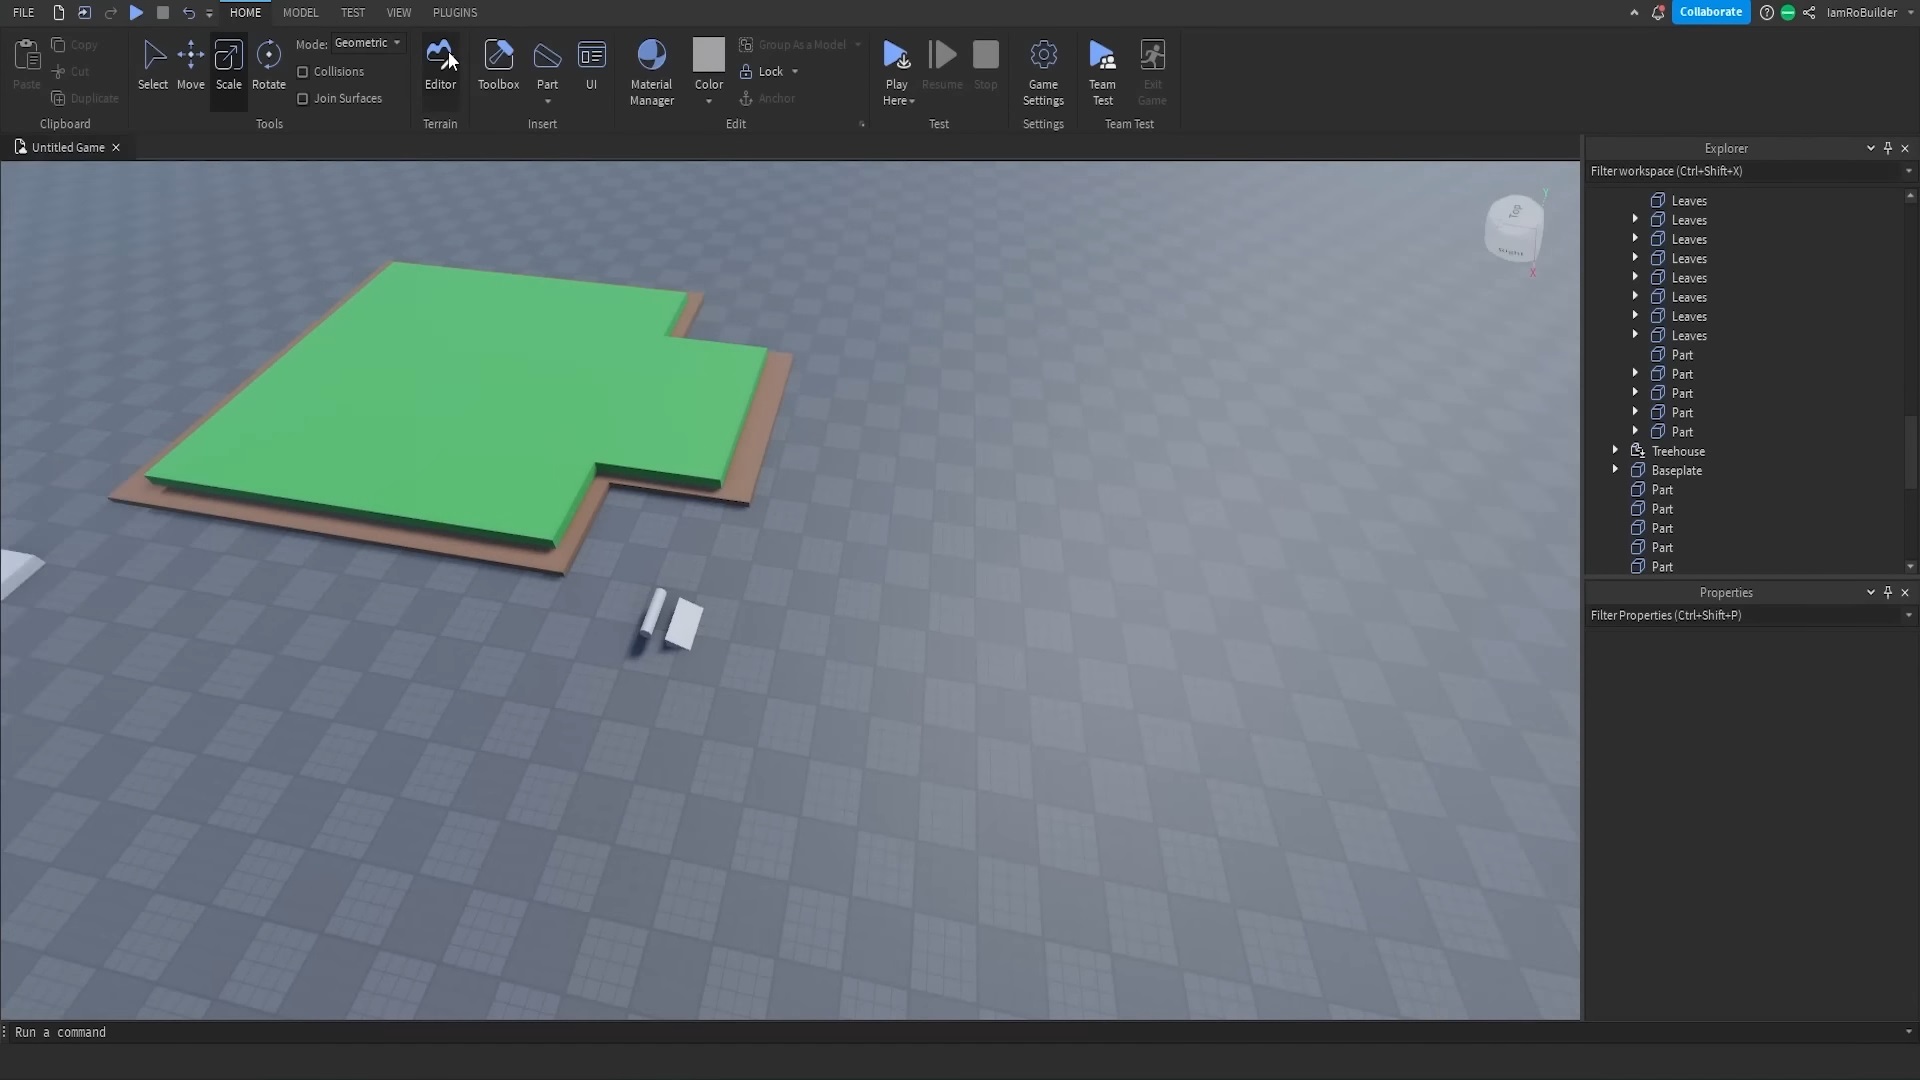
Now go back to your Home tab and click on “Part.” That will open up a drop-down menu that has five shapes for you to choose from. These would include a block, sphere, wedge, a corner wedge, and a cylinder. Click on any of those again to have the part show up on your workspace.

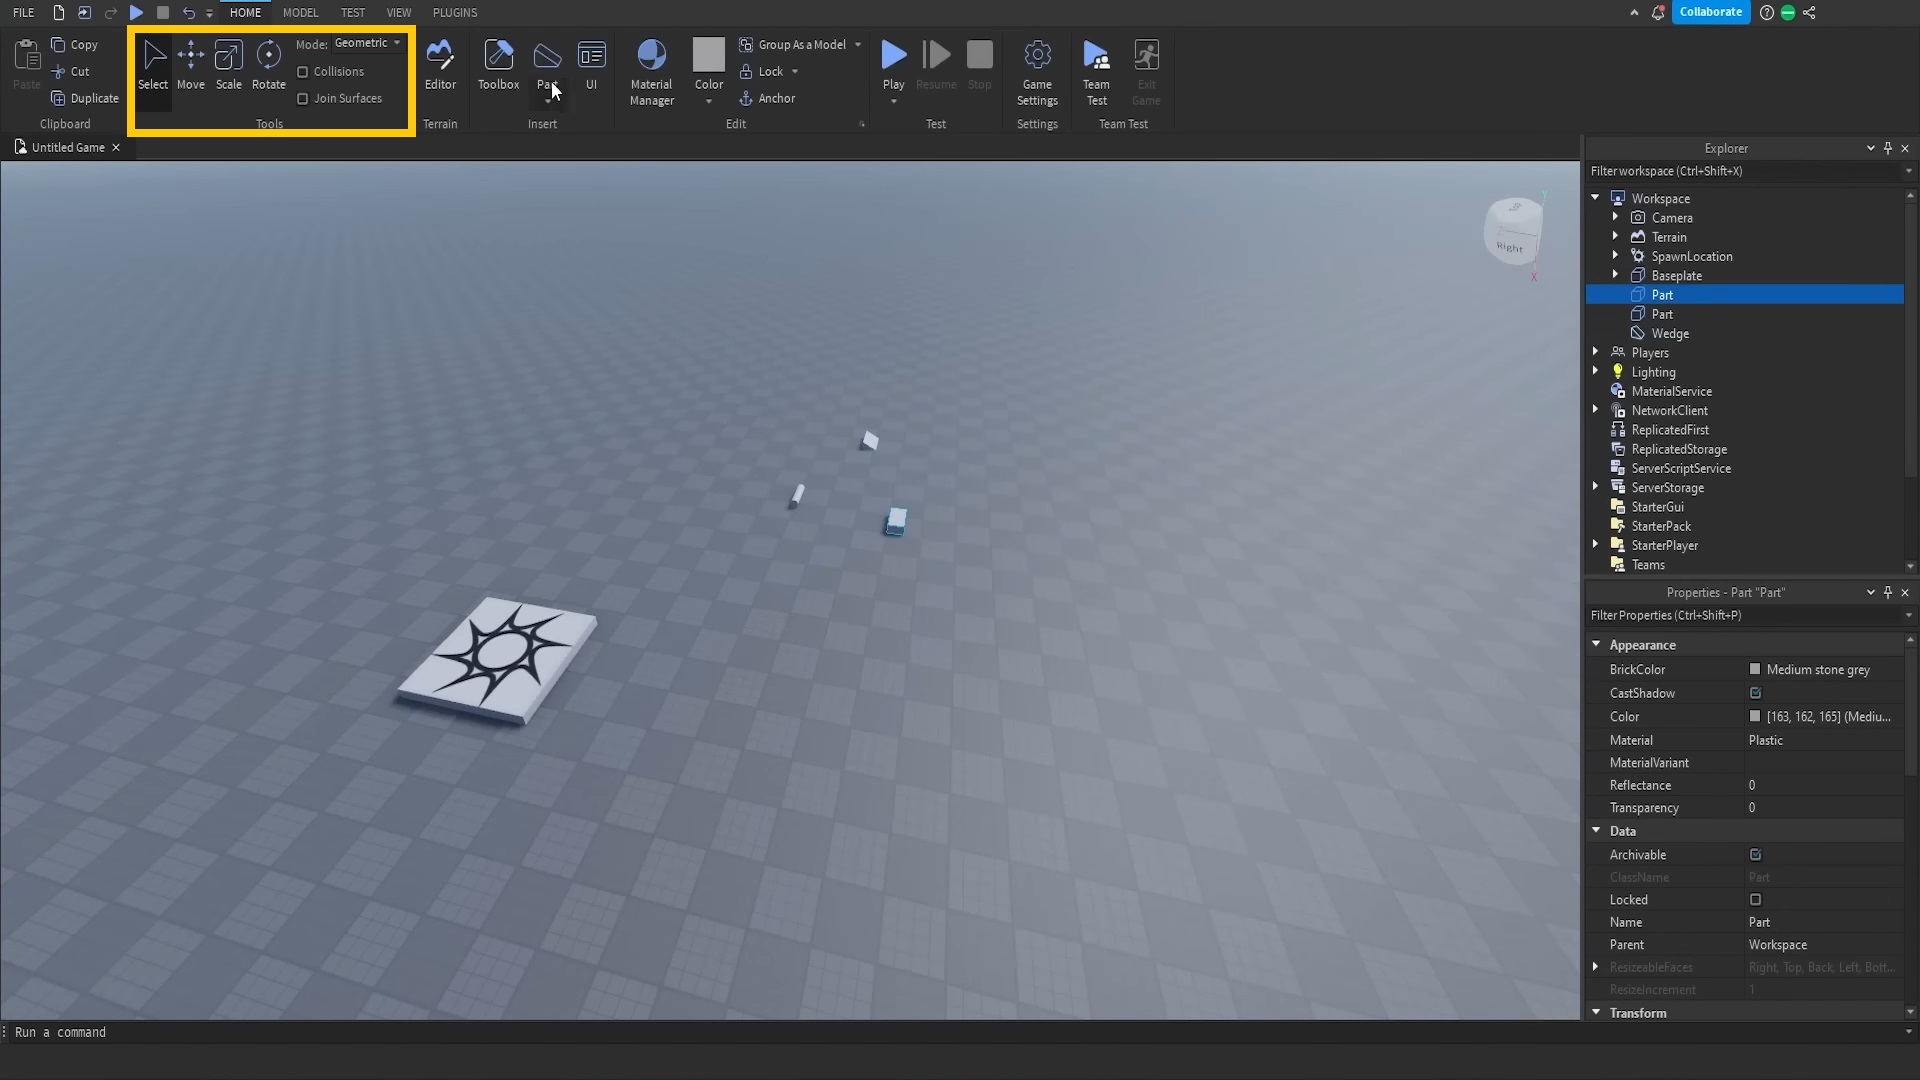
Apart from putting in shapes on an empty plain, you also have the Tools section. Everything highlighted in here is what you’ll be using for the most part of your game making journey. Here’s a general idea of what these tools do:
- Select – Lets you select a shape you’ve plopped down on your workspace.
- Move – Lets you move shapes on a single axis instead of grabbing and dragging them indiscriminately.
- Scale – Lets you make changes to the size of the object or shape you’ve selected.
- Rotate – Allows you to rotate the selected shape in any direction you like.
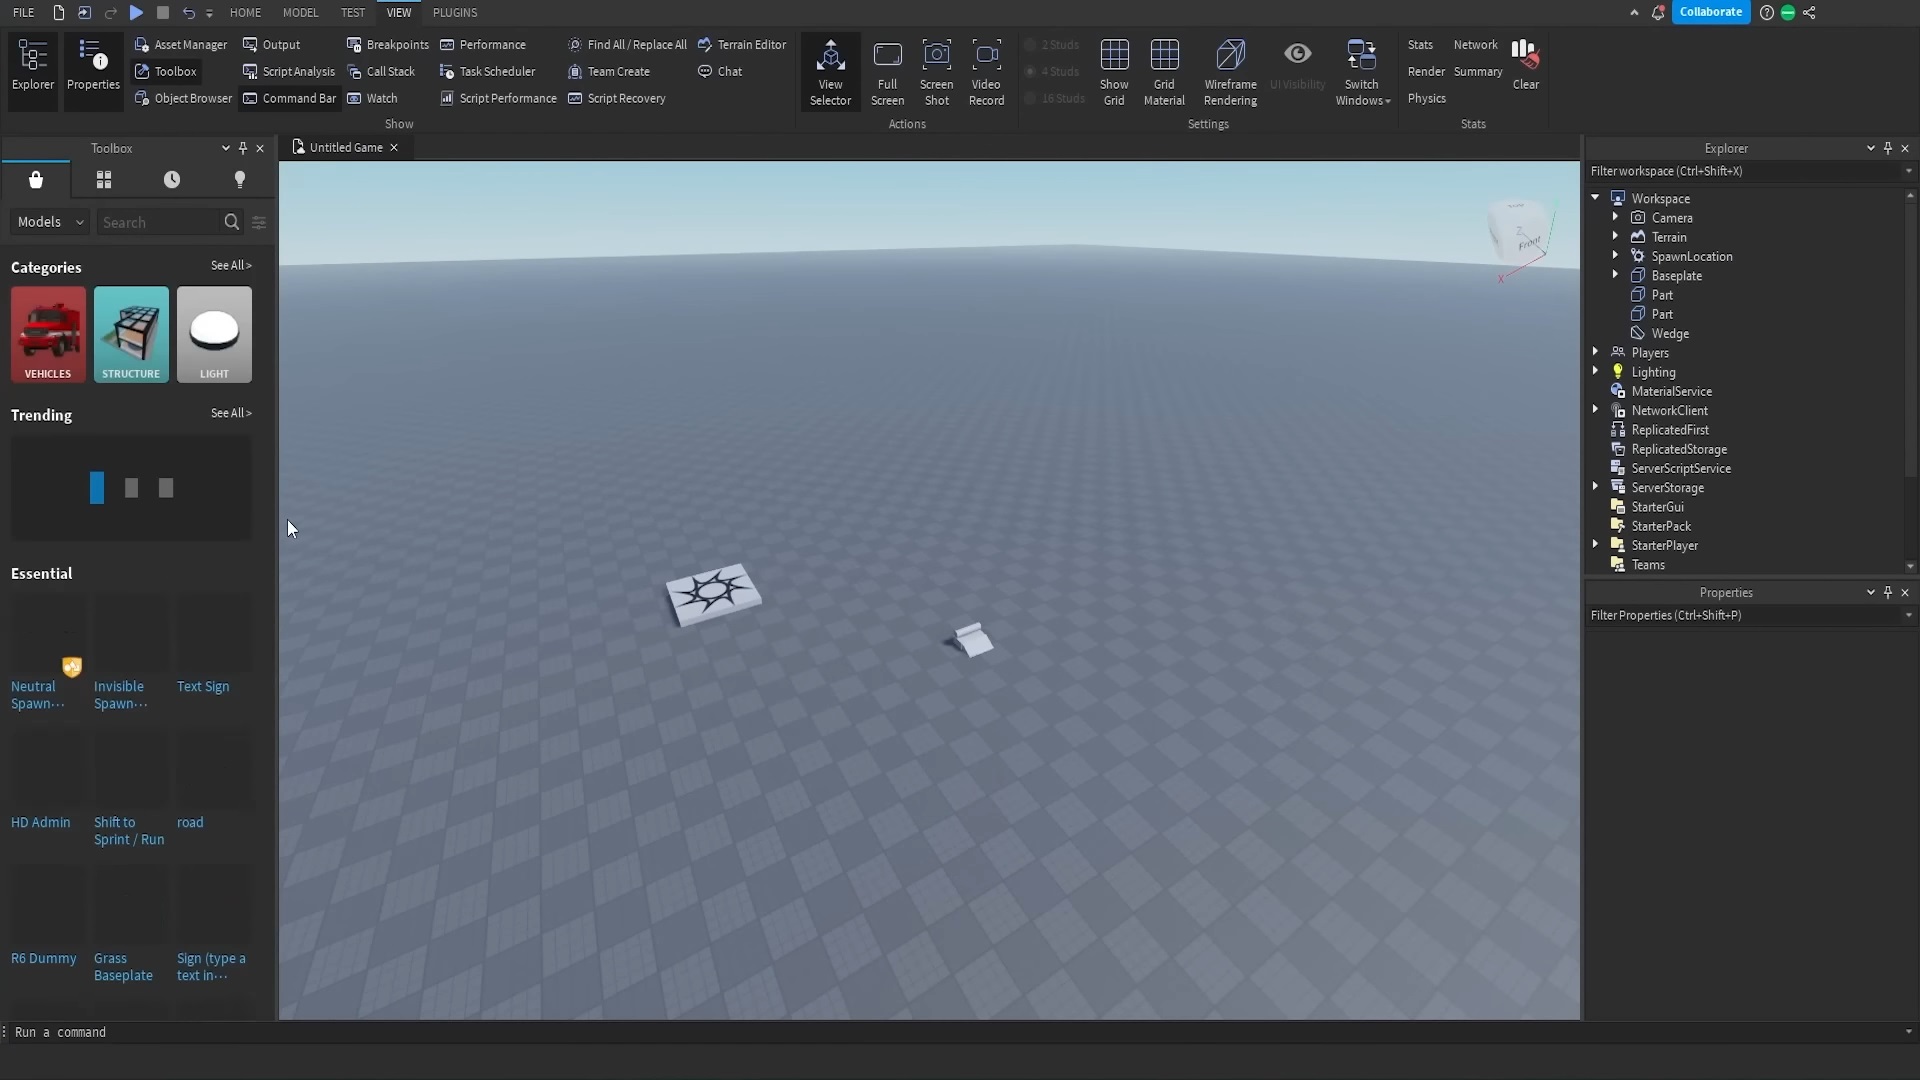
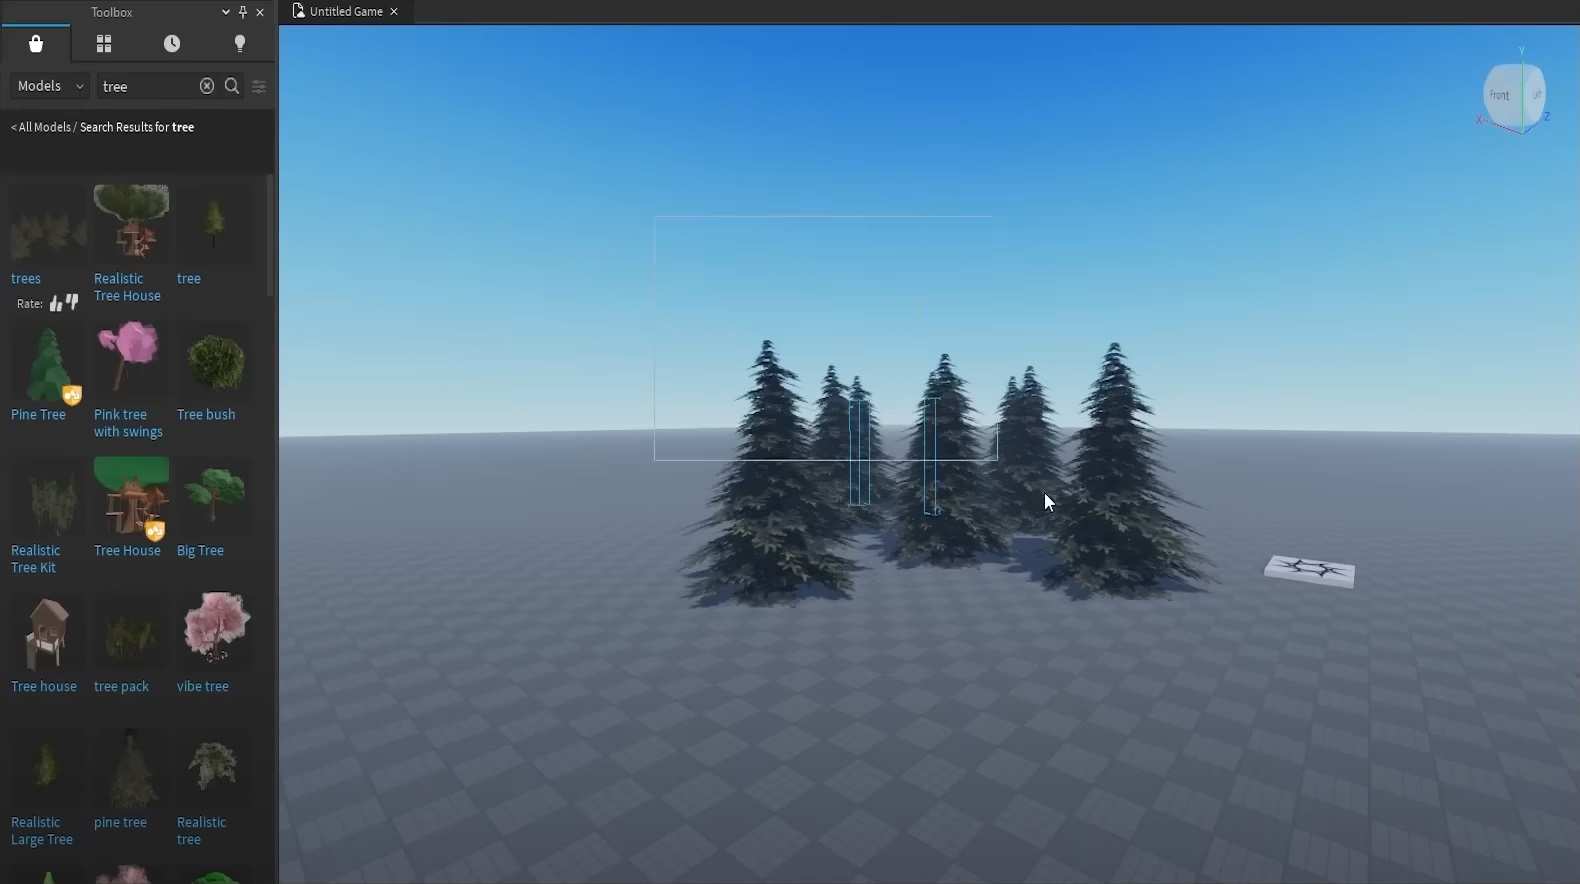
If you feel like it’s time to graduate from moving basic shapes around then head on back to the “View” tab. Under “Show” click on “Toolbox”, use the search box next to find any available asset to put into the game you’re working on. You can type in anything and there’s a good chance of you getting what you need, as long as it’s not too complex of shape!
Generating Terrain
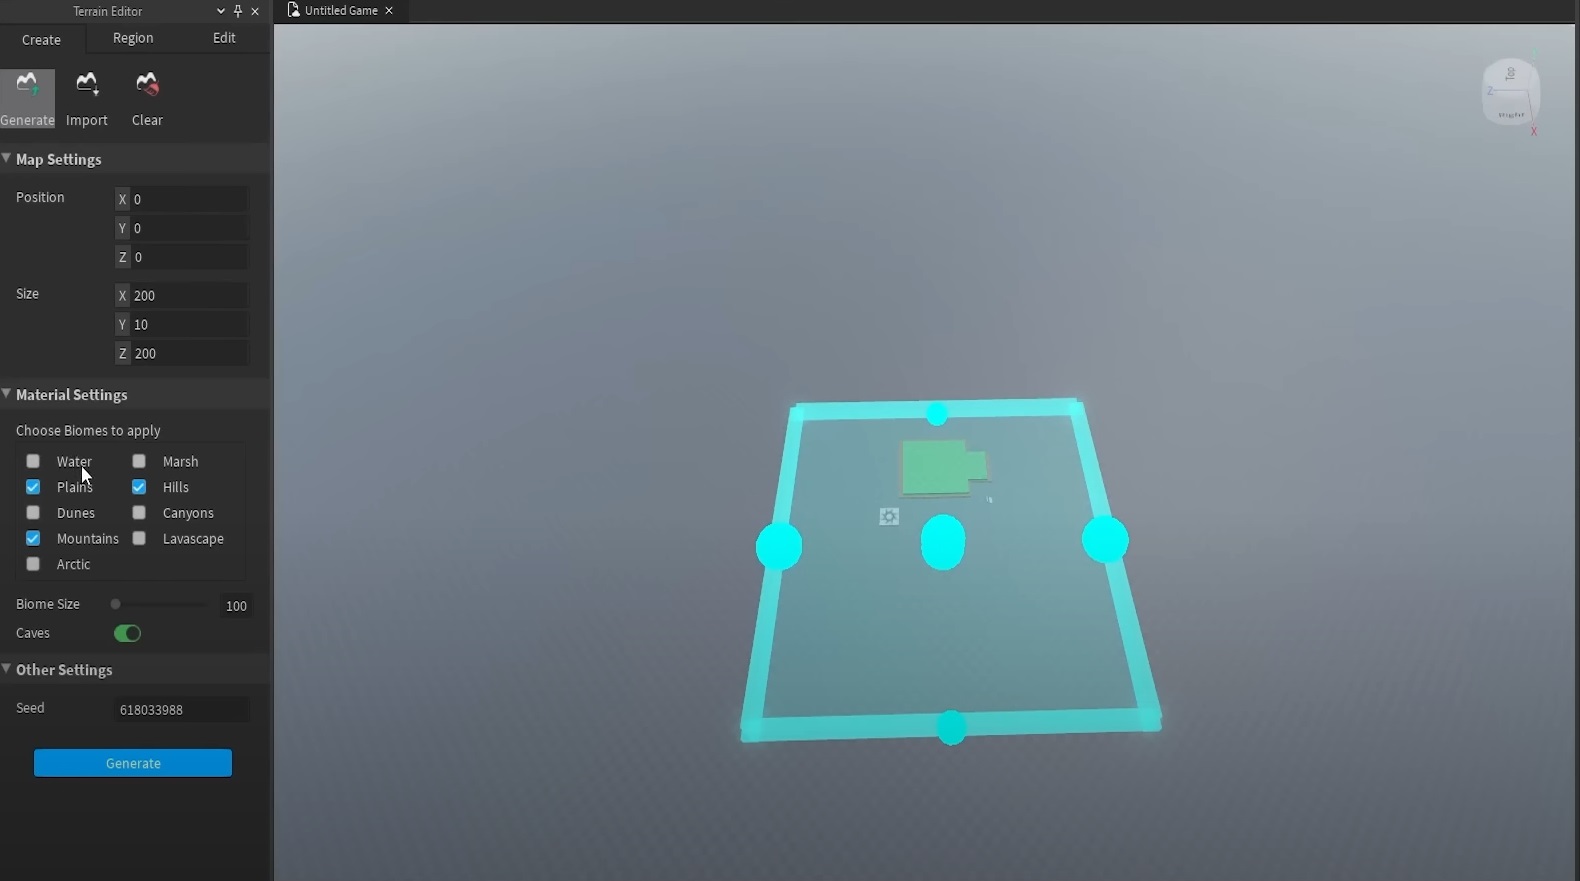
When you have the basics down, you’ll come to realize that you don’t really want to make terrain out of basic shapes. That will take forever, and not everyone has the luxury of time. This is where the “Terrain” section comes into play. Click on ”Editor” to open up the Terrain Editor on the left side of your screen.
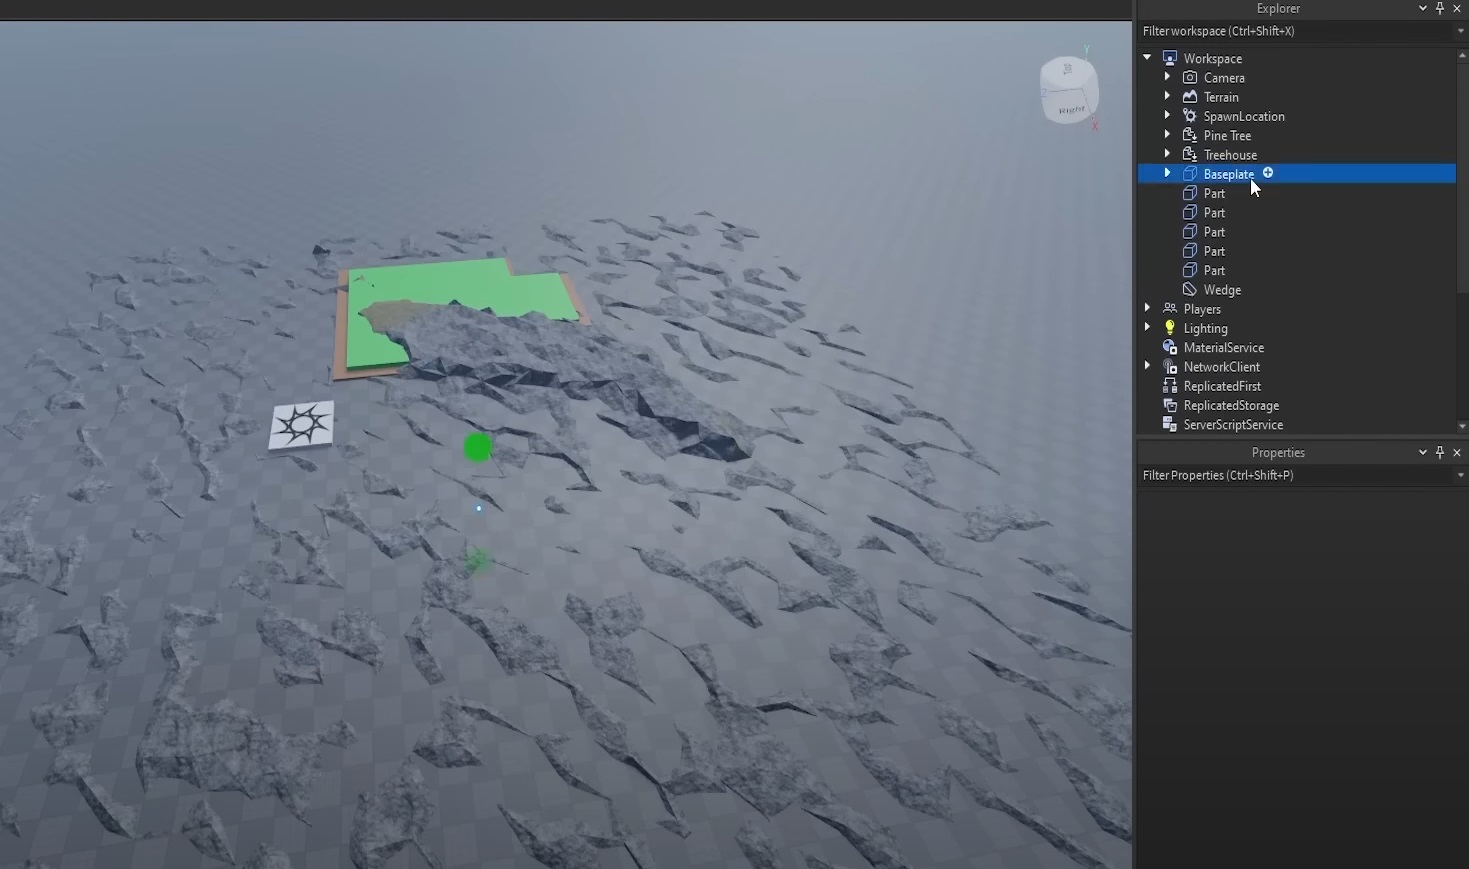
Mess around with the Map Settings and Material Settings a bit. Or you can just copy our settings for now and click on “Generate.” Before doing anything else, head over to your Explorer window. That will be on the right side of your screen. On that window, you will see everything that’s currently inside of your game. This includes, objects, scripts, or other assets that you’ve already placed down. For now, find your Baseplate and delete it.
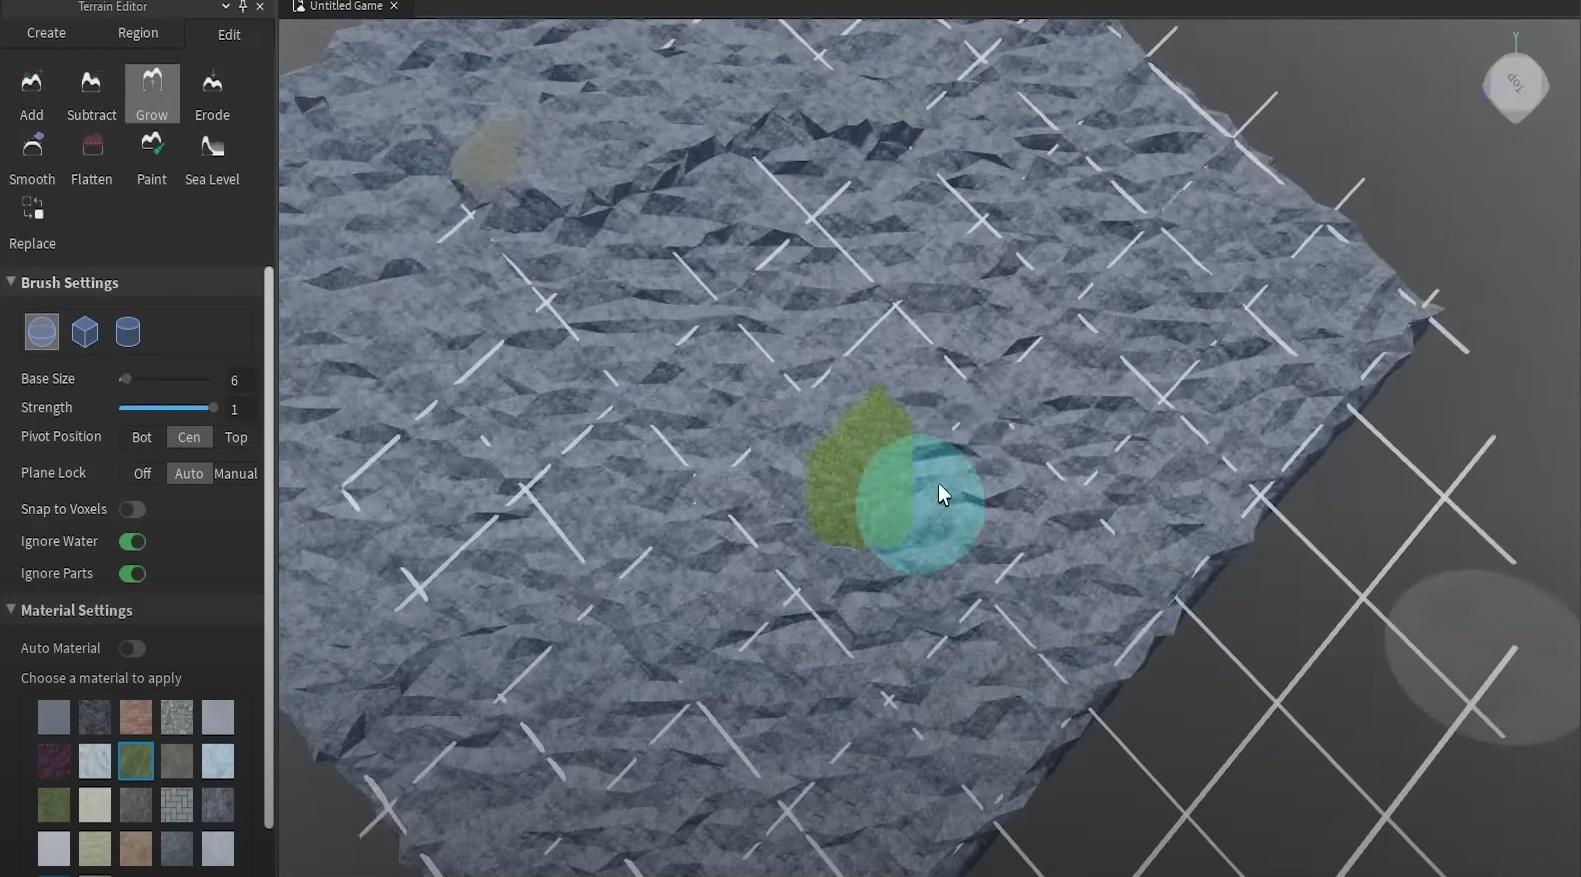
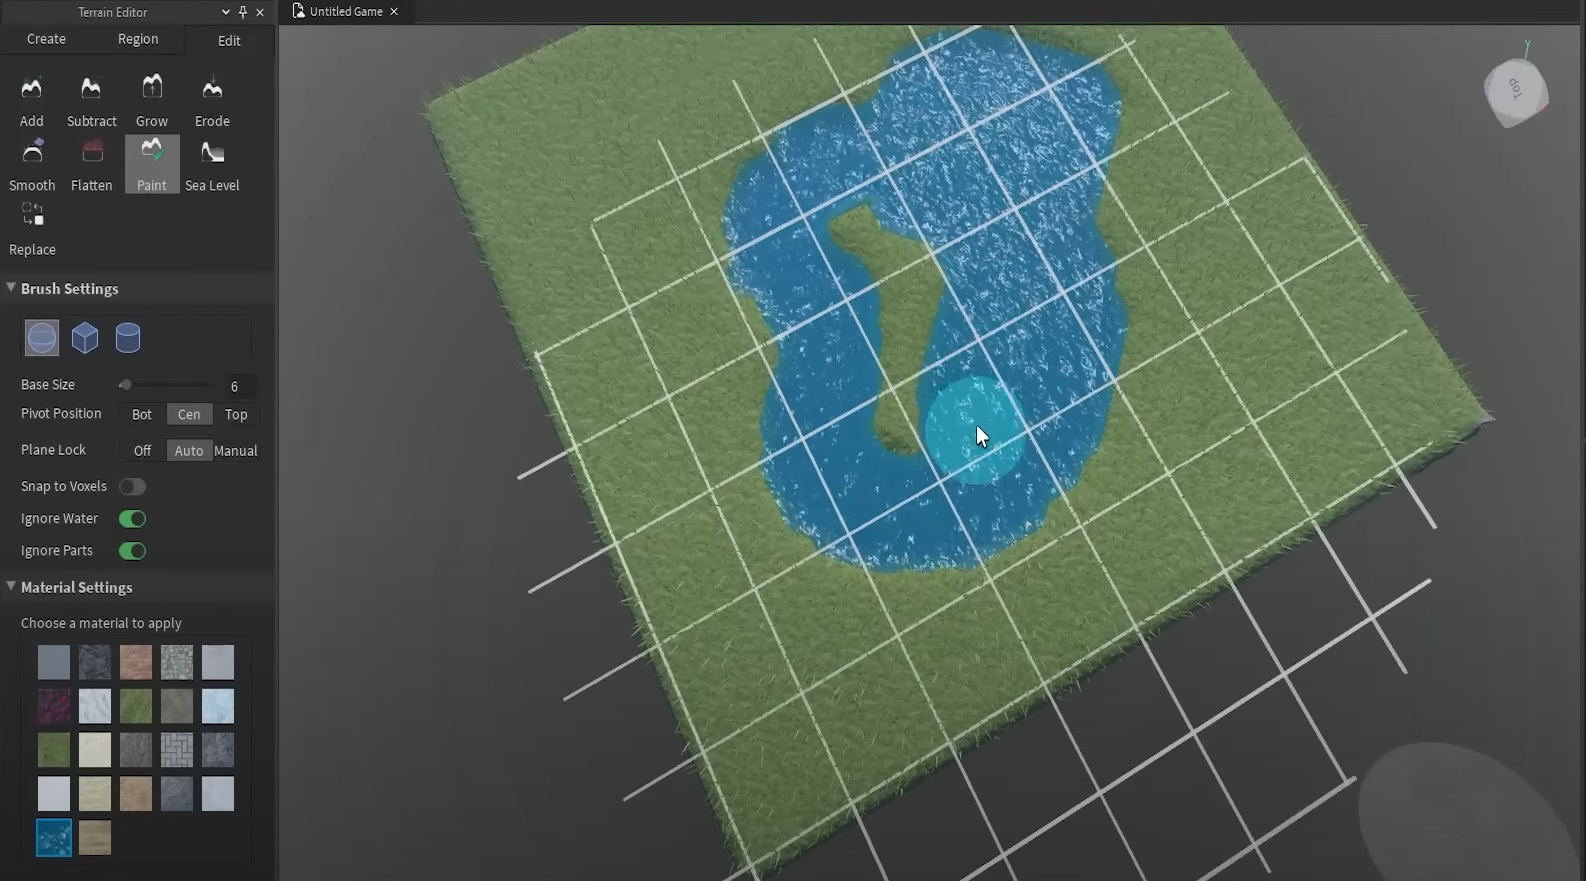
Heading back to your Terrain Editor under “Edit” you have more tools to mess around with. The tools here are pretty self-explanatory, but we’ll show you what the basic ones can do:
- Add and Subtract – Adds or removes bits of terrain to the area you’ve generated. You can paint on area long enough to make hills or craters.
- Grow and Erode – Does the same thing but at a slower pace. You use these two when making fine or smaller adjustments.
- Flatten – Removes any unevenness to the terrain you’ve generated. Useful if you plan on putting down buildings.
- Brush Settings – Make changes to the size of your paint brush that you use for terrain generation.
- Material Settings – Let’s you choose what material you want for the terrain you made. This can be grass, water, or any type of rock that’s available for selection.
Playing your Game
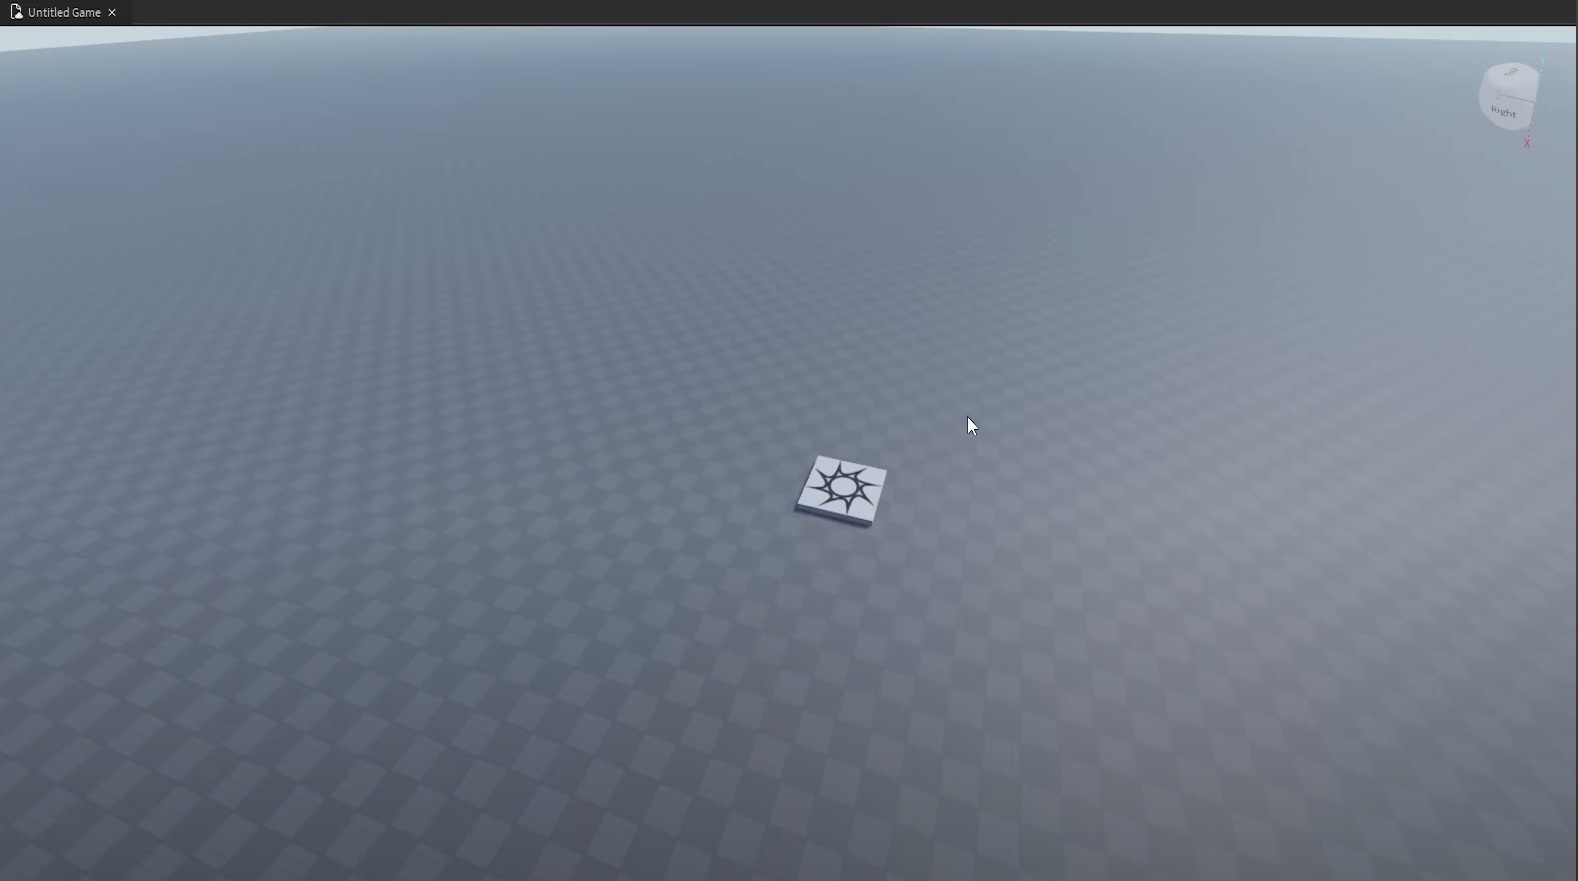
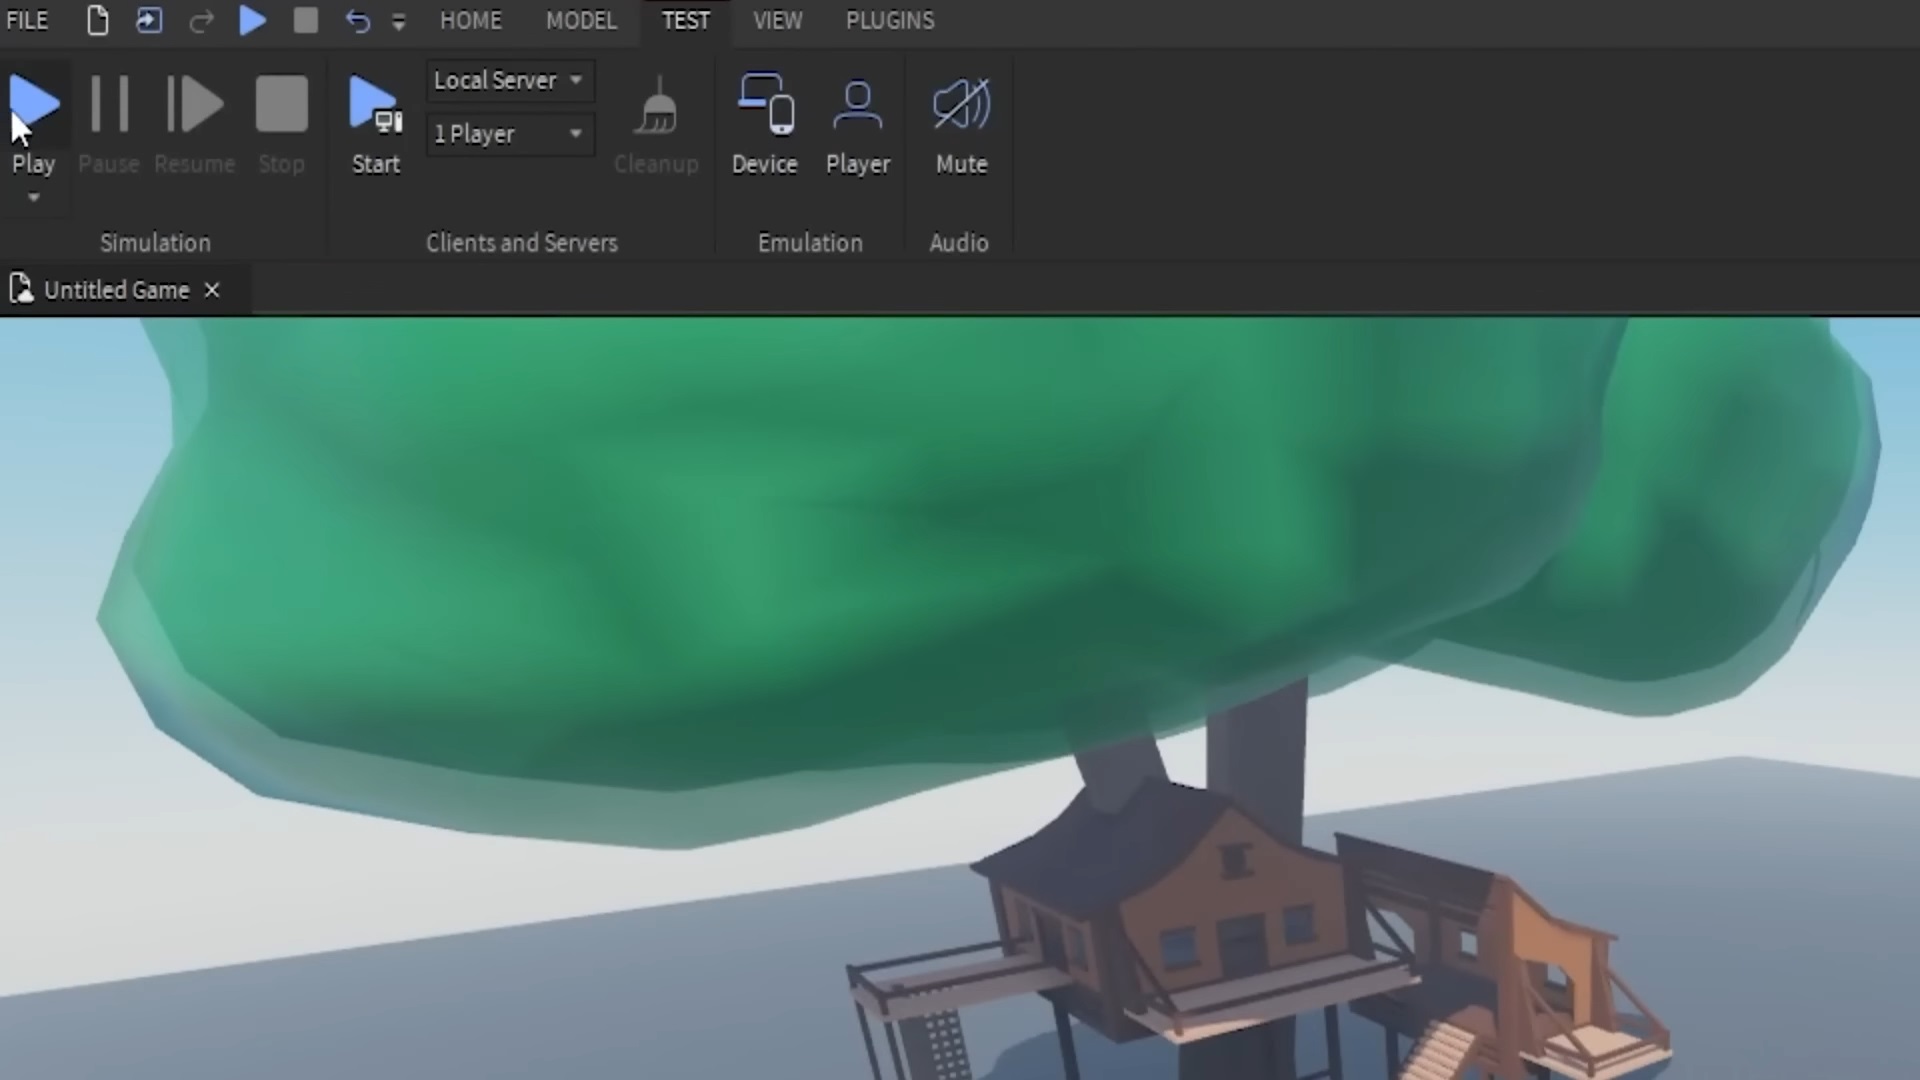
You’re not just plopping down shapes for your viewing pleasure, you can also go into the world you’re currently making anytime you want. To do that, head over to the “Test” tab. Under “Simulation” click on “Play” and that will give you three more options. Choose “Play” again for now and that will spawn you on the spawn pad you have at the very start of the session.
Remember, you can move that spawn pad around using your tools if you don’t want to walk long distances. You can also just choose “Play Here” to have the application spawn you directly on the location you want. To stop playing or testing, well, click on the “Stop” icon!
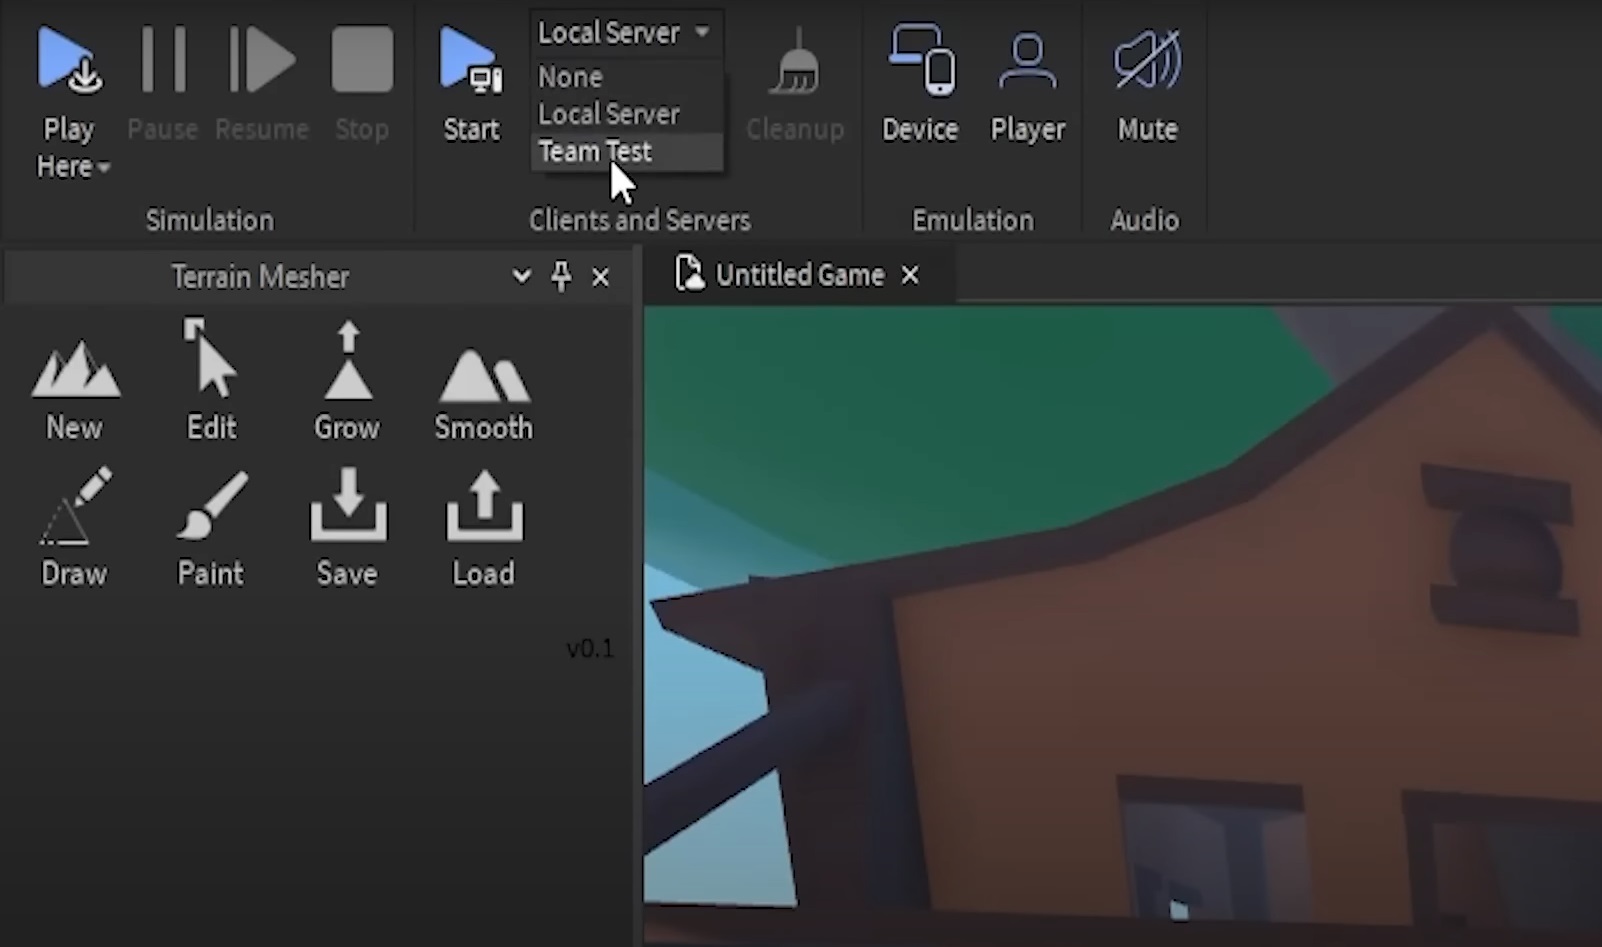
Next to Simulation is “Clients and Servers.” Here you can click on the drop-down that says “Local Server” and change it to Team Test. This lets you test the game you’ve made along with everyone else that’s currently a part of your Team Create. Local Server will open up more tabs of the same session on your computer and will be populated by test dummies.
That’s all you need to know for now as a beginner to Roblox Studio. If you’re ready to learn more advanced stuff, try messing with your Explorer and Properties window next! And if you’re unfortunate enough to have Windows 11 for your operating system, check out our guide on how to Fix No Sound & Audio Problems on Roblox, if you’re experiencing any audio issues!
ALSO READ: How To Fix “An Error Occurred While Starting Roblox Studio” | Windows 11


