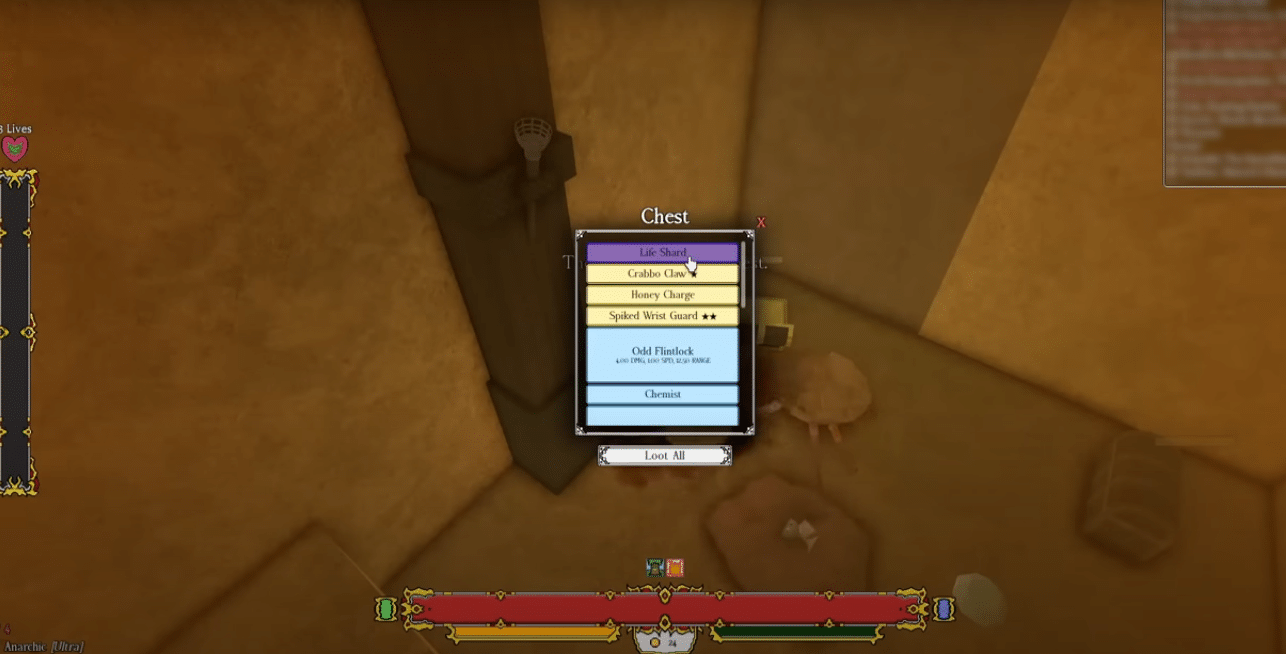
Loot in Rogueblox isn’t just about luck, it’s about knowing where to go and when to move. The difference between a broke adventurer and someone walking around with stacked relics and upgrade mats often comes down to a few smart farming paths. In this guide, I’ll walk you through reliable, repeatable routes that I’ve run myself, so you know they work. Whether you’re farming shards to stay alive longer, collecting materials for upgrades, or just want a route that doesn’t feel like a waste of time, these methods will get you there fast.
How To Get Moonshine Relic, Blocks, Life Shards & More
So here’s what’s actually going on: the people running around with full inventories didn’t find some secret glitch or pay-to-win exploit, they just know the best farming loops. This guide covers two of the most efficient ones I’ve personally tested.
- First, we’ve got the Storm Cutter Major route, perfect for farming Life Shards, Gold Blood, and relics if you’re still building up your strength.
- Then there’s the Desert Boss and Mission loop, where you can rake in Moonshine Relics, Desert Blocks, and open up tons of Desert Chests.
- Oh, and I’ll throw in a bonus route at the end that most players totally miss (hint: it’s full of forgotten chests).

Storm Cutter Major Route (Life Shards, Relics, Gold Blood)
If you need Life Shards or are chasing rare relics and bonus loot, this is the route to farm.
Start at the Jungle Pylon
Teleport to the Jungle Pylon, take a hard left, and begin climbing. You’ll follow a winding cliff path (watch your step), eventually reaching the ant cave. Yeah, Storm Cutter Major lives rent-free in this creepy bug hole.
How To Spawn The Boss
There are two options:
- Kill 4 ant mobs in the cave (fast and easy)
- Or activate the Swarm Quest (optional, slightly longer)
Once you take down the fourth ant, Storm Cutter Major will spawn in a nearby open area at the top of the slope.
How To Beat Him
The fight is straightforward with some timing:
- Blue bubble attack – dodge it immediately
- Double swipe – parry both hits and counter
- Miss a parry? – He speeds up and can overwhelm you
If you’re comfortable with parrying, the fight becomes routine. Fallen Knight builds can tank and burst him down easily.
Tip: If another enemy interrupts mid-fight, just reset and try again. No shame in restarting the beatdown.
Loot You’ll Get
Storm Cutter Major drops the following:
- 1–2 Ultra Tripodixes
- At least 1 Life Shard per kill
- Chance for Gold Blood, relics, or rare crafting materials
You’ll also find a few extra chests in the cave itself. Make sure to check the corners before leaving.
Desert Chest Farming Loop (Moonshine Relic, Blocks & Life Shards)
If you’re specifically looking for Moonshine Relics, Blocks, or just want to farm Desert Chests efficiently, this is the loop to run.
Option 1: Boss Method for Desert Keys
Start by teleporting to the Desert Pylon and follow this route:
- Teleport to the Desert Pylon
- Head out the main gate
- Climb up the tower
- Glide across at the top
- Land, jump up, and go left — the Demon boss spawns here
Tip: If you have gate, just teleport to Desert 4 and it will bring you right in the entrance.
Why This Boss Is Worth It
- Drops 3 Desert Keys per kill
- Also gives 2–3 Ultra Codexes
- Fight time is under 2 minutes
- Simple attack patterns — mostly parries and one dodge roll
The downside? The spawn cooldown is long, and with many players farming it, he might be missing from your server. If that’s the case, move on to the next method.
Option 2: Scorpion Mission Spam
This is theIf the desert boss is camped, the Scorpion Mission is your best bet:
- Found in the desert mission board
- Takes around 2 minutes per run
- Yields 1–2 Desert Keys per mission
It’s far more consistent than waiting on the boss spawn and works great if you’re farming solo.
Where to Use Desert Keys (Chest Locations)
Once you have keys, here’s where to spend them:
- First chest: Spawns right next to the Demon boss area
- Second chest: A few steps away
- Third chest: Nearby, within walking distance
You can open all three in one run, then server hop to repeat.
Important: Server hopping works best if you do it away from the chests. If you’re too close, they may not respawn due to farming lockouts.
Bonus Route – Abandoned Mineshaft (Extra Chests)
Got extra keys? Don’t let them rot in your inventory, head to the abandoned mineshaft for extra loot.
How to Find It:
- From the desert town, cross the bridge on the right
- Look for the entrance to a mine tunnel
- Inside, you’ll find 5–8 chest spawns in total
Some chests are silver (no key required), but many are Desert Chests. You can ignore the mobs and just run through, looting everything.
Many players don’t even realize this zone exists, so it’s often untouched even when the main chest areas are overfarmed.
Summary: Best Loot Farming Loops
| Goal | Method | Details |
|---|---|---|
| Life Shards | Storm Cutter Major | Fast boss kill, 1+ shard per run |
| Desert Keys | Boss or Scorpion Mission | Boss = 3 keys, Mission = 1–2 per 2 mins |
| Moonshine Relics/Blocks | Desert Chest Loop | Open 3 chests → Server hop |
| Overflow Farming | Abandoned Mineshaft | 5–8 chests per full run |
Wrap-Up
Whether you’re low on health, farming Moonshine relics, or just love seeing a loot chest glow, these routes cover everything you need. The best part? They’re repeatable, low effort, and insanely efficient once you get the rhythm down.
If the RNG gods are being rude, don’t give up, life shards, relics, and rare blocks will start stacking up after just a few rotations. Up next:, if you’re trying to max out your Ultra, level up fast, and stack more alignments, don’t miss our full guide, it’s got everything you need to speed up your progress.


