
With the re-release of TYPE://SOUL on Roblox, much of the content that you know of has been reworked or changed. This includes the Hellverse itself which represents the PvE content of the game. Hell in Type Soul can be quite overwhelming at the start, especially since it represents the late to end game content of the game. If you’re just starting out, we’ve got you covered. In this guide, we’ll give you a complete breakdown of how you can progress through the Hellverse and complete all the content. Without further delay, let’s get into it!
Best Hellverse Complete Beginners Guide
Hell in Type Soul of 7 levels that you gradually progress and unlock, via quests and certain requirements. Here are the 7 levels:
- The Highway
- Ring 1
- Ring 2
- Ring 3
- The Maze
- The Library
- Purgatory (coming soon).
You start off from Karakura Town and from there progress through the 7 levels. Keep in mind that the difficulty will also start to get progressively tougher.
Layer 1 – The Highway (Hell Quest Start)
Starting off, you’ll need to begin the Hell quest line. To do this, you will need to first fulfill some requirements that ensure you are ready for the challenges ahead. Doing so will give you access to the highway.
If you’d like to read about the Highway specifically, check out our highway quest guide!
Requirements
To access the highway and hell, you’ll need to fulfill one the following requirements depending on your race:
- Unlock Bankai (for Soul Reapers)
- Full Resurrección (for Arrancar)
- Volt (for Quincy).
Besides that, you also need to be Elite Grade.
Hellverse Quest Start Location
Once you have the requirements sorted, you need to go to NPC that gives you access to Hell. This is Qas J. Ward and he can be found in Karakura Town near the basketball court in front of a large stone skeletal gate.
If you’re having trouble finding him, simply use the (,) comma key to activate the map markers. Here, you should be able to find Qas J. Ward.
Talk to him and he will open the stone gate if you have all the requirements fulfilled. Otherwise, the gate won’t open and he won’t even acknowledge you.

Locate Highway Quest Giver
Once you have access to the Highway, it’s time to find the quest NPC. The Highway consists of a dark visuals and a pit of fire that can easily kill you at the start. If you do die, you’ll be transported back to Karakura Town.
There is also a Sweeper constantly patrolling the area. Do not touch him or you will die instantly and return to Karakura Town.
Follow the path shown below and you should be able to find the Highway Quest Giver NPC. You can also use the (,) comma button to find him as well.
Luckily, the Highway map is small and you should be able to find him easily. After a few rotations around the map, you’ll get familiar with it.

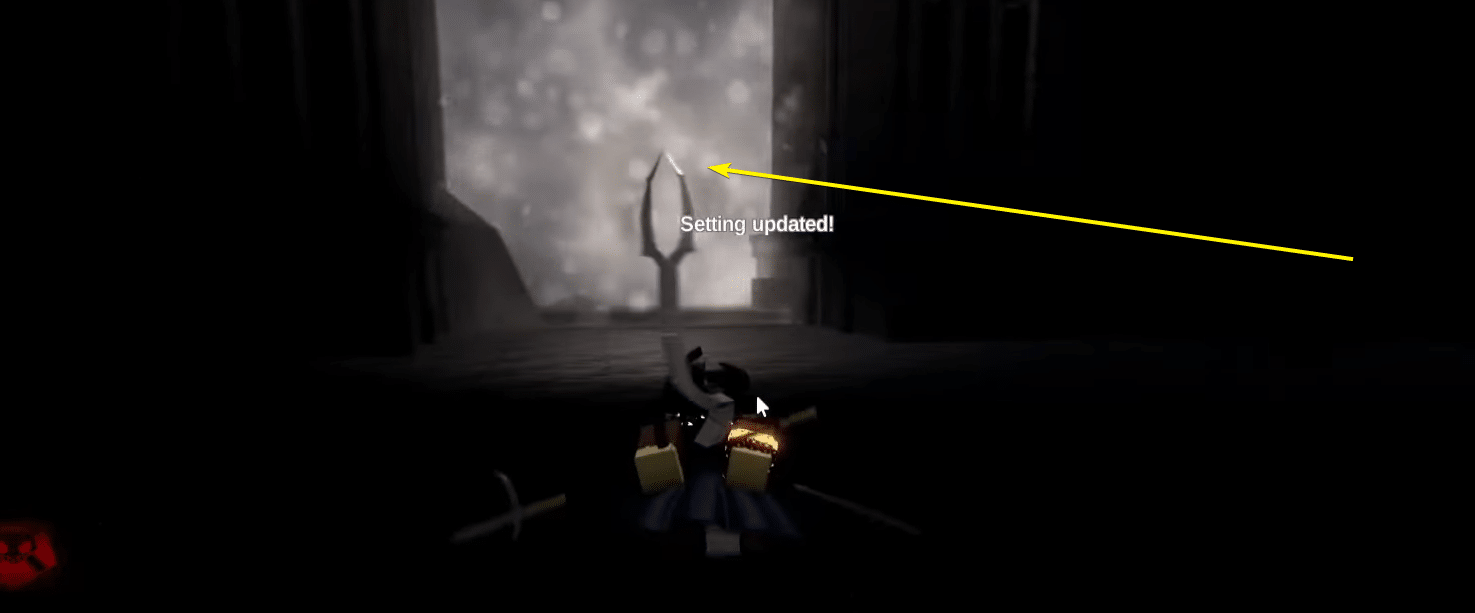
Bonus Tip: Lower Graphics Mode
The Highway can be very difficult to navigate because of the dark visuals. This is why we suggest using a trick to make it easier to see.
Go into your Settings and turn on Low Graphics Mode. This will allow you to see much clearly. You can turn this option off once you’re done with the Highway.

Minigame #1 – Find The Crystals
After you talk to the Highway Quest Giver, he will give you your first quest. You will need to find 3-5 Crystals all around the Highway map.
Luckily, these crystals aren’t hard to find because you can see indicators on your screen when you are near a crystal. Simply follow them when moving around and you should be able to find them in no time.
Just be careful not to die since the Sweeper is still roaming the area.
Return to the Highway Quest Giver once you’ve found all the crystals. Use the comma (,) button to locate him if you feel lost.

Minigame #2 – Hide & Seek
Next, the NPC will require you play Hide and Seek with him. You will need to find him in the Highway map at a random location within two minutes. Otherwise, you will be immediately killed.
This part isn’t too hard as all you really need to do is make a few laps around the map. Eventually, you will be able to find him well within the time limit.
When you do find him, interact with him. After your screen turns purple, you are done with the mini games in this area.
Beat The Weakened Gate Guardian Boss
Once you’re done with the mini games, you can now turn off Low Graphics Mode. Next, make your way to the fog gate that will allow you to cross the Highway.
However, at the end, there will be a boss fight that you need to win.
You’ll face off against the Weakened Gate Guardian who is the Highway Boss. Here are some tips to defeat him:
- If you’re good at parrying, you can take him on with your melee attacks
- Otherwise, you should try to use long range attacks, where you can use a Kido.
Defeating the boss will give you Book 1 Fragment. You’ll need 5 books to access the library, but we’ll go over that later in the guide. After the boss dies, you’ll be able to access Ring 1 of Hell.
From this point onwards, do not reroll your Element during the Hell progression. Otherwise, you will lose the Book Fragment and will need to redo everything.

Layer 2 – Ring 1
Ring 1 represents the true start of the Hellverse and things will be much more difficult and complex than the previous location.
If you’d like a specific guide on completing Ring 1, check out our ring 1 hell guide!
Talk To Tiger Sozosei (Requirements)
After you spawn in Ring 1, simply follow the path ahead and you should find the Tiger Sozosei NPC. You can find other players near him and this should allow you to find him as well.
As before, you can use the comma (,) button to find him.

Complete Requirements
Exhaust his dialogue and you’ll need to complete one of the following requirements:
- Kill 120 Hell NPCS
- Complete 40 Ring 1 raids.
We strongly suggest you kill the NPCs as this is the faster of the two requirements to complete, especially for solo players.
Here is a breakdown of the kill counts you get for killing certain enemies:
- Blue Bird
- Gives 2-3 Kill Count
- Bankai NPC
- Gives 1 Kill Count
- Lava Enemy
- Gives 1 Kill Count.
Once you’ve gotten the required kills, return to Tiger Sozosei. Select the ‘Your wish is my command’ dialogue option.

Talk to ‘1’ NPC – Hiragana Of The 1st Ring Boss Fight
After you’ve talked to Tiger again, it’s time to locate the ‘1’ NPC. You can find this NPC by going to the lower spawn area of Hell Ring 1 and climbing up the rocky route all the way to the top.
Talk to him and doing so will trigger the boss fight against him.

During this boss fight, there is a special mechanic you need to be aware of. Your Bankai/Res/Volt will be forcibly removed mid-fight via a medallion. You won’t be able to use it until the end of the quest.
Defeating the boss will not be easy, especially without your strongest abilities. However, you can manage if you focus on dodging and baiting his attacks. Be wary of his second phase, where he’ll pop he’ll pop Butterfly Vollständig.
After you defeat him, you will get the Book Fragment 2. Additionally, you will also be teleported to Ring 2, effectively ending the Ring 1 quest. Keep in mind that you won’t get back Bankai/Res/Volt yet.

Layer 3 – Ring 2
Ring 2 is the next layer of Hell in Type Soul, and brings even harder challenges to the table. Cross the long bridge and you’ll come across the first boss to kick start the quest line in Ring 2.
If you’d like a specific guide on this area, check out our ring 2 quest guide!
Beat Owl Boss
After you cross the bridge, you will need to face the “All Knowing Owl”. This boss deals massive damage so you want to ensure that you do not tank any hits. If you’re confident with your parry, you can easily block and dodge his attacks.
Additionally, the Owl boss also moves quite slowly. So, you can also keep your distance and simply deal long range attacks using Kido.
Bringing along a friend also helps since it is much difficult to beat the boss solo.

Talk to ‘2’ NPC – Hiragana of the 2nd Ring Boss Fight
After you defeat the Owl boss, you need to find the ‘2’ NPC. To do this, you will need to parkour through an obby to get to him. If you’re having trouble navigating it, use the comma (,) button to find the NPC and use that as directions.
Take your time as the obby is quite long. If you do fall, you simply need to retry it again so it’s no big deal.
After you find the NPC, interact with him and you’ll be taken to the boss fight with him.
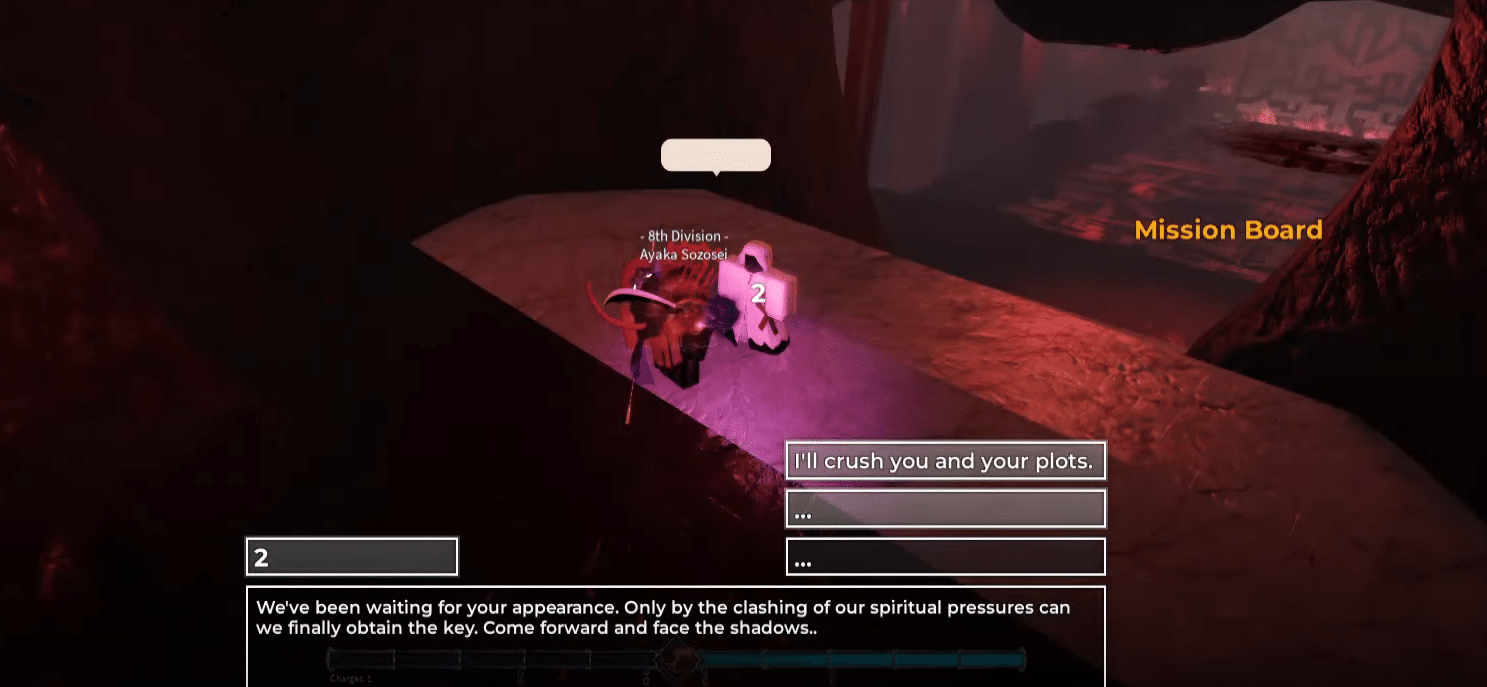
The Hiragana of the 2nd Ring boss fight is identical to the first one. This time, “Hiragana 2” also has Miracle Schrift/Vollstandig, with two phases.
He is tougher than the Owl Boss so we strongly suggest you do the fight with other players. On top of that, be wary of his damage in the second phase as it is a serious issue.
After you manage to defeat him, a cutscene will play where you take back the Cracked Medallion. This will result in you regaining Bankai/Res/Volt. On top of that, you will also obtain Book Fragment 4.

Talk To Blair
After the boss fight, you’ll be teleported to another area. From here, you simply need to navigate through another obby. Be careful during this part, and mind the gaps. If you fall, you will die and will need to fight the boss all over again.
At the end, you will find Blair. Talk to the NPC and you will be unlock True Bankai / Segunda / Vollständig.
Once the cutscene animation ends, talk to Blair a second time and enter the Senkaimon portal that opens up. Doing so will teleport you to Ring 3 of Hell.

Layer 4 – Ring 3
When you enter Ring 3, you’ll find a bunch of All Knowing Owl enemies. We recommend that you do not fight them and simply go past them. This is because they will destroy if they attack you at the same time.
Instead, your goal is to defeat a particular boss.
Locate ‘3’ NPC
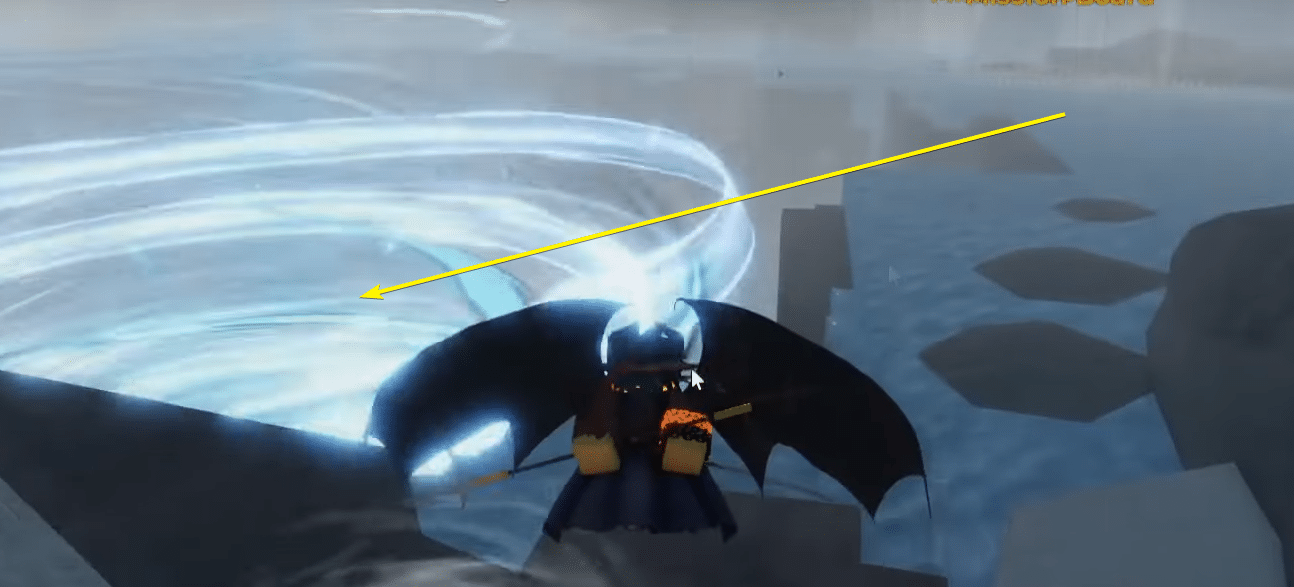
In Ring 3, your goal is to go to the ‘3’ NPC. To get to him, you will need to use the teleporter hole that can be found at the bottom of a blue whirlpool.
Just enter the hole and you’ll be directly teleported to the area.
Once you’re here, speak to the ‘3’ NPC and this will start the final boss fight against Hiragana.

Defeat Hiragana Of The Final Ring
When you start the fight, you’ll be teleported to a boss arena. Hiragana of the Final Ring has possession of Royal Schrift/Vollstandig. Upon reaching half HP, Hiragana will release his Vollstandig as part of his second phase.
For this fight, you will have access to your Bankai/Res/Volt. So, we recommend that you enter the fight with a full mode bar, so you can utilize your powerful moves in the boss fight.
After you defeat the boss, you will get Book Fragment 5. It will also open a portal that you can use to access the Maze.

Layer 5 – Maze (Solution)
In the maze, your goal is to locate the library portal. However, navigating the Maze is pretty difficult and you can get lost pretty easily. The best way to escape the maze is to simply hug the left wall of the maze.
In our case, it took us around 20-30 minutes, but this tip should hopefully make it faster. Doing so will allow you to reach the library portal really easily.
However, when moving through the maze, you need to pay special attention to the lady at the bottom of the screen. When she opens her eyes, you need to stop moving. Otherwise, you will start to take damage.
After she starts shaking with her eyes closed, you can start moving again. If you end up ignoring her, you can easily take damage that will end up killing you.


Layer 6 – Library (Puzzle Solution)
After you reach the Library, the final step in the Hellverse currently is to solve the library puzzle. Since you have all five Book Fragments, you will be able to do this. Make sure to double check in your Items.
To solve the puzzle, you need to place the Book Fragments in the correct location and select the correct phrase. Each location will have a title and you need to put the correct book. Make sure to place them in order as well.
The book you want to select will match the title of the location.
Here is a breakdown of the order you need to follow to solve the library puzzle in Type Soul:
- Faith In Self
- Solution: I Believe In My Fist
- Power Unmatched
- Solution: My Power Is Absolute
- Story Of The King
- Solution: I Worship The King
- One With The Blade
- Solution: The Blade Is Me
- Strength Of The Soul
- Solution: My Soul Never Wavers
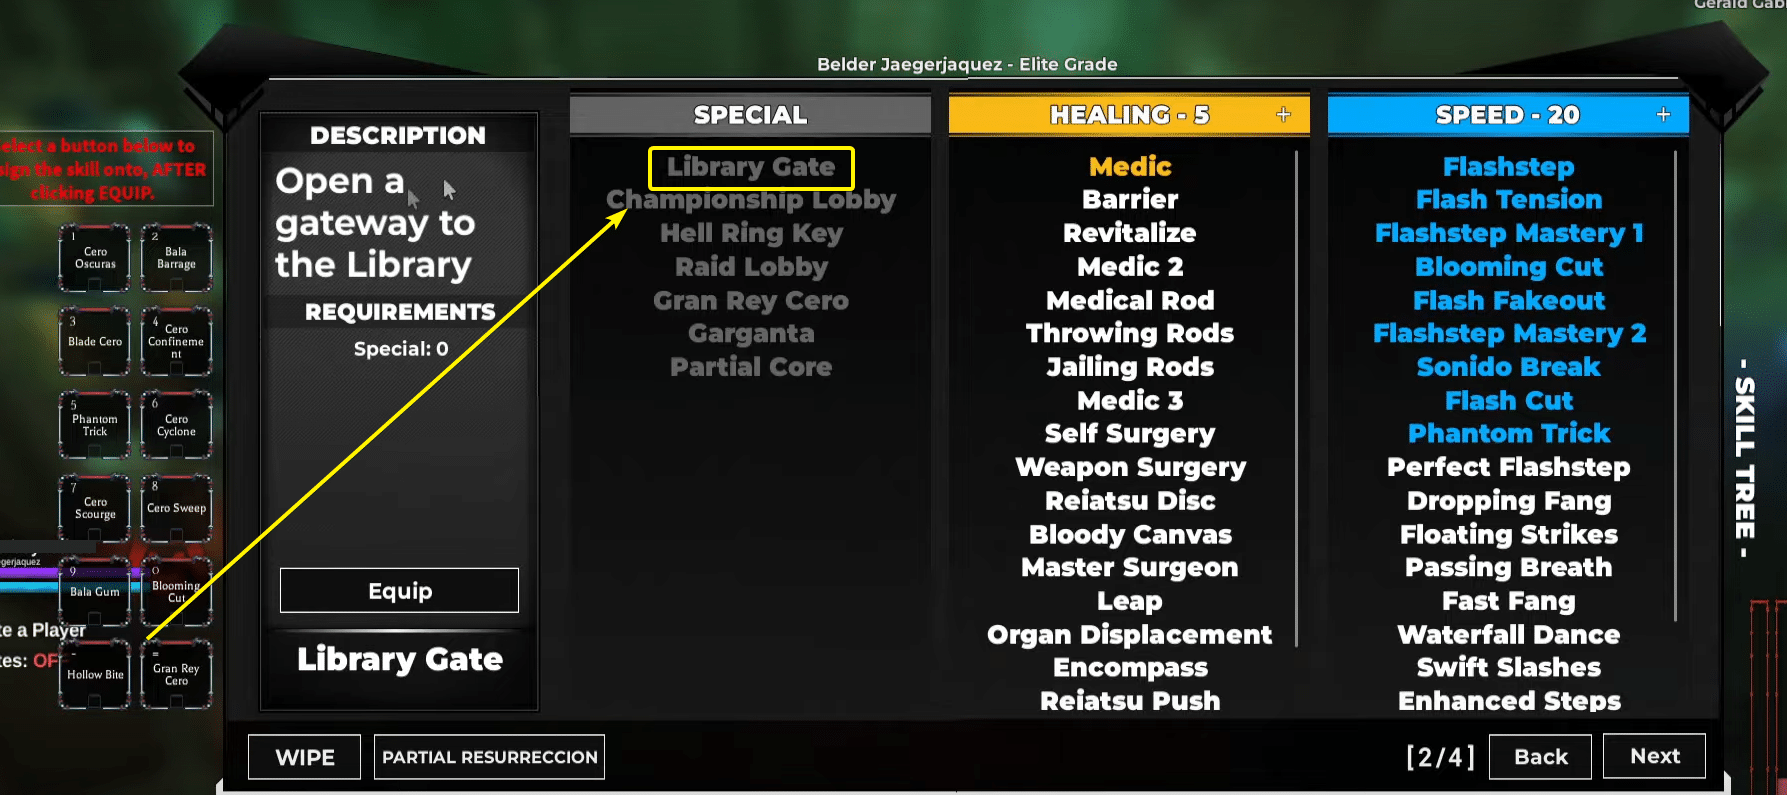
Once you solve the puzzle, you will unlock the ability to teleport directly to the Library. Go into your Special skills tab and you’ll find the Library Gate option there.
Currently, the last layer of Hell, Purgatory, is not available for players. Players have not yet figured out how to get there yet – and it is also possible that Purgatory might be available in a future update. Luckily, you will be able to start from here directly.
Final Steps
That’s everything you need to know about completing Hell in Type Soul. While this is not the entirety of Hell, it covers most of it. Hopefully, we will be getting news about Purgatory in the game so that we can further progress through to Hell. Some players have suggested that you need to AFK for 12 hours in Ring 1 to unlock true. Additionally, if you leave during the AFK, it won’t reset the timer – so you can do it whenever convenient. We’ll have more guides for you soon once we do figure out the exact method!


