In the newest Pilgrammed update, the Sweetberry Catacombs was introduced. This update features a mazey dungeon with lots of strong enemies and quite a journey to experience. You will need to run around the area and open up three levers to ultimately fight the boss of the dungeon, Cata. If you’re having a hard time finding and activating the levers, read further into the guide.
How To Find All 3 Levers Guide | Roblox
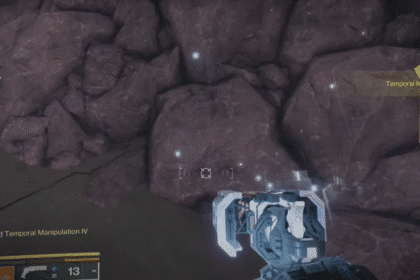
In the Sweetberry Catacombs, take a right turn and keep moving forward until you spot a small opening in the wall, as depicted in the image below. Proceed by passing through this opening.

Continue to walk straight ahead until you encounter a hole resembling the previous one. Afterward, search for another opening in the ground that provides access to a lower level. You will need to make a jump down into this opening.

Continue walking in a straight line until you reach a waterfall. Take a leap into it. Once inside, you’ll encounter a Glutto’s Nest, so make an effort to avoid them.


Upon your entrance, make a right turn and proceed a few steps. You will encounter a small opening that leads to a compact maze; go inside. Be aware that the passages inside are quite narrow.
I won’t provide a detailed guide through the maze, as it is brief enough for anyone to find the exit within one or two minutes at most.

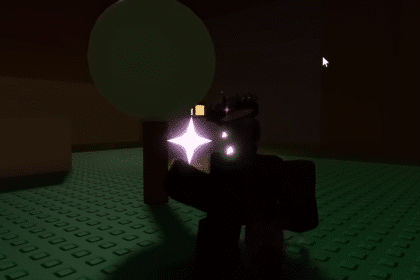
You will encounter a white rock, as depicted in the photo below. Climb to its summit, leap onto the left side, and access it from there. Once you’re through, continue moving straight ahead from that point.

When you spot this cage, simply take a few steps backward and make a left turn.

You will come across a Clerick; continue moving forward and avoid it, as it can induce sleep or be fatal. Afterward, take a few steps forward until you spot a small hole, then enter it.


You’ll observe a rope hanging down from above. Utilize it to ascend upward.

If you encounter another Clerick and a couple more Gluttos, consider it a sign that you are nearing the lever.

Enter and continue by walking straight around it, where you will discover the first lever.

To finish the Sweetberry Catacombs, you must enter this area beside the small hole where you started to find the first lever, because the first step in completing the catacombs is to activate the lever inside.


The second lever location is here; to reach it, backtrack until the last T intersection and take the other path which will lead you to an Obby, and at the end of it, you’ll see the Grave Treelad boss.
Once you’re in the location, go to the right side and jump. Be careful and try not to die.

Then use a parachute to land safely. While on your way, you need to fight and defeat the boss called Grave Treelad. Then, the room will unlock next to it, and there’s the second lever.
Here, click the “Pocket Mirror”, and then the warp will show up, and then click the “Sweetberry Catacombs”, and it will bring you to a new place.

Click the “quest log” in the lower right, then the first one, then click the “bestiary” and search for Grave Treelad, and it will reveal the information about it.

Now, head to the prison; the cages should be unlocked if you activated the switch. Follow these steps:
From the mirror, go straight ahead until you reach an intersection and turn left.

From here, continue forward and then turn left on this corner.

After proceeding a short distance, you’ll come across the entrance to the Unlit Corridor. From there, turn right and follow the right wall until you reach its initial corner. At this point, you’ll notice a gap; pass through it to discover the passage leading to the Jailor’s Hallways.


You’ll arrive at another wine pit with a Clerick. Ignore him and exit the passage. You will then arrive at the Jailor’s Hallways.
To locate the Jailor’s Headquarters, make a right turn, followed by a left turn. Be cautious of the Jailor, an enormous Glutto who is invulnerable and can eliminate you with a single hit.
If you happen to spot it, quickly hide inside one of the nearby cells. However, exercise caution not to approach any of the tombs within the cells, as many of them are, in fact, Mecreeps!

To proceed, take a right turn here, it’s a shortcut to the Jailor’s Headquarters.

Next, make a right turn once more and continue straight ahead. (In case you haven’t already observed, the Jailor’s Hallways are designed in the form of the letter A.)

You’re now in the Jailor’s Headquarters. However, the third lever here is damaged, so you should look for a piece within one of the tombs to fix it.
The Broken Lever Part is specific to 1 of the Tombs. It changes every 5 minutes (or when someone else finds it).

After you’ve successfully repaired it, pulling the lever will ultimately unlock the last gate, granting you direct access to Cata, the final boss of the Sweetberry Catacombs. (You can locate the newly opened gate within the Unlit Corridor we explored earlier in this section.)

We hope this guide has helped you find, activate and repair all 3 levers in Pilgrammed. If you have any questions or concerns, feel free to leave them in the comment section below.
ALSO READ: Pilgrammed: How To Find First Lever Guide | Roblox