There are so many modifiers and so many ways to get them in the latest version of the hit horror game Isle 9 on Roblox. One of the most wanted modifiers is the Debug Mode, which gives the player unique and otherwise unobtainable items that will be very useful to start the game with. In this guide, we will show you how to get the Debug Mode modifier.
How to Get the DEBUG MODE Modifier
The only way to get the debug mode modifier is to obtain “The Truth” badge. It is the final objective you must complete on storyline. You will learn the truth behind the Isle, but not all questions are answered.

Getting The Truth Badge
In order to complete this badge, you must gather all 4 Artifacts from around the map and activate them at the altar, which you later discover is Agent F.
After some cutscenes and a boss battle, eventually you will see the final cutscene and completion of the badge, which will give you access to the Debug Mode modifier.
Note: If you use an Assistant Drone, you will have extra space in your inventory and will be able to carry the artifacts without having to activate them until the altar.
This prevents Agent B6 from hunting you. If you choose to activate the Artifacts for their advantages, be sure to look out for Agent B6.

Powering the Docks
Head from the Impact Zone to the Generators. Take the Fuse from the Guard House, place it in the generator and send power to the docks.

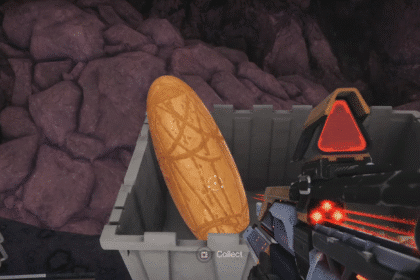
Artifact D
Get to the Facility, then proceed downwards. Pick up the Master Bypass Console and any weapon you can find. Pass the laser trap by hiding in the vent, then take the left hallway to the locked door.
Use the Master Bypass Console to open the door, and shoot the glass protecting the Artifact D. You can pick up the Artifact and go back now.

Diving Gear
After getting Artifact D, exit via the door and climb up the ladder to reach the Docks. You will find some diving gears.
Pick one up and place it on the air pump. Fill it with oxygen and climb up the mountain to reach the Military Camp.

Artifact C
From the Military Camp, go to the Stone Ruins and all the way to the area near Rock A and Rock B.
Jump off the right side of the peninsula and you will see some wooden planks. Use the terrain to jump on the platforms to find a cavern. You will find the Artifact C inside.

Artifact B
Make your way to the Volcano. It is offshore from Rock A and can be located by the periodic steam particles in the water.
Use the diving gear to swim down the volcano until you see a separate path that leads off to the side. Go down that path until you find the small cave that contains the Artifact B.

Get To The Monkeyland
Swim back up to the surface and get back to the cave entrance. Enter the caves, turn right, and follow the left wall until you see a ladder. Take the path on the right side of the ladder and turn left.
You will now reach to a lit area in the caves. Continue until you reach a pink area. There will be multiple paths here. Take the right-most one that leads upwards. You will arrive in a green area.

Walk along the plank and continue to your right, then take the path to left. Go down the path until you reach to a golden colored area. Jump the gap in the middle to the other side.
You will see a pool of water. Jump down and swim through the underwater tunnels until you see another drop to another pool. Take the drop to reach the Monkeyland.
Note: If you fall, go back, and take the path to the end of the area. When you spot a big tree, take the path to the right to get back to the pink area.

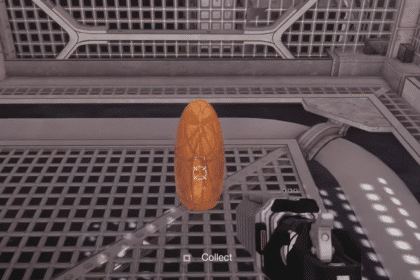
Artifact A
Continue forward towards the large opening until you see the cavern with Artifact A inside. It is guarded by a large snake, aka Agent S, who is a significant threat.
You can choose to activate Artifact C to track its location to avoid it, or you can wear googles to avoid its hypnotizing gaze. After you get past the Agent, simply pick up Artifact A and get to the Altar.

Boss Fight
When you reach the Altar, activate all Artifacts to teleport to a new area. Here, you will see a cutscene where Agent F and Agent H talk about “The Truth” of the island and then begin fighting.
This will initiate the Exit Protocol, which you will need to survive until it reaches 100%. Once it does, you will complete the quest and earn “The Truth” badge, and the Debug Mode Modifier comes with it.

That sums it up for this guide on how to get the Debug Mode Modifier in Roblox game Isle 9. If you have questions or concerns, please do leave them in the comments section below.
ALSO READ: Peroxide: How To Get ALL Bonus Achievements Guide