
Whether you’re fresh out of the Hagga Basin and ready to level up your crafting game in Dune: Awakening, or you’re looking to stockpile Iron for that sweet Steel-tier progression, myguide has you covered. I’ve spent a lot of hours wandering the dunes, hitting rocks, dodging storms, and optimizing my farming routes, so you don’t have to. In this guide, I’m going to walk you through everything you need to know about farming Iron Ore in the game, from where to find it, to what gear you’ll need, to how you can make your mining runs faster, cleaner, and way more efficient. Let’s dig in (pun absolutely intended).
How to Farm Iron Guide
Mining is a core gameplay mechanic in Dune Awakening. Using a Cutteray, you’ll be smashing rocks and salvaging ruins for the raw materials needed to build, upgrade, and survive on Arrakis. Iron Ore is the first major upgrade after your early game in Hagga Basin and is required for crafting Iron Ingots, a key component for better gear and vehicles.

Where to Find Iron Ore (Vermillius Gap)
After you leave the Hagga Basin starter zone, the only place you’ll find Iron Ore is in Vermillius Gap, divided into Western and Eastern areas.
Iron nodes can spawn:
- Around rocky terrain
- On mountaintops
- Occasionally inside caves
- And sometimes as loot in points of interest (POIs)
I’ve personally found factory-shaped POIs, like Ironworks, to be solid spots, not just for Ore, but occasionally pre-refined Iron Ingots too. It’s not super common, but if you’ve got the carry space, they’re worth grabbing.
IMPORTANT: Iron Ore spawn locations reset weekly due to the Coriolis Storm, which wipes and randomizes node spawns across the map. So don’t expect fixed farming routes!
That said, some areas in Vermillius Gap tend to be denser with Iron, keep an eye on elevated ridges and rocky plateaus.

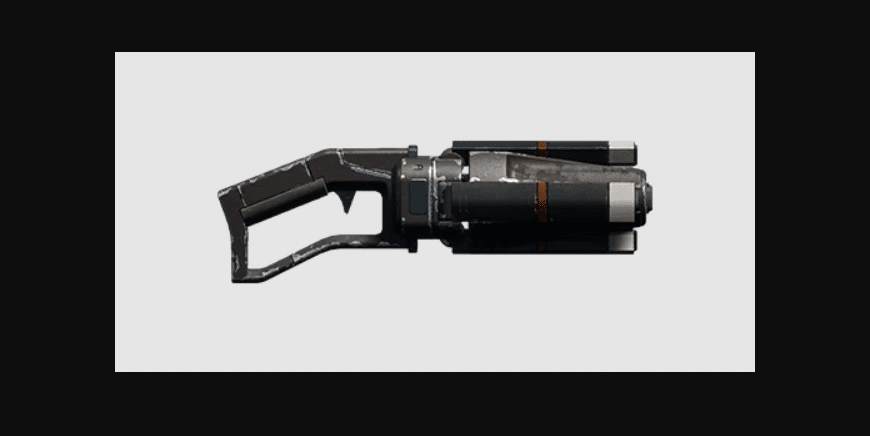
Tools You Need to Mine Iron
To harvest Iron Ore, you’ll need at least a Cutteray MK1. If you’re still using your starter cutter, upgrade ASAP.
Alternatively, if you completed the “Scrap Metal” contract at Griffin’s Reach Trade Post, you should’ve received the Sim’s Cutter, which is also capable of mining Iron.
Better cutters don’t just unlock higher-tier resources, they also mine faster and more efficiently. So always try to upgrade your gear if you can. Every second saved adds up.
Boosting Mining Efficiency (Planetologist Tips)
If you’ve unlocked the Planetologist profession, dump some early points into:
- Cuttery Mining – Speeds up your mining
- Deep Analyzer – Increases yield per node
These skills can really make a difference in output over time. Need help unlocking Planetologist? Check our step-by-step guide.
Inventory, Vehicles & Loadouts
Mining is great, until you can’t carry any more. Here’s how to fix that:
- Add an Inventory Module to your Sandbike to increase your carrying capacity
- But be aware: once your bike is carrying something, you can’t pack it up using your vehicle tool
When you hit Steel tier, you’ll unlock the Buggy, this is where things get juicy.
- Equip it with a Mining Laser
- Stack even more Ore with increased capacity
- Combine with the Vehicle Mining skill for even more yield
Hands down, this is the best way to mine anything long-term.

Respawn Timer & Route Planning
Iron Ore respawns in 7–8 minutes, so here’s the trick:
- Plot a short route near your base or outpost
- Mine a few clusters
- Return, unload
- Repeat
Keep your loop tight and efficient. I like to route around elevated ridges or POIs, then swing back just as nodes begin to reappear. It’s simple, and it works.
Refining Iron into Ingots
Once you’ve got a decent Iron haul, you’ll need to refine it into Ingots using a Refinery Station (x90 Salvaged Metal).

Crafting Requirements & Output (varies slightly on the Station):
| Output | Water | Time | Iron Ore Needed |
|---|---|---|---|
| Iron Ingot | 25 | 10s | 5 Ore |
| Iron Ingot | 25 | 7s | 4 Ore |
| Iron Ingot | 25 | 5s | 3 Ore |
You’ll need water to refine, so start boosting your water generation early. Once you reach Steel tier, you can build Wind Traps alongside Blood Purifiers for passive water production. And to progress to Steel Ingots, you’ll eventually need Carbon, which is found in the next region: Hagga Rift.
Should You Use Binoculars?
Technically, yes, you can use binoculars to scout and reveal landmarks. But to be honest? We’re not huge fans. They’re clunky, take up space, and don’t always work well.
You’re often better off just exploring by bike and discovering points naturally. You’ll learn the terrain quicker, and it’s just more fun.
Wrap-Up
And there you have it, everything you need to know to farm Iron like a pro in Dune: Awakening. From pinpointing node spawns in Vermillius Gap, to fine-tuning your inventory and vehicles, and even knowing when to skip the binoculars, you’re now set up for a much smoother grind on Arrakis.
I hope this guide helped shave off some of the guesswork (and travel time) so you can focus more on progression and less on wandering the desert empty-handed. If it did help, feel free to share it with a fellow Fremen, or drop a comment with your own tips. I’m always down to learn a better route. Good luck out there, and remember: the spice must flow, but so must the Iron.


