Call of the Wild’s The Angler has fishing challenges that you can complete to earn rewards. In this guide, we will be focusing on the Diamond’s Peak Outpost. Here, we will be going around the area to search for fish to catch in order to complete the challenges they have. But what do you need to do in order to complete the challenges? What equipment is best suited for this? Well, you’re in luck, because this guide will inform you of everything you need and what to do.
Diamond’s Peak Outpost Mission Guide – Call of the Wild: The Angler

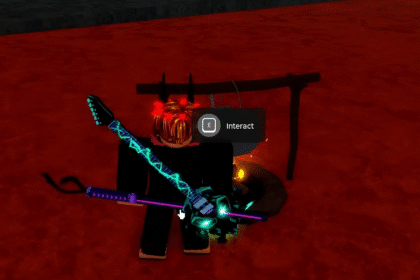
Before we go to the locations to fish, we need to equip the recommended equipment in order to get the best chances of completing the challenges. Here are the following you need:
- Jafar Rod
- Brugden Reel
- Fluorocarbon Reel
- Spinnerbait Lure: Size 8
The Size 8 Spinnerbait is the star of the show here, as it will carry the rest of your equipment. While your rods and reels are great, the Spinnerbait will attract the needed fish in order to complete each and every challenge that the Diamond’s Peak Outpost offers.

Diamond’s Peak has three challenge categories: Fishing Challenge, Map Challenge, and Photo Challenge. We’ll start with fishing first. For the first challenge, you’ll need to catch a Silver Rank Yellow Perch. You can refer to the picture above for the ideal fishing spot.

Next is a Gold Rank Smallmouth Bass, which you can fish at the location marked in the picture above.

Lastly is the Diamon Rank Largemouth Bass. A trick here is to fish at the left side of where the dock is. That’s where the Diamond Rank Largemouth Bass will most likely spawn.

Moving on to the map challenges, you will still need to catch fishes for this one. Yes, I know it’s called Map Challenge, so it has something to do with maps? Apparently not. The challenges here require you to catch a fish. The first Map Challenge requires a Silver Rank Largemouth Bass. Refer to the picture above to find the location.

The next challenge is a Gold Rank Largemouth Bass. You can refer to the image above for the exact location in the map.

Last fish for Map Challenge 3 is a Diamond Rank Smallmouth Bass. Like always, use the image above to find the exact location.

For the last set of challenges, it’s time for the Photo Challenge. Which is fishing again (I don’t think the devs know that their players are expecting different kinds of challenges when they named them “Map” and “Photo”), but you do get to take photos. The first Photo Challenge requires you to catch a Silver Rank Smallmouth Bass. Refer to the photo above for the exact location.

Once you caught the fish, you can take a photo by pressing the casting button at the view required. Here, you will need to cast with the wheelhouse in view.

Next location is up here on the map. You will have to catch a Gold Rank Yellow Perch here.
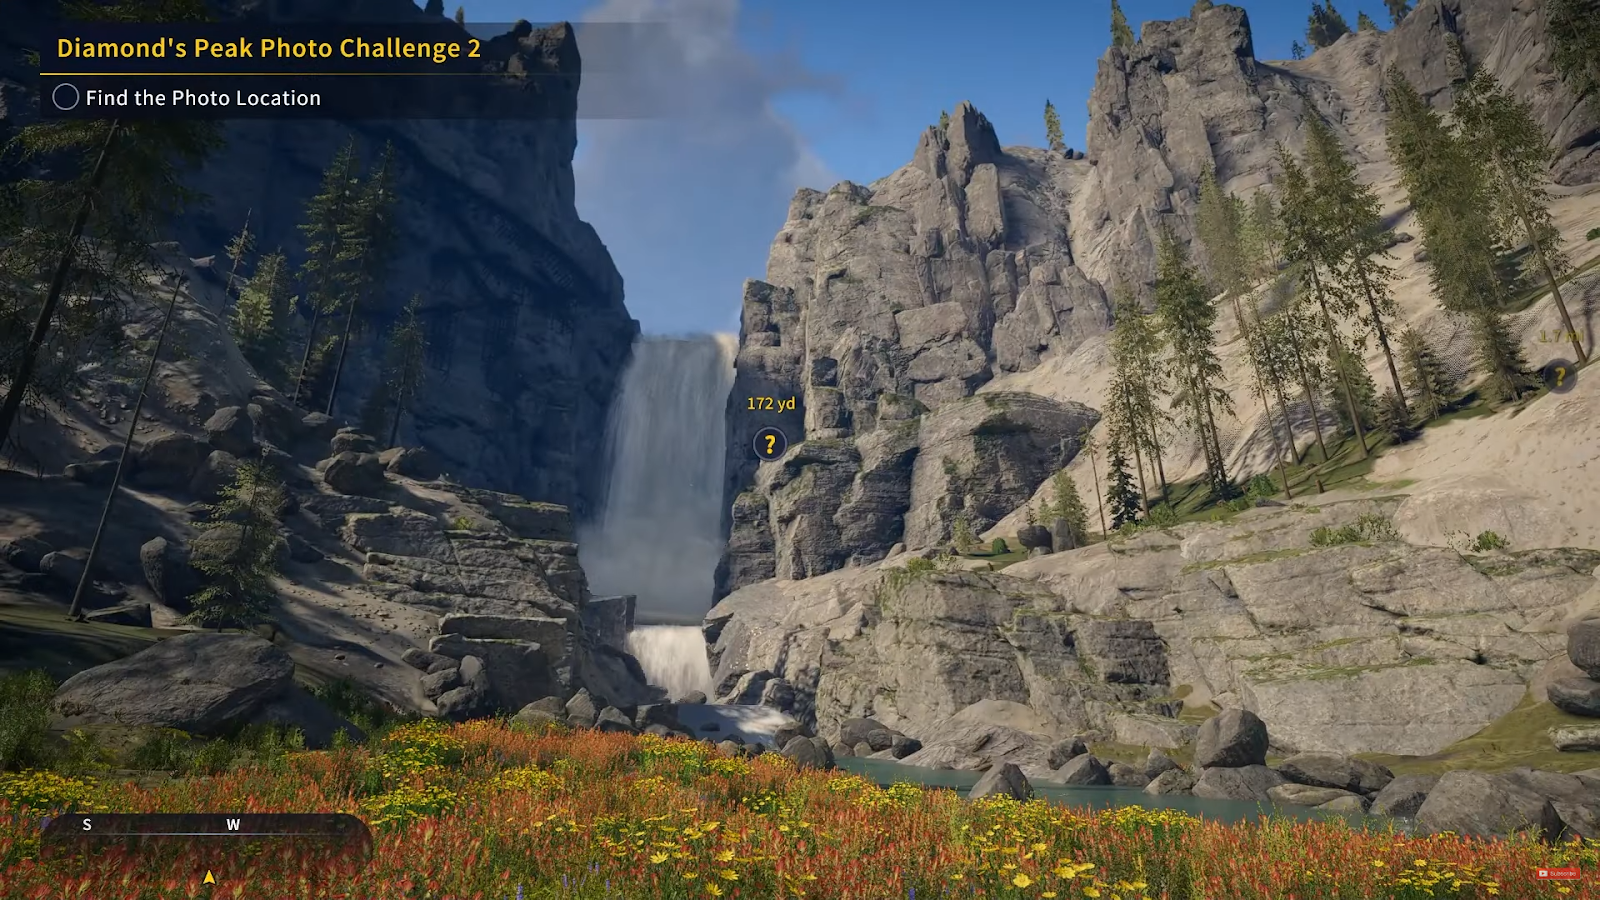
The photo you need to take here is of the waterfall. Cast with the waterfall in view and you’ll complete the challenge.

The next location is the final challenge. You will need to catch a Diamond Rank Yellow Perch.

The photo location is the question mark, by the way. So, you can take a picture of it from any distance. If you have successfully done all of the challenges, then well done.
READ NEXT: Call Of The Wild The Angler: Diamond Golden Trout Fishing Guide