For the fans of Bayonetta out there, you’ll be happy to know that there’s a new Bayonetta game. This time it’s a prequel to the previous game as well as an origin story! Follow the witch protagonist as she was known as Cereza before in an adventure filled with amazing visuals, great combat and a lot of platforming puzzles. The game can be quite confusing when it comes to the platforming parts for people who aren’t good at them, so in this guide we’ll show you how to go through one of the levels in the game that has a lot of that going on!
Bayonetta Origins: Cereza and the Lost Demon | Chapter 6: Tir Na Nog Stomping Grounds
So when you get to the Stomping Grounds of Tir Na Nog in Chapter 6, you can go forward and go to the first platforming puzzle. The path is divided into two, Cheshire has to go to the right while Cereza goes to the left.
Use Cheshire to stomp on the platforms on the right to make the platforms on the left rise up and let Cereza get past. Once you’ve done that continue on to the next area.

Same as before with Cheshire on the right and Cereza on the left. The difference is that the platforms are connected to ones that aren’t directly next to it. Follow the red lines in the middle to see which platform to stomp to raise them.

The next area is a bit more tricky since the platforms to the right will spawn the platforms to the left, but they only stay there for a while. Use the white platforms as ‘resting’ areas as you spawn the blue and red platforms again.

The next area is the same as before but the platforms Cheshire stomps are a bit farther from each other.

The next one is just one colored platform but you’ll need to go to the right to avoid the laser that runs through the entire path. Once the laser is gone continue on.

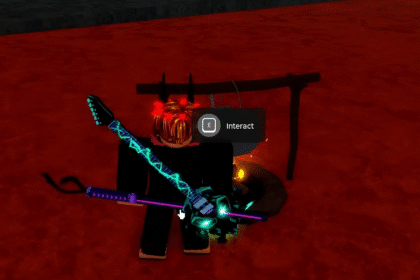
The last part of the level is a battle arena and once you defeat the enemies there you can then finish the level!

Congratulations you now know how to go through this level in Bayonetta: Origins, now go out there and try to do it yourself!
ALSO READ: Chapter 4: Tir Na Nog Guidance | Bayonetta Origins: Cereza and the Lost Demon