We have to give it to The Legend of Zelda: Tears of the Kingdom in designing these puzzles. The sequel to the Breath of the Wild retains the same casual, aesthetic atmosphere but also challenges your brain. The Riogok Shrine is home to the Force Transfer puzzle and has some of the trickiest puzzles that makes you to think outside the box.
This guide will help you step by step through the puzzle and truth to be told, it’s one of those puzzles that can have multiple solutions.
Riogok Shrine Guide
If you haven’t already known where the shrine is, the Riogok Shrine is on the southwest of Hyrule Field, to the west of Hopper Pond. The coordinates are (-1444, -1616, 0089). Welcome to the Force Transfer puzzle!

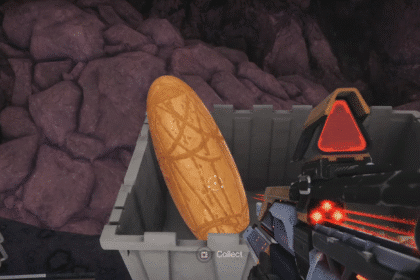
Like every other shrine, the puzzle starts with a simple ‘introduction’ challenge. The door is locked behind two gears, but they’re not spinning. If you hit the button there, only one of them will spin. You see your first log laying on the floor.
Take the log and attach it to both gears. Now if you hit the button, you’ll be spinning both gears, which unlocks the door to the next area with a chest.

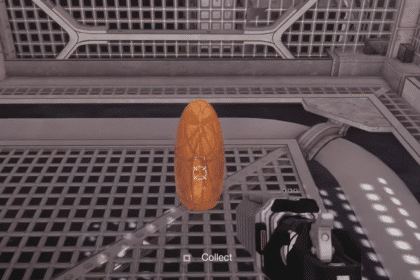
The chest is placed pretty far up on the wall in the corner here. With no stairs and one log, you have to be able to reach it. You won’t be able to create a makeshift staircase here.
Instead, rotate the log, attach it on the chest and bingo – the chest falls down to you.

Next, you’re going to use this log to unlock this gate here. And you can see how it looks like it needs a lever, so go ahead and take the log and attach it to create a lever. Push it to unlock another log that you need for the puzzle.

Now, the final confusing puzzle. With two logs, you need to push yourself up to the top floor to get the Light of Blessing. Theoretically, you have three logs, but the first one has to stay there because you need the gear to keep rotating. But if you have Rewind, you can pull out the log and keep the gear rotating and have three instead.
If you only have two logs because you don’t have rewind, this is still doable. Use the two logs and attach to the platform as shown below. The rotating gear will have like a plank that’ll push you upward.

Climb up the platform and you’ll be able to reach the upper platform. Alternatively, if you have Ascend, you don’t even need the rotating gear as you can just Ascend your way to the upper platform.
Then take out one of the logs from the platform below you, and attach it to the platform by the wall. You can climb on this log and make the jump to the top floor.

Another altervative solution is to attach the log like this instead. After climbing onto the first platform, reattach the log so you can climb up.
When the plank from the gear pushes you up, you can climb onto the upper platform. Wait for another rotation and the gear will push you up high enough that all you have to do is just jump. There you go! You’ve finished the Force Transfer of Riogok Shrine.

ALSO READ: Tears of the Kingdom: Morok Shrine Guide | Lanayru Wetlands