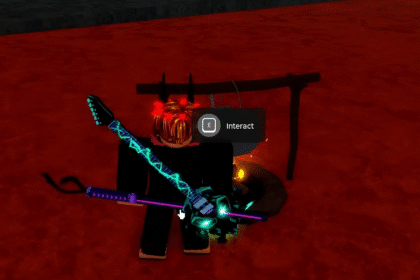
The desert doesn’t just test your strength, it tests your mind. In Dune: Awakening, one of the most iconic ways this unfolds is through the Trial of Aql, a spiritual, narrative-driven journey that challenges both your understanding of the world and your ability to survive it. In this guide, I’ll walk you through all 8 Trial of Aql locations, so you’re not left aimlessly wandering the dunes. No spoilers here, I’ll only guide you to each trial entrance, not what happens once you’re inside. Let’s just say… the spice will show you the rest.
- All 8 Trial Of AQL Locations in Dune Awakening
- First Trial of Aql – Hagga Basin South
- Second Trial of Aql – Southeast Vermillius Gap
- Third Trial of Aql – Western Vermillius Gap
- Fourth Trial of Aql – Eastern Vermillius Gap (Hammer Landmark)
- Fifth Trial – The Hidden Test
- Sixth Trial – Devil’s Eye Cavern
- Seventh Trial – The Red Maw
- Eighth Trial – Sietch Ta’lab (Lower Cliffs Siege Site)
- Why Does a Trial Ask You to “Return Later”?
- Wrap-Up
All 8 Trial Of AQL Locations in Dune Awakening
What are the Trials of Aql? Also known as the Test of Aql or the Seven Mystic Questions, these trials are deeply rooted in Dune lore and Fremen culture. It begins with the fundamental question: “Who is it that thinks?”
In-game, the Trial of Aql is part of your Journey progression system, a spiritual and mental path guided by spice, not just experience points. You’re not only learning how to survive Arrakis… but why you’re trying to survive at all.
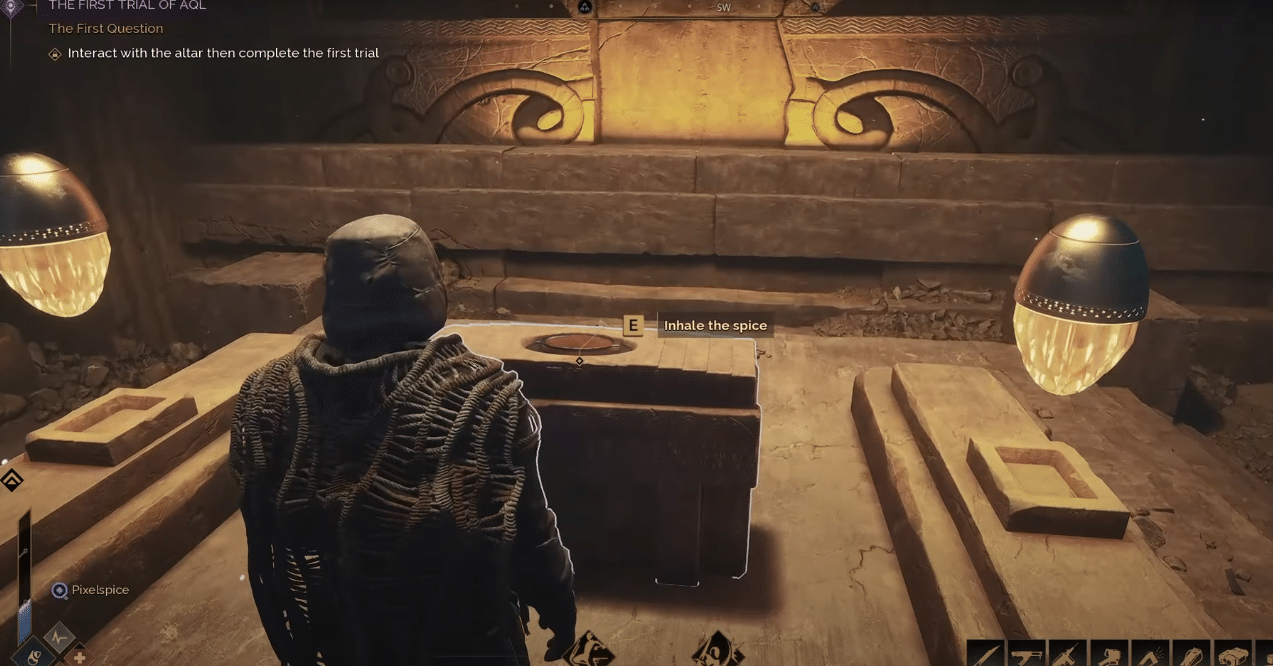
Each trial begins at a remote altar beside a bowl of spice. Touch the spice, and you’re thrown into an instanced challenge unique to that location. But first, you have to find them. That’s where this guide comes in.
Here’s where to go and what to look for.


First Trial of Aql – Hagga Basin South
Location: Center of Haga Basin South
Landmark: Large rock formation with dew flower field

The first trial is tucked into the southern part of Haga Basin South. Head for the large rock structure near the center of the region. You’re looking for a slightly raised cave entrance, marked by a dew flower field, that’s your sign you’re close.
Once inside, follow the descending path until you reach a familiar sight: an altar and a bowl of spice. Interact to begin the trial. The rest? That’s between you and the spice.

Second Trial of Aql – Southeast Vermillius Gap
Location: Southeast Vermillius Gap
Landmark: Rock formation south of the Trade Post

For the Second Trial of Aql, make your way to southeastern Vermillius Gap. If you’ve already found the local Trade Post, just head directly south from there.
You’ll come across a large rock formation with lights flickering among ruins on its eastern side. That’s your cue. You’ll see two sealed cave entrances, either one works. Just watch out for traps as you head inside, and keep in mind that you’ll have to use the survey thingy.
From there, descend deeper into the cave (it’s steeper than the first one), and you’ll eventually come across another altar and bowl of spice.
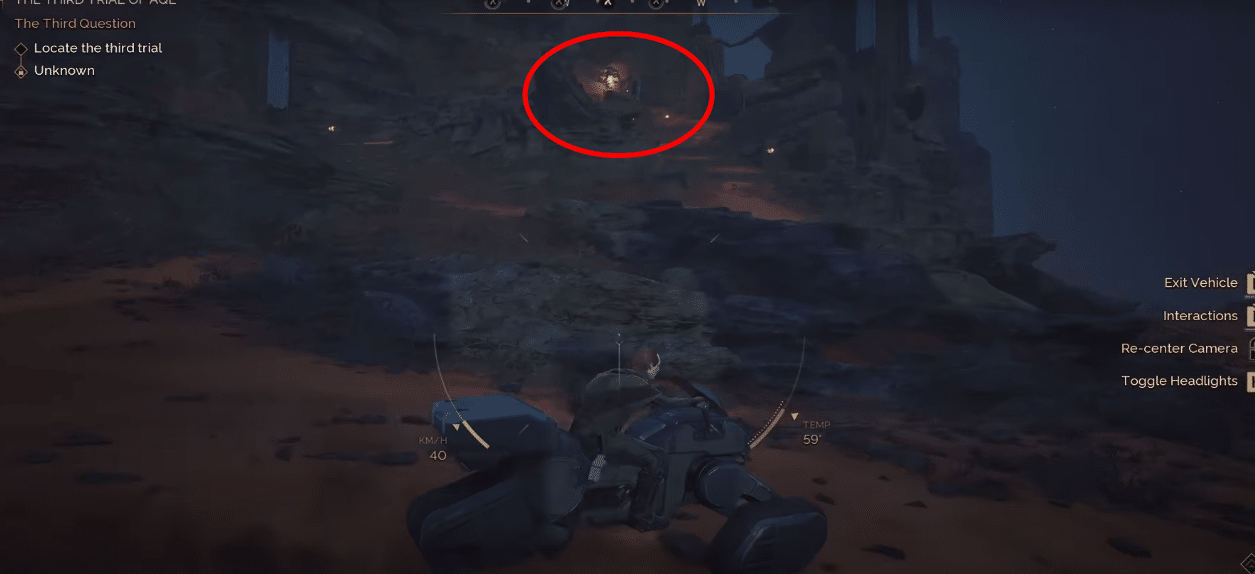
Third Trial of Aql – Western Vermillius Gap
Location: Southeast of Western Vermillius Gap
Landmark: Flat rock balanced atop stone pillars
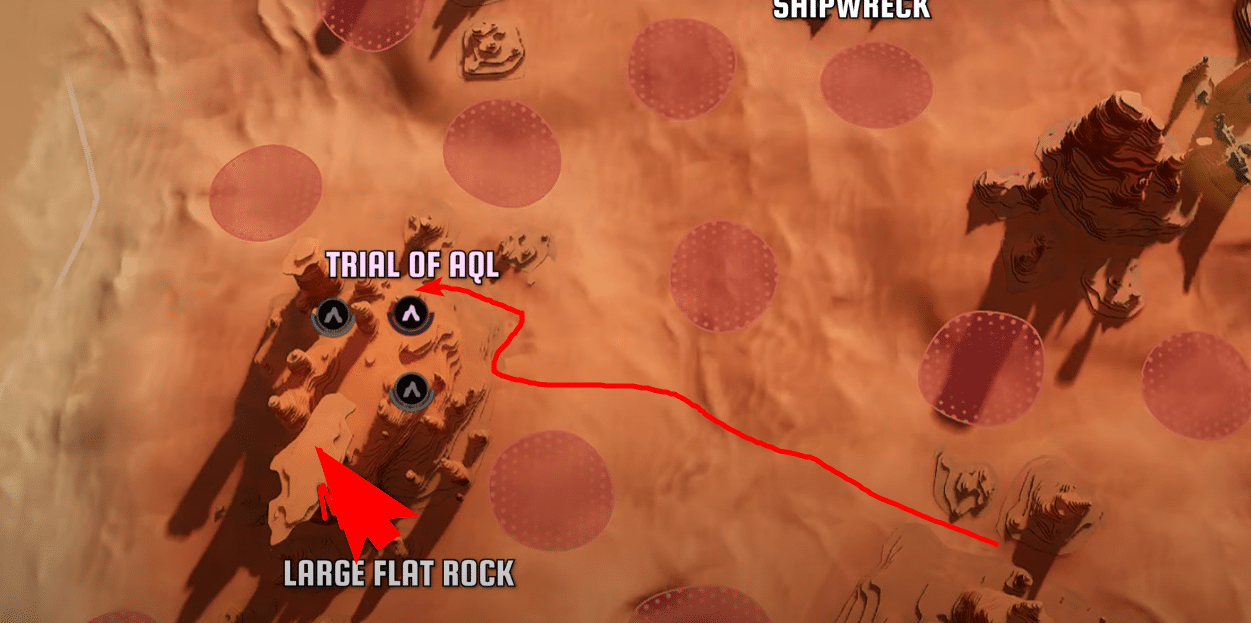
This one’s a little more striking. Head to the southwest region of western Vermillius Gap, and look for a flat rock balanced like a teetering disc on top of tall rock columns. Can’t miss it.
Go around to the northeastern side of the formation, you’ll see lights and ruins leading to a path upwards.
Be prepared to deal with a few enemies here before you proceed. Once you’ve cleared the area, take either of the two cave paths deeper in to find yet another altar, and this time, a shigawire recording to interact with as well.
Fourth Trial of Aql – Eastern Vermillius Gap (Hammer Landmark)
Location: Hammer-shaped rock, eastern Vermillius Gap
Landmark: Massive rock shaped like a hammer

Last but not least, you’re heading to eastern Vermillius Gap, to a massive, unmistakable hammer-shaped rock formation in the middle of a large mountain range.
Your goal is to climb about halfway up the south face of this hammer. There might be a clean climbing path, but to be honest, I just scrambled up from the south or southwest, and eventually made it.
Once you reach the ruins, look for environmental clues pointing you toward higher ledges and climbing points. Eventually, you’ll find your way inside the hammer and reach the fourth altar room.
Bonus Tip: If you’ve unlocked the ornithopter, you can skip the climb and just fly straight to the top, entering the hammer directly from above. Easy mode.
Fifth Trial – The Hidden Test
Location: Southern Hagga Rift
Landmark: Hidden cave only visible at night
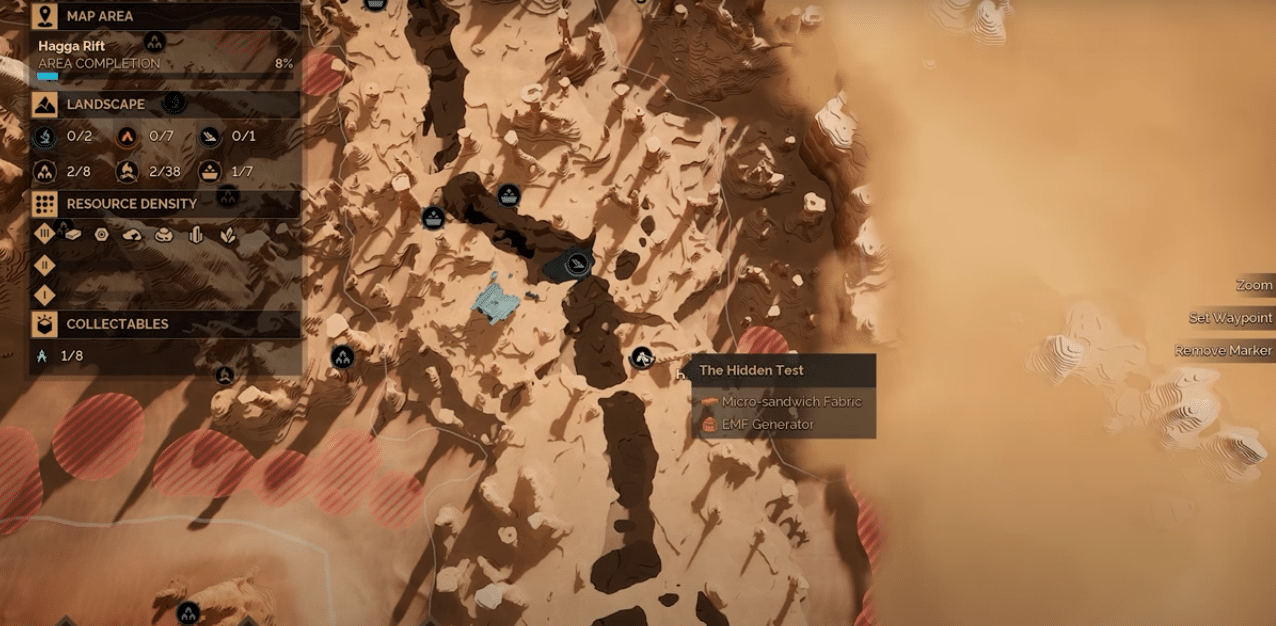
This one’s tricky. Look for a faint glowing cave entrance at night, it’s nearly invisible during the day. You’ll need to drop into a deep hole to reach it, so bring a suspensor like the Emperor’s Wings.
This trial introduces quicksand mechanics and the Thumper. Time your jumps, stay out of the sand, and use the Thumper at the marked spot. The cinematic? Absolutely worth it.
Sixth Trial – Devil’s Eye Cavern
Location: Top-right corner of Jabal Eifrit Al-Sharq
Landmark: Devil’s Eye Cavern

Make your way to the upper right edge of the map. Devil’s Eye Cavern is full of poison mines, so use your Static Compactor or just wait them out. The spice pedestal here doesn’t trigger a vision, just an audio log and more Sardaukar wreckage. Bonus: There are loot chests tucked away.
Seventh Trial – The Red Maw
Location: Northwestern Hagga Rift
Landmark: The Red Maw cave near upper right of Hagga Basin

There are two ways in, through the surface or bottom level. Inside, loot a corpse for a unique blade schematic, then follow the trial path.
This one teaches Fremen tent mechanics, how to survive Arrakis’s brutal storms. Use the tents for cover and push forward. Enemies are present, so decide whether to fight or stealth your way through.
Eighth Trial – Sietch Ta’lab (Lower Cliffs Siege Site)
Location: Sietch Ta’lab, Eastern Shield Wall
Landmark: Northern side of Hagga Basin, directly north of Western Vermillius Gap

You’ll find this one tucked away on the lower section of the cliffs, right where the first real siege takes place. Don’t bother climbing to the top; the cave entrance isn’t up there. (Yeah, I made that mistake too.) If you did end up exploring the upper ledges, you can easily make your way back down to the lower sands.
Now, if you’ve been paying attention to the previous trials, unlocking the door here should feel familiar. But if you’re drawing a blank, no worries, I got your back. Just like in the past trials, you’ll need to answer a series of questions to get through the entrance. I’ve included all the correct answers in a clip below, so you won’t miss a thing.
Once you’re in, there’s one final puzzle that might catch you off guard. You’ll find a stone plinth with yellow buttons at the center of the room. Your job is to match the hieroglyphic symbols to the lesson being taught by the hologram. Just cycle through the buttons until the symbols match what I’ve shown in the image below, and the door will open.

Why Does a Trial Ask You to “Return Later”?
If you’ve ever hiked halfway across Arrakis just to be told “Return later” at a Trial of Aql, yeah, that’s not a bug. That’s the game politely telling you, “You’re out of order, pal.”
The trials have to be done in sequence: 1, then 2, then 3… all the way to 8. If you try to skip ahead (say, head straight to Trial 8 hoping to speedrun your enlightenment), the game will stop you with that message.
So if Trial 8 tells you to come back later? That just means you need to complete Trials 1 through 7 first. Easy fix. Go back, follow the path, and take it one vision at a time. Trust me, the spice sees everything.
Wrap-Up
And there you have it, all 8 Trial of Aql locations in Dune: Awakening. These aren’t just checkboxes on a quest log, they’re immersive, meaningful encounters that shape how you see Arrakis… and yourself. I hope this guide saved you from scrambling through the desert like a lost lizard. Remember: The spice doesn’t just flow. It reveals.
And hey, if you’re still scratching your head over the game’s base building systems, especially those confusing little circuit boxes, I’ve got you. Check out my guide where I break down how circuits work, no engineering degree required, just a bit of spice and patience.