Destiny 2 has a new DLC in the form of the Edge of Fate expansion that adds a bunch of new content to the game. Not only do you have more Raids, but you can actually complete quests that further flesh out the lore. The Gorge Strangelet is one such mission that has many steps to it. At certain stages, this mission can get quite confusing – especially when you’re required to clear a path to the final strangelet. In this guide, we’ll go show you all the steps you need to follow to clear a path so that you can unlock the actual missions. Without further delay, let’s get into it!
Clear a Path to the Final Strangelet
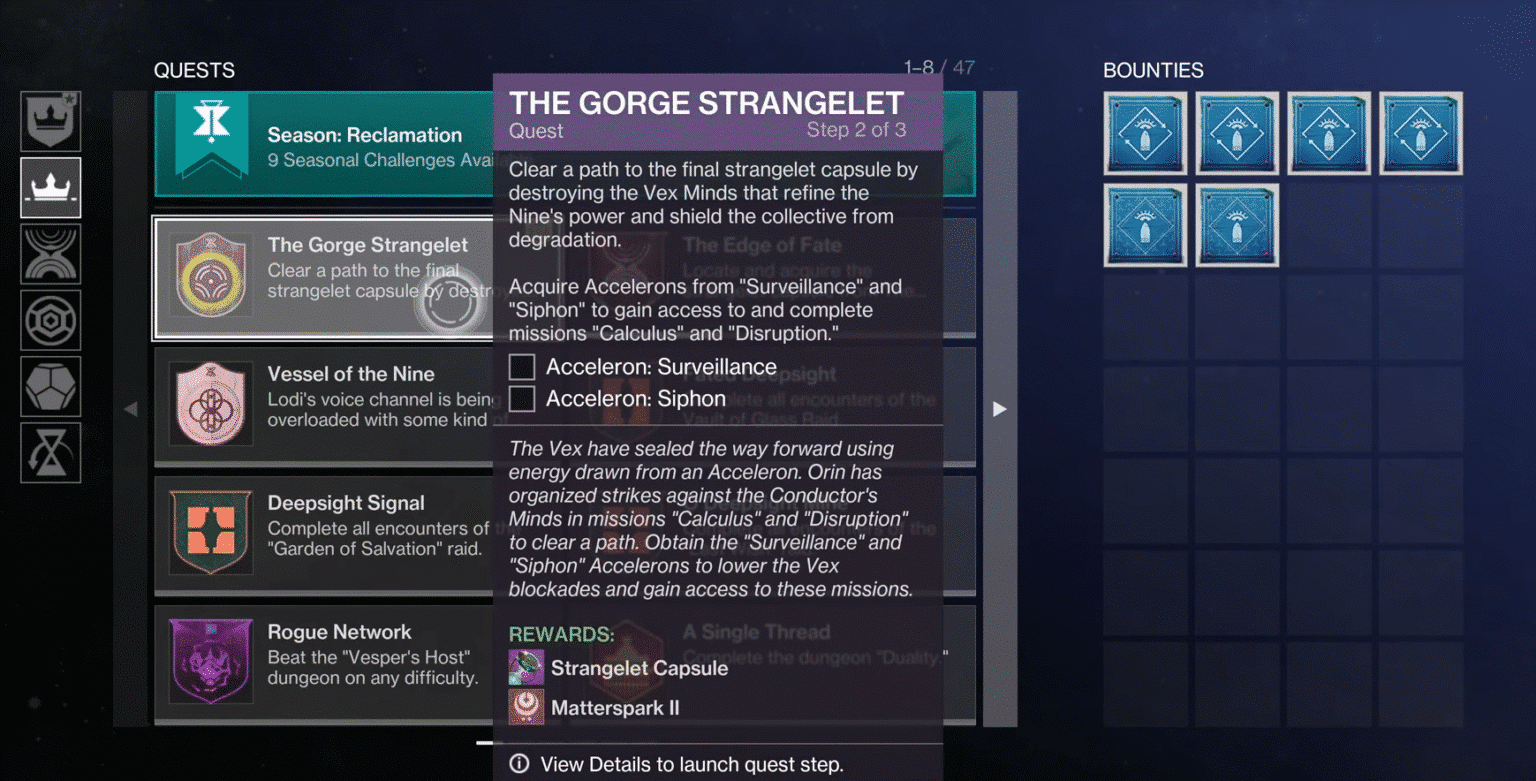
Once you reach Step 2 of The Gorge Strangelet mission, you’ll receive a confusing objective where you need to clear a path to the final strangelet. However, when you accept it from Orin, you aren’t exactly taken to the mission.
Instead, this objective works like a public event that you need to clear out by getting the first of the Accelerons called Surveillance. So, you’ll need to explore the map and find it – although it won’t be too difficult.
Also, if you’re struggling with the Saturnism mission, you can check out our central refinery guide.
Step 1: Clear Out Cyclops Rampant And Enemies
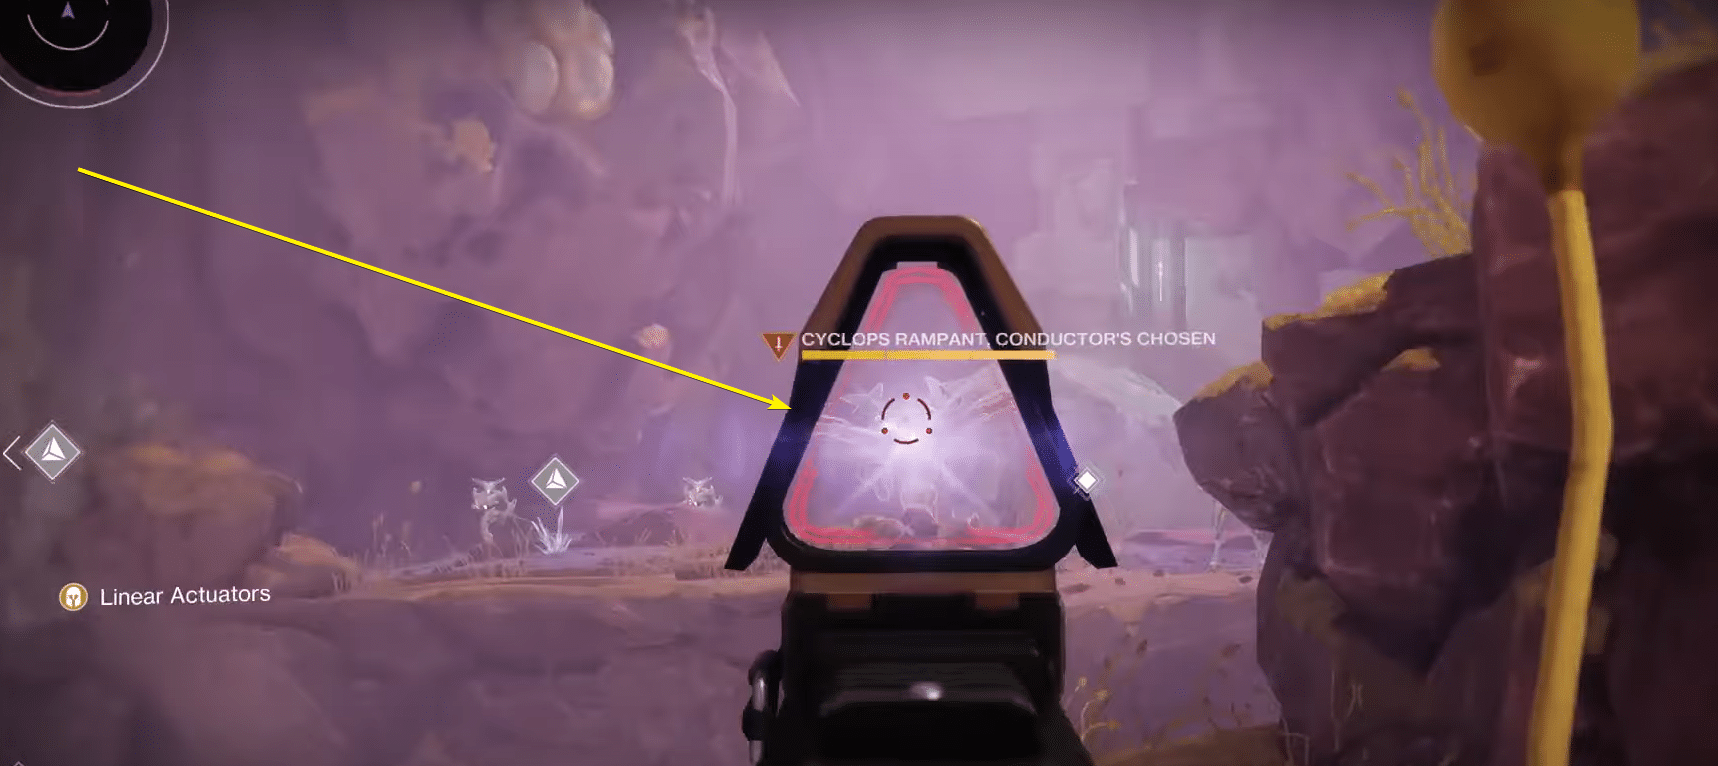
Whether you explore the area or follow the quest marker, you should arrive at an area full of enemies and the Cyclops Rampant miniboss. We recommend that you clear these enemies out as there is a puzzle ahead.
These enemies will make it very difficult, especially the boss.
Step 2: Get Past Barrier
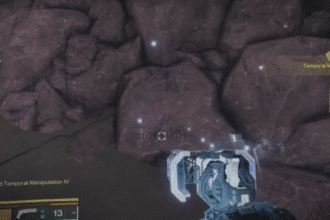
After clearing out the enemies, you should come across a barrier that you can’t get past. Nearby you should find a Matter Realignment power up. Use it on the highlighted portions of rock to realign them, allowing you to parkour across them.
Doing so will allow you to get past the barrier.
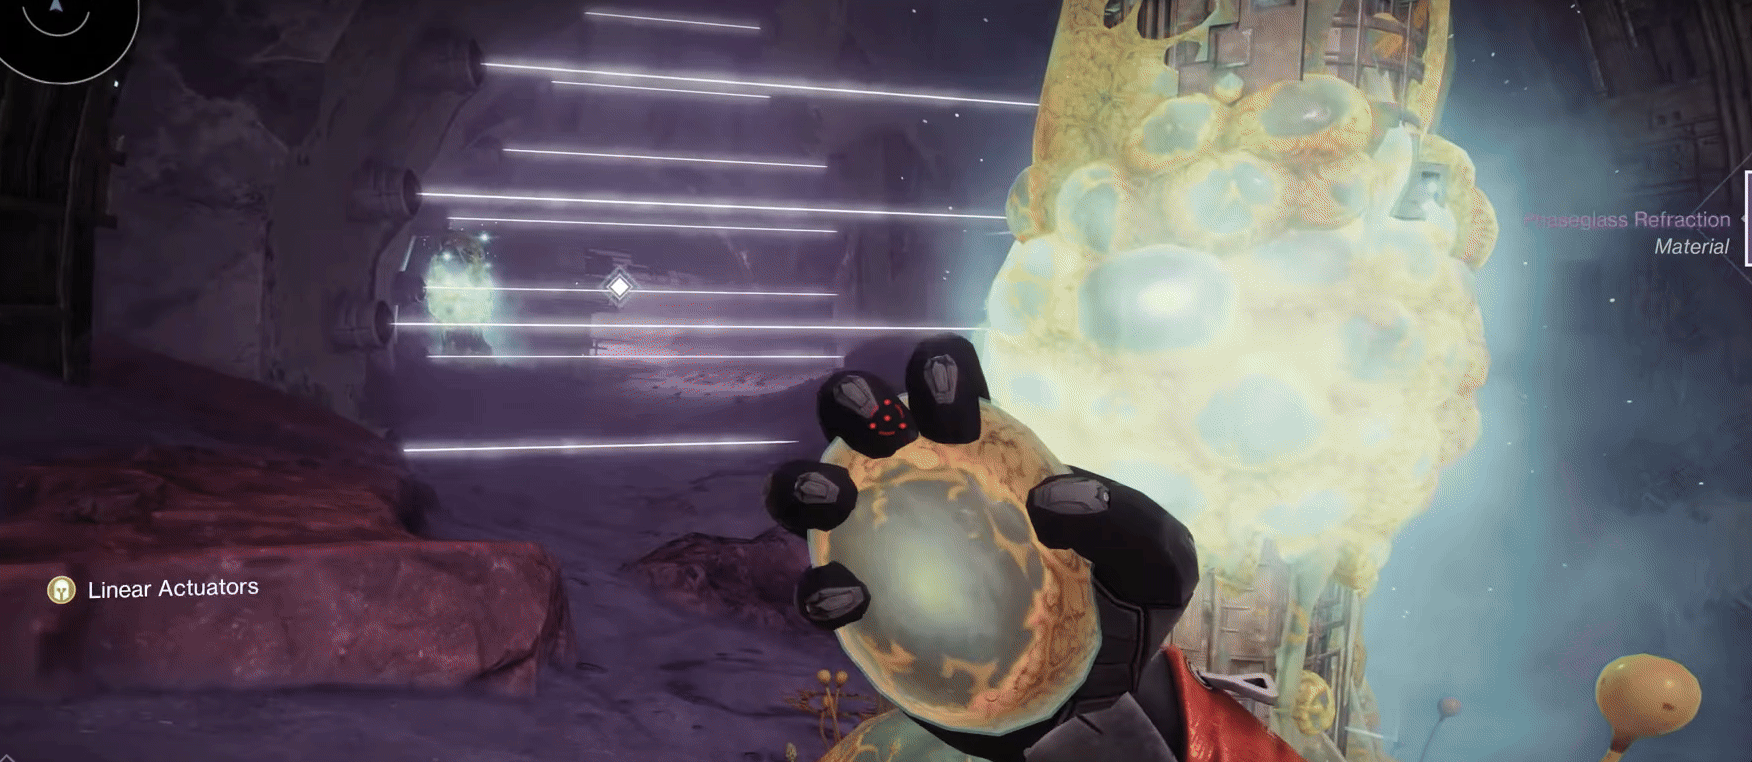
Step 3: Clear Out Enemies And Crystals
After you get past the barrier, you’ll come across further enemies and crystals that will spawn around you. Be sure to clear them out and be wary of the crystals as they will keep respawning until you’ve defeated everyone.
Once that’s done, go to the Matterspark activation panel.
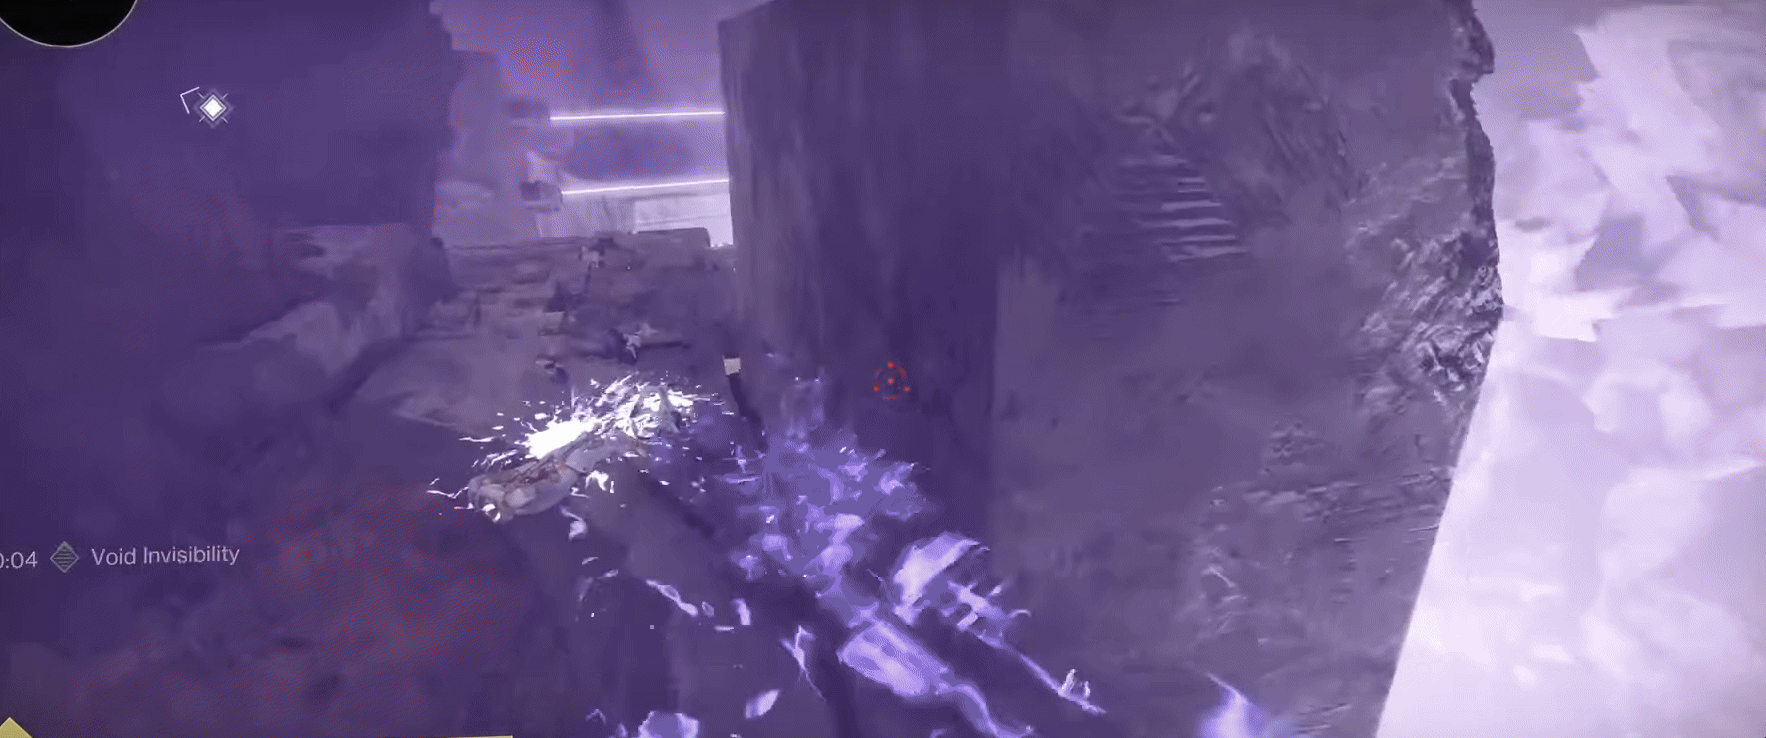
Step 4: Enter Hidden Tunnel
Once you reach the Matterspark activation panel, activate it to go into your Matterspark form. From here, drop down the platform and follow the ground until you see a small opening of a hidden tunnel.
Your Matterspark form will be just small enough for you to navigate through. We recommend that you check where the tunnel is first so you have enough time to go through before you transform back. The location relative to the panel is shown below.

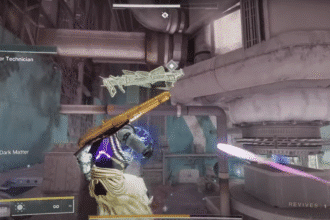
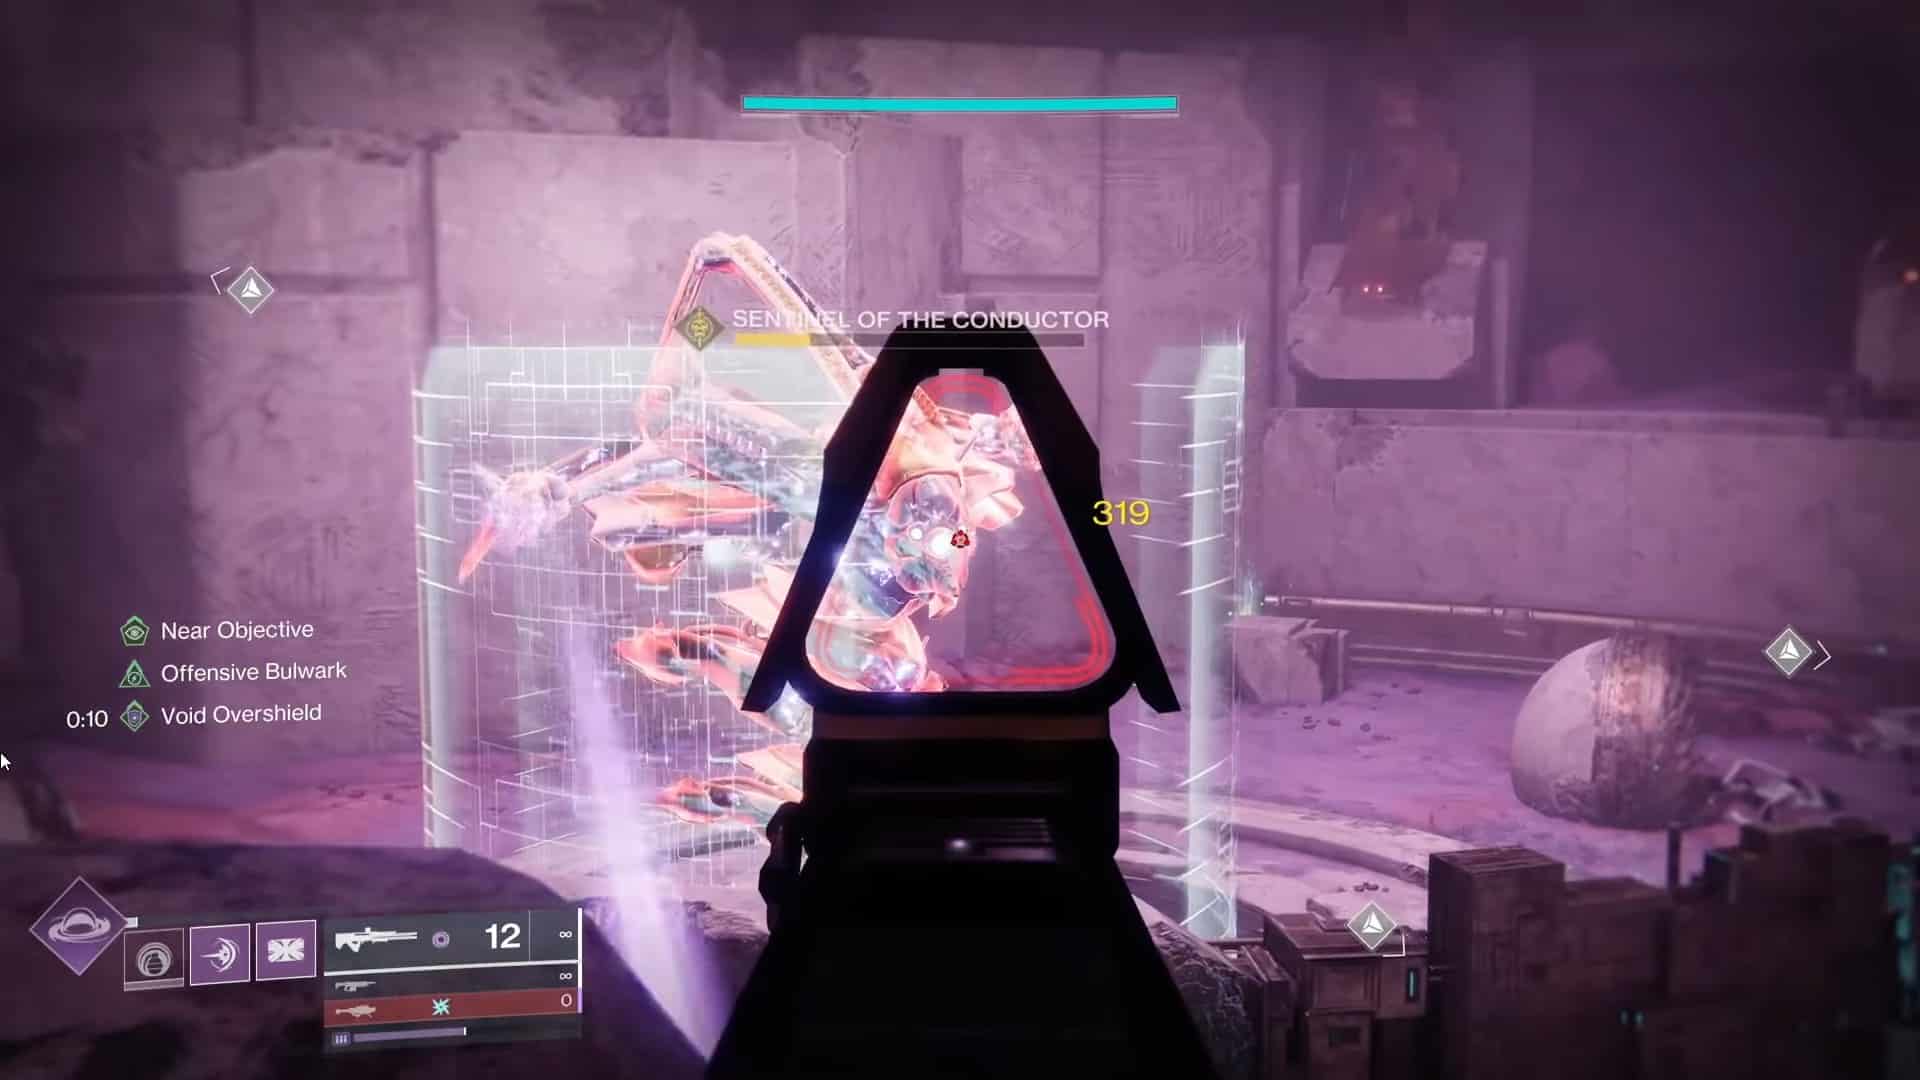
Step 5: Defeat Boss
After you go through the tunnel, you’ll come across further enemies. Additionally, the Sentinel Of The Conductor boss will spawn and he is actually incredibly difficult. This boss has shield panels revolving around him and you can only shoot him through the gaps.
Ideally, you’ll want to clear the enemies around first but they spawn in large numbers. They can also distract you from the boss allowing him to catch you off guard.
We recommend that you use a shield or some cover to protect yourself from him. After that, you will be able to focus on him without distractions.
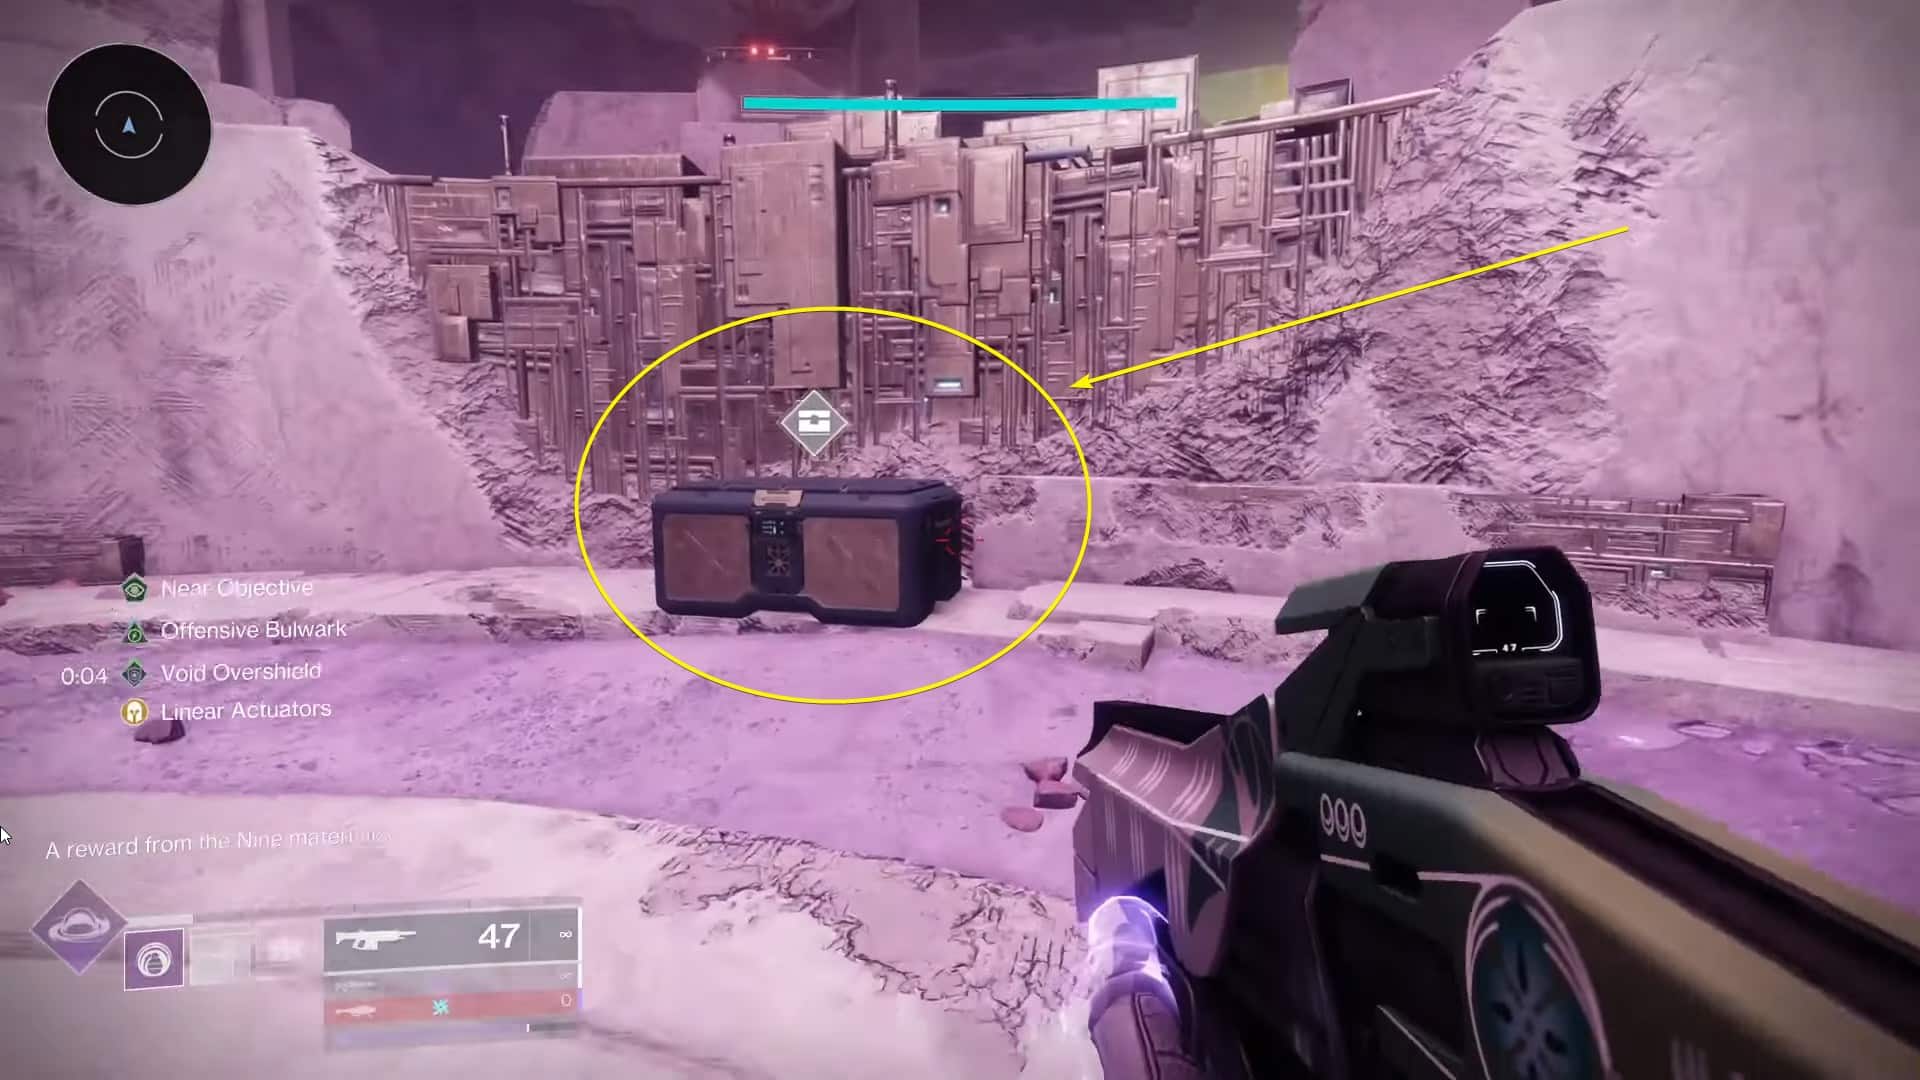
Step 6: Open Loot Chest
After you defeat the boss, a loot chest will spawn near the boss. Open the loot chest and you will be able to get the first of the Accelerons. With the Surveillance Acceleron in hand, you should see the quest objective update, with some dialogue as well.
On top of that, you can also get some great armor and materials from here.
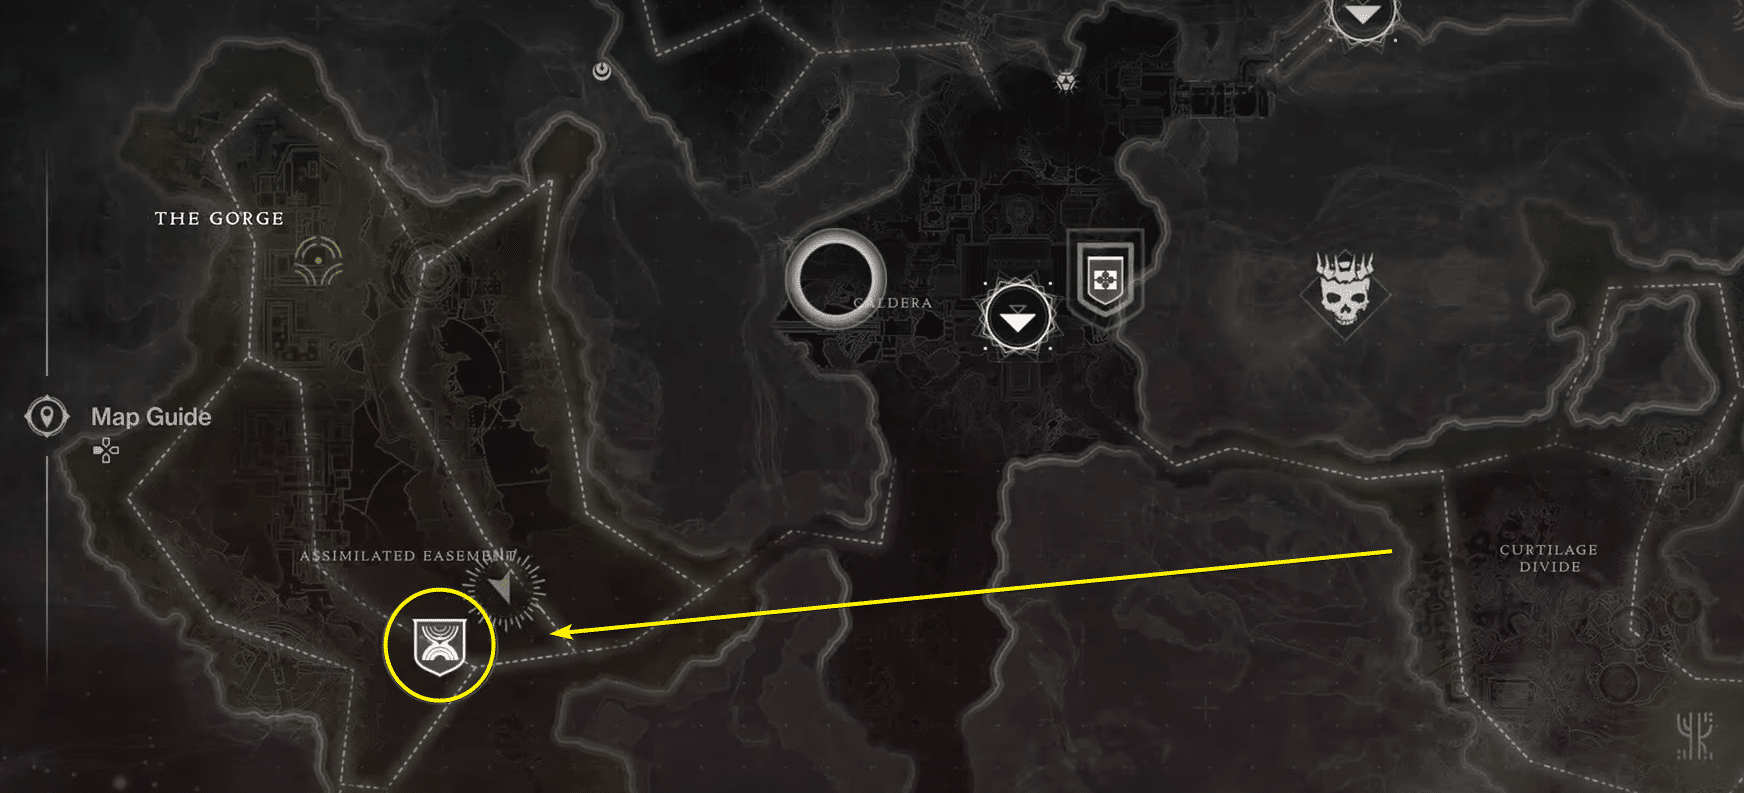
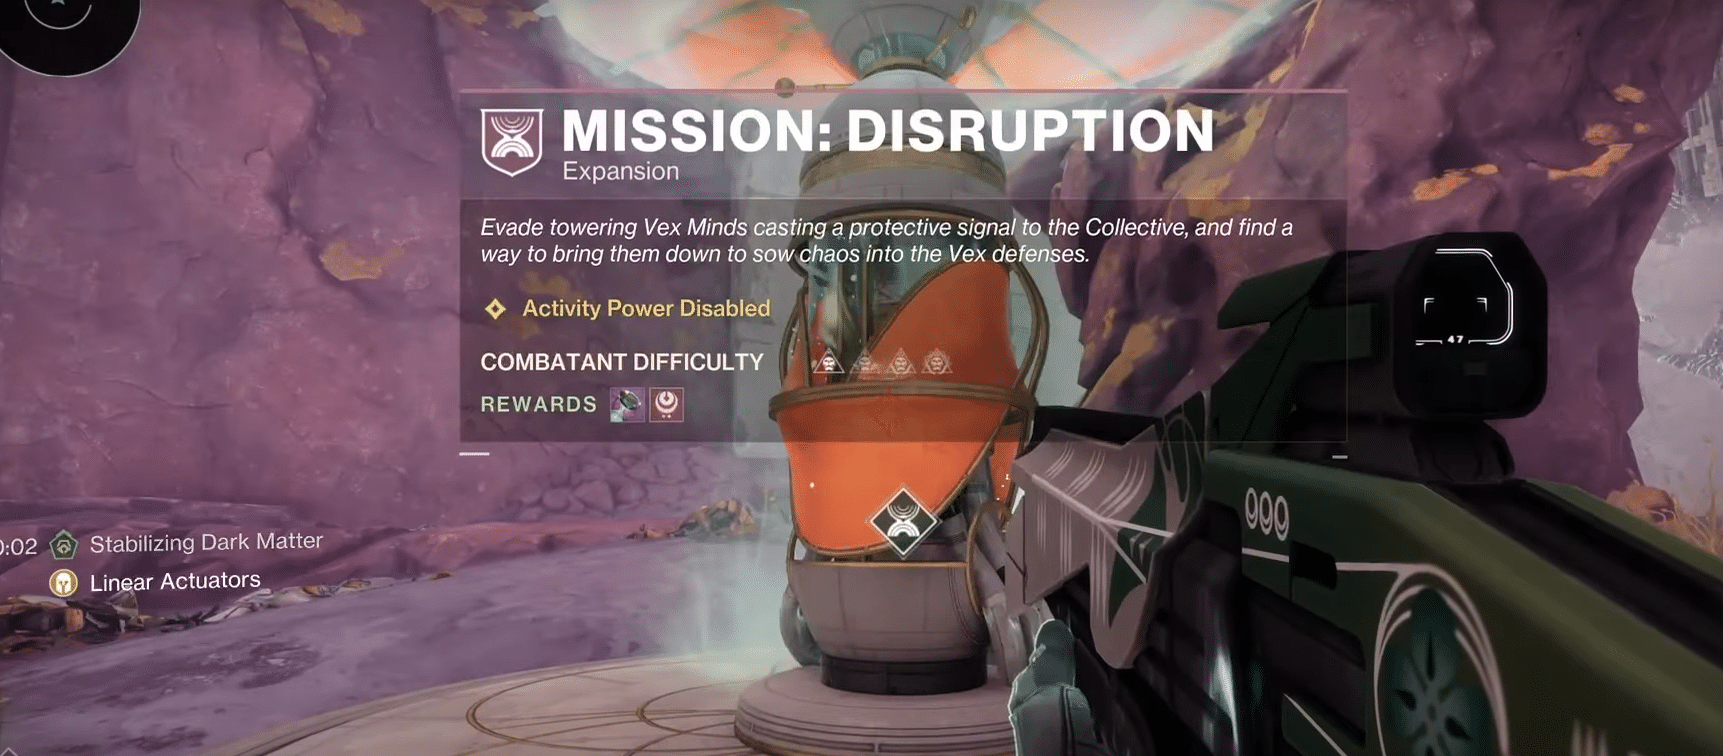
Step 7: Go To Disruption Mission
Check the map and you should now see the Mission: Disruption icon appear, which is one of the objectives that you need to complete for The Gorge Strangelet mission. Make your way there by backtracking and activate it.
From here, you can complete the mission and do the other Accelerons, allowing you to further proceed with the mission.
Wrap Up
That’s everything you need to know about clearing a path to the final strangelet for the Gorge Strangelet mission in Destiny 2. This part can be quite confusing but now that you know how to get the Accelerons you should be able to progress with the mission quite easily. Unfortunately, some of the missions in the Edge of Fate DLC can be quite confusing and this objective is one of them.