Destiny 2’s Lightfall expansion brings in the big bad that even The Traveler can’t handle. If The Traveler can’t one-shot The Witness, then what hope do our Guardians have?
Well, set those worries aside, because this is the same Guardian that we have been playing as that defeated every legendary enemy possible. If The Traveler is unable to defeat The Witness, then our Guardian is our next hope.
In this guide, we will be showing you how to find and complete the First Contact mission in Lightfall.
How To Find & Complete First Contact Introduction Mission – Destiny 2

When you start the game, you will see that there is a new planet called Neptune.
In Neptune, you will be able to find the Lightfall campaign as soon as you hover over the planet. Simply select the campaign and you will have the option to select between two difficulties: Be Brave and Become Legend.
Be Brave is the classic Destiny 2 experience, while Become Legend is for those who want a challenge.
First Contact Start

Starting the mission, you will have your first objective: sabotage the Cabal fleet.
You will be going room to room, clearing out Cabal enemies as you progress deeper into the ship that you are in. You will face stronger opponents along the way, but as long as you have the appropriate power level, you should be good.

Gain Access to the Restricted Area
As you progress through the mission, you will get a new objective, which is to gain access to the Restricted Area.

To gain access, you will need to find the War Beast keycard.
To do that, you will need to kill Cabal enemies until one of them drops the keycard. You will know it once the objective marker pops up above the keycard.

The War Beast keycard can be used to unlock this door. But be careful, as Cabal forces will be guarding this area. Once you have opened the door, you can then continue progressing deeper into the ship as you follow the objective marker.
Gain Access to the Bridge

Moving deeper into the ship until you get the objective to gain access to the Bridge.
Kavauust, Reverent of The Witness will spawn in and attack you. You don’t have to kill him, damage him enough so that he will eventually teleport away.

After Kavauust teleports away, you will then be able to access the Bridge.
Before entering, place the Rally Banner on the ground before going forward. This is a Respawn Restricted area, meaning that you cannot allow yourself to get downed. If you do, you will have to start the fight from the very beginning, which can be annoying if you die to the last enemy.
Keep fighting until one enemy drops the Conquest keycard, which you will need to open another door.
Destroy Computer Core

After dealing with the enemies, unlock the Conquest door and you will get a new objective: destroy the Computer Core.

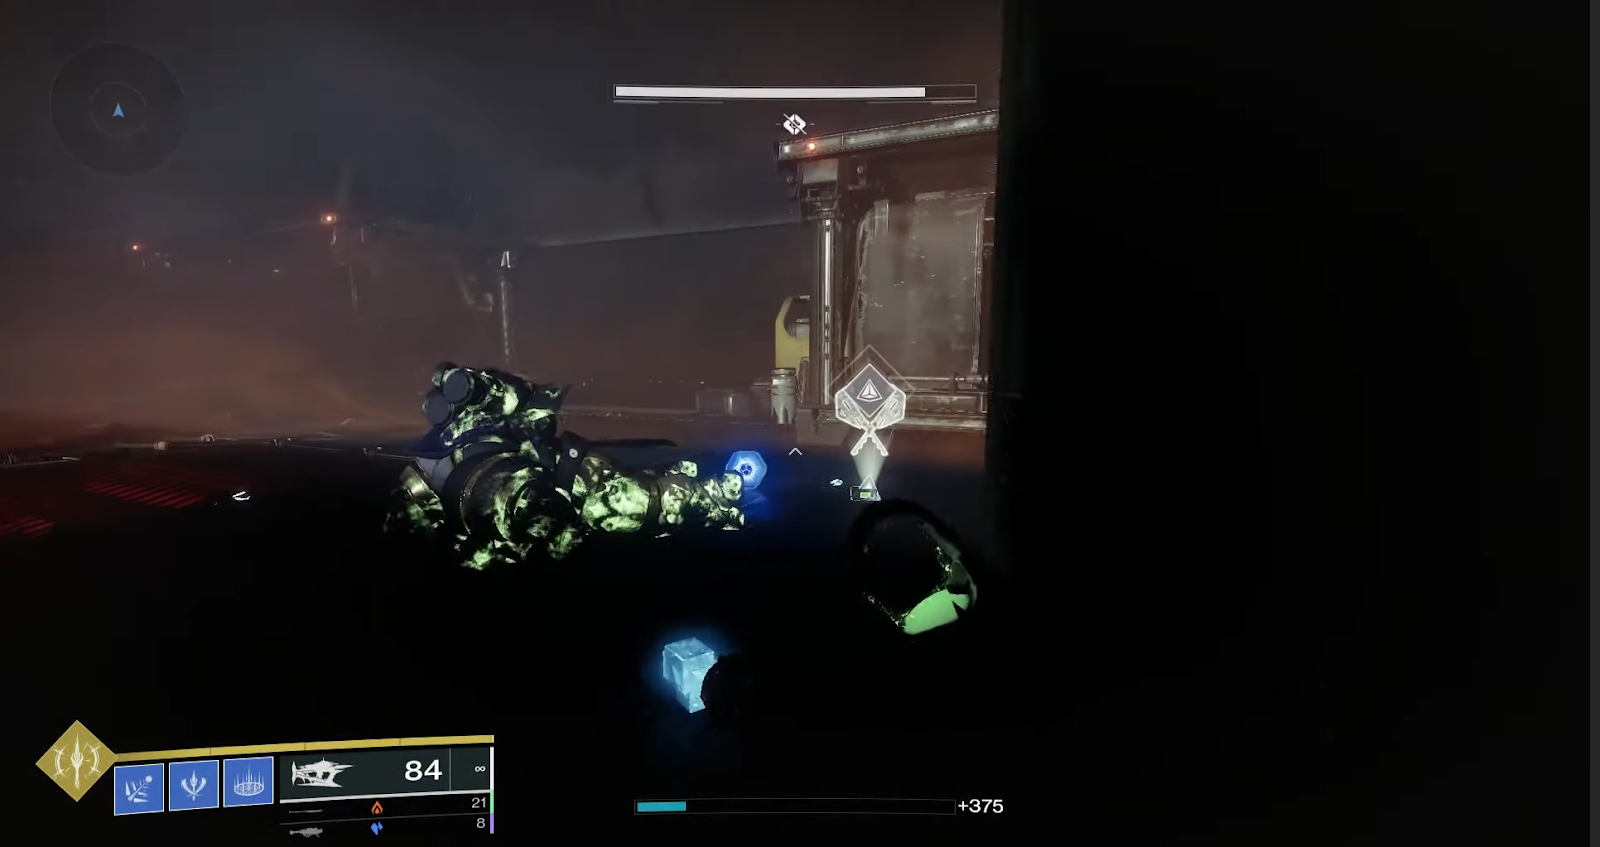
In order to destroy the Computer Core, you will need to find these blue cylinders that are popping out of the Computer Core and shoot them.
Each cylinder destroyed will reduce the percentage by 25%, so you only need to find and destroy 4 cylinders.
Move to the Next Ship

After destroying the Computer Core, your next objective is to get out of the ship you are in and start platforming toward the next one. Along the way, you will see Calus’ flagship coming in.
Just keep going.

As you near the next ship, you will be attacked by waves of enemies. Before jumping to the next ship, take out all enemies before doing so. This will reduce the chances of you being shot down mid-jump and falling into space.
Gain Access to the Reactor Room

Your next objective after making it on board is to reach the Reactor Room.
Again, just follow the objective marker and deal with any enemy that goes against you. Along the way, you will need to pick up the Chalice keycard to open the Reactor Room door. Like the ones before, an enemy will drop it upon defeat.

When nearing the Reactor Room, you will find another Rally Banner. Place it on the ground before opening the Chalice door.
Destroy the Ship’s Reactor

When entering the Reactor Room, you will get a new objective: destroy the ship’s Reactor. To do that, you will need to destroy 2 radiators.
The whole time, you will be bombarded with enemies as they prevent you from taking down the radiators.

The radiators can be destroyed just by simply shooting through the exposed side. It won’t take a lot of bullets, so don’t use weapons like rocket launchers or LMGs. Save those for later.
Find a Way Off the Ship

Now that the ship’s reactor has been destroyed, you will need to get off the ship by finding an escape pod. Just follow the objective marker and it will lead you out of the ship.
Gain Access to the Drop Pod Bay

Once you reach the area where you need to go, you will then get a new objective: gain access to the Drop Pod Bay.

Just like before, you will need to place the Rally Banner down here before continuing.

Once you continue, you will be facing hordes of enemies in a Respawn Restricted area. You will need to take them all out in order to leave.
Halfway through the fight, an enemy will drop a War Beast keycard. Pick it up and open the War Beast door.
Moving into the room, you will have to face enemies until one of them drops the Conquest keycard, which is needed in order to continue through the ship.

Before you can even approach the door, Kavauust makes another appearance. At this point, you should have your Super ready. Use that as well as your Heavy Weapon in order to quickly take down Kavauust.

Open the door and continue until you make it to the escape pod. Get inside it and you will exit the ship.
Landing on Neomuna

After a very rough landing, you will find yourself in Neomuna. However, the Cabal are already in the city attacking people.
As a Guardian, you jump into action and clear out the Cabal.
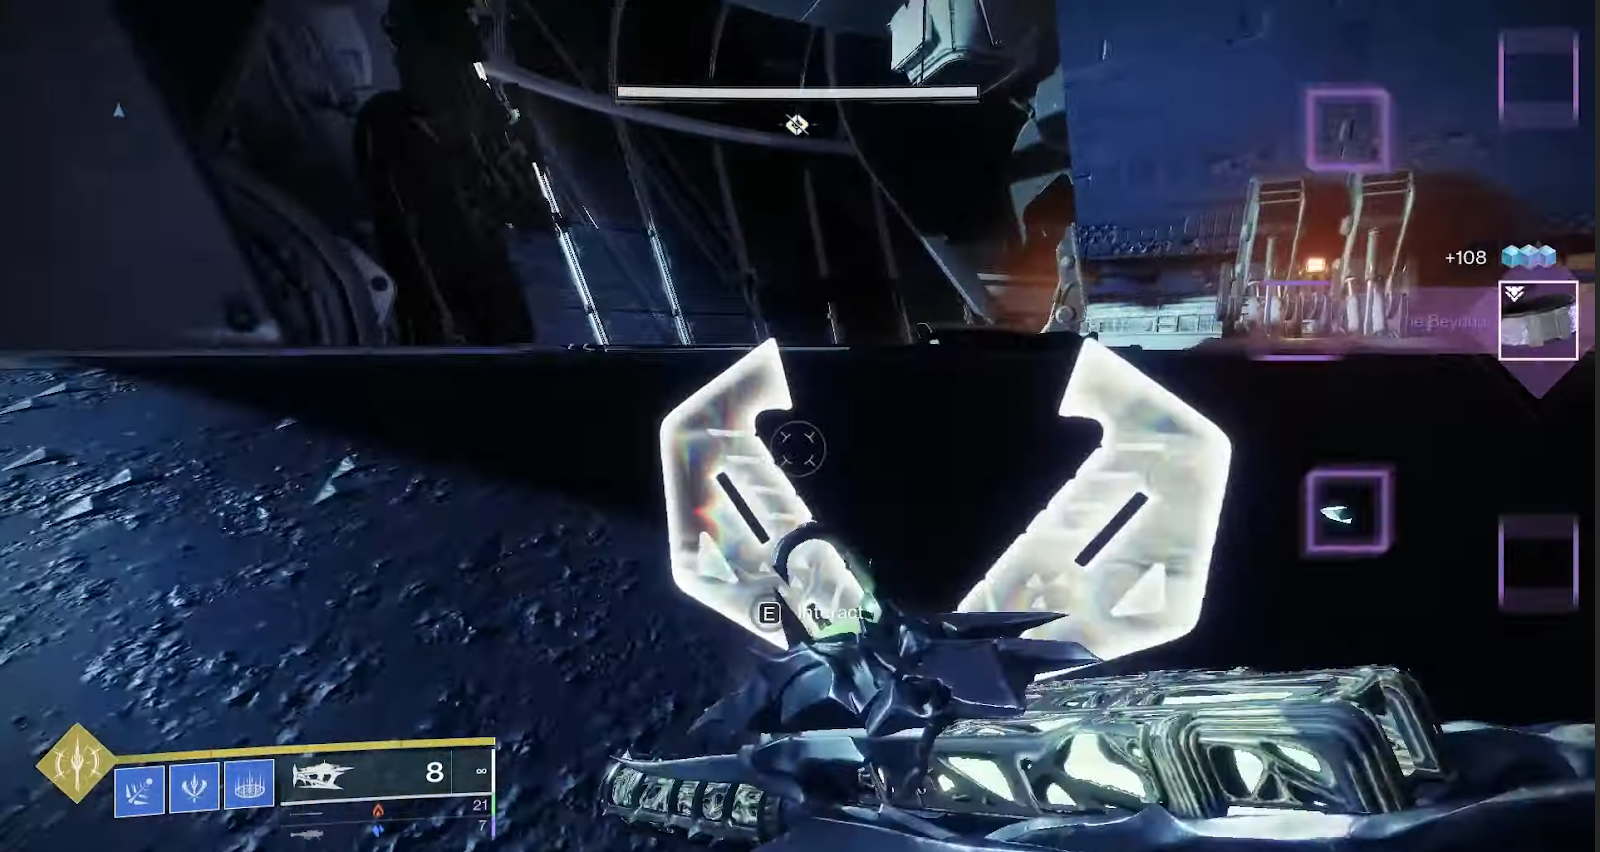
New Power

As you continue further into the city, you will find an energy source. Investigating it will grant the player the new power for Lightfall: Strand.

With your new power, you will be attacked by hordes of Cabal forces all looking to take you down. Use your newfound power and take them out in an area where respawning is restricted.

Keep fighting until you have taken out every enemy you can find in front of you and the First Contact mission will be completed.
ALSO READ: Sons Of The Forest: Rebreather Location