Sometimes you will be playing Warzone 2 without an issue and then out of nowhere, you will start experiencing Network Lag and High Ping. In this guide, we shall be giving you a couple of options for how you can actually fix this issue. Let’s get started.
Warzone 2 – How To Fix High Ping & Network Lag
Enable Telemetry Settings
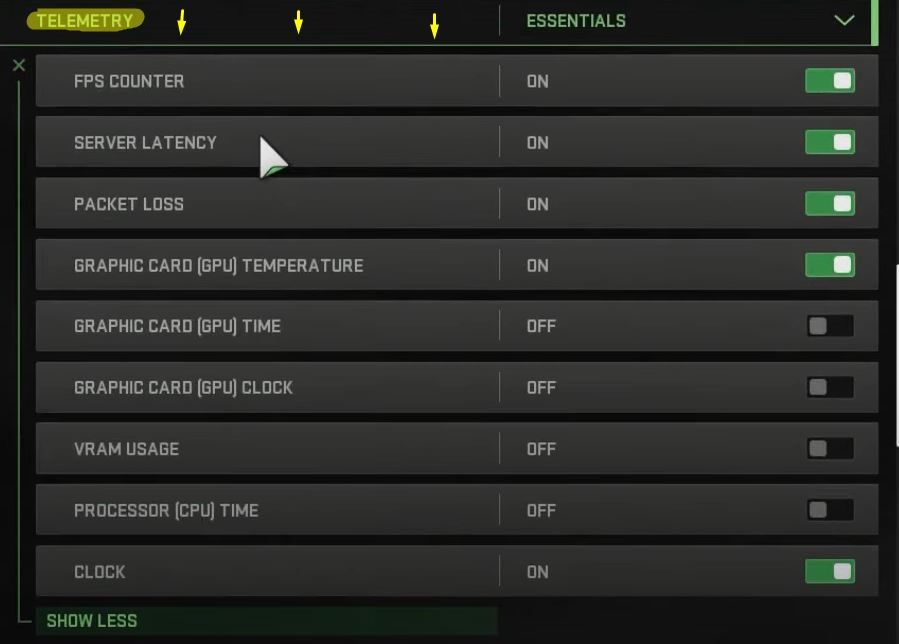
You shall need to open up the game and while in the menu, you will need to open up the settings. While here you will navigate to the Interface tab and options. Here you will need to scroll down until you find the Telemetry options.
Here you will need to enable all the things that are shown in the picture above. The most important thing is to enable the Packet Loss as well as the Server Latency. This way while in-game you will know how is your internet connection.
You can scroll down further and find the Network In-Game Alert Icons. You will need to tick this on so that it can show you any warnings if the networks and ping issues start appearing.
Disable VPN
The biggest issue nowadays is from the VPN services. Players are starting to use VPNs more and more to be better protected while browsing online and sometimes they can leave the VPN open. If you are one of them, just turn the VPN off before you start playing COD MW2.
Check Warzone 2 Server Status
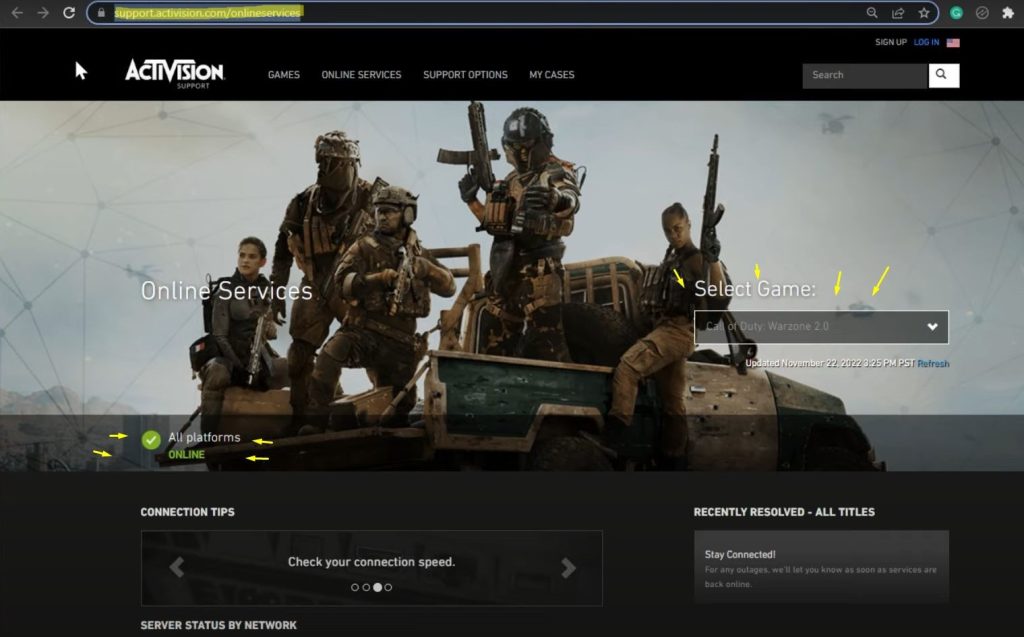
Sometimes the whole issue and ping situations might not be coming from your part, and they might be an issue that the server you are playing on is bad or not stable. That is why you should know how to check the Server Status.
You will need to open up this website to be able to see the server statuses:
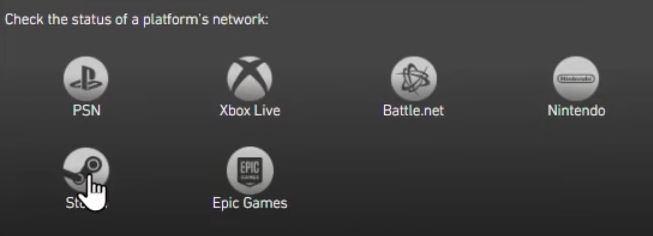
Once here you will need to choose the game that you are playing. For this case, make sure that Warzone 2 is selected. Then you will scroll down and open up the platforms where you are playing the game. This can be either Steam, Xbox, PlayStation, or so on.
Just click on your platform and it will say on top of them whether the servers are active or not.
Test Your Network Connection
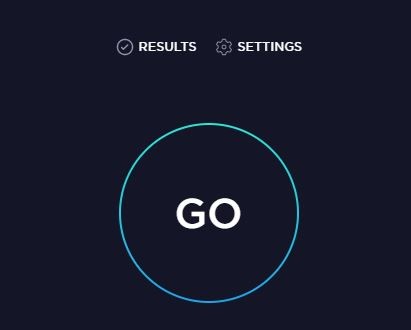
If you constantly keep having network issues it might be coming from your slow internet speed. To be better able to test your internet speed you should check out this website:
This is a website that will take everything about your network and internet speed into account. You will just need to press on the GO button and it will show up everything.
Change DNS Server Address
You will need to go into your Settings tab inside the Windows Search Bar on the bottom left corner of your screen. Once in the settings, you will open up the Network & Internet section and navigate to your Properties here:
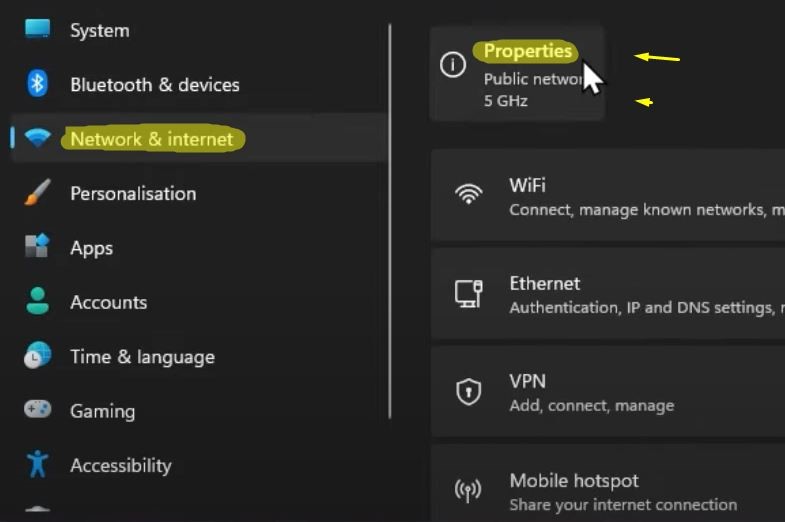
Here you will need to scroll down and find the Edit button. You shall need to click it and another window will open:

You will choose the Manual option when you click on the DNS settings. Now you shall need to enable the IPv4 to be ON. Then you can enter this number in the DNS line text:
- 8.8.8.8 – Preferred DNS
- 8.8.4.4 – Alternative DNS
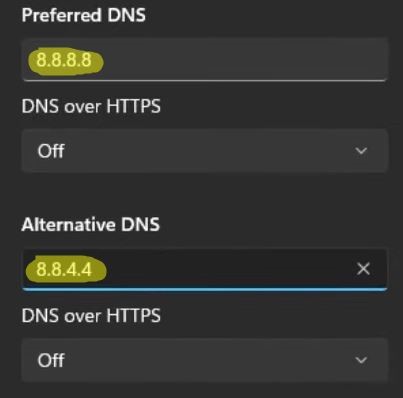
These are the official DNS server addresses from Google which are safe to use.
And that should be it! Give these options a try and maybe one of them will help you out with the network and lag issue that you might have in Warzone 2. A big thank you to TechHow from YouTube for all the extra information he provided.
ALSO READ: Fix Controller Not Working/Not Detected – Warzone 2/DMZ | Steam & BattleNet Guide


