If you’re like me, you’ve probably poked your head into a dark anthill in Grounded 2, saw a mob of red ants coming at you, and thought, “Yeah, maybe later.” But turns out, those creepy tunnels hold one of the most essential upgrade materials in the game: Brittle Marble Shards. These chunky little rocks might not look exciting, but they’re your key to tougher armor, which means fewer deaths-by-spider and more time actually exploring Brook Hollow. This guide covers where to find Brittle Marble Shards, how to use them, the best places to farm them early, and even a shortcut to skip the grind (because let’s be honest, we’ve all got better things to do than mine rocks all day).
- How to Get Brittle Marble Shards
- Wrap-Up: Why Brittle Marble Shards Matter
How to Get Brittle Marble Shards
Let’s be real: the game doesn’t exactly mark these on your map, and they can blend into the terrain way too easily. But here are some of the best spots I’ve personally found (and revisited way too many times):

Red Ant Hill (Early Game) / Hatchery Anthill
📍 Location: Near the starting area, just outside the lab – accessed during the “Investigate Snackbar Anthill” mission
This is probably the first spot you’ll stumble into. If you’re riding a Red Soldier Ant mount, the ants won’t mess with you… until you hop off. 😂 Once inside, look for smooth white boulders—those are your marble nodes.
🎯 Tip: Bring torches. And maybe a snack. It gets dark and hostile quick.
Another great source of both Marble and Quartzite. Bring a weapon to clear bugs, and look behind root walls—your Red Ant mount can chew through them.
Scorpion Cave
📍 From “The Art of War” mission
This one’s risky but totally worth it. Tons of marble chunks along the stone walls—just be prepared to dance with some scorpions.
Toxic Anthill (My Favorite Spot)
📍 Under the picnic table, near the checkered blanket
Seriously—this place is packed. Ride your Red Ant soldier to avoid aggression, then head in with a torch and a weapon. You’ll find marble and quartzite galore once the dirt tunnel transitions into stone.
Tip: If you’re mounted, you can’t harvest—hop off before mining!

Entrance Area & Statue Garden
These two are quieter but still decent for a quick shard grab. You’ll often find nodes near flower beds, garden paths, or tucked into rocky corners.
What Are Brittle Marble Shards?
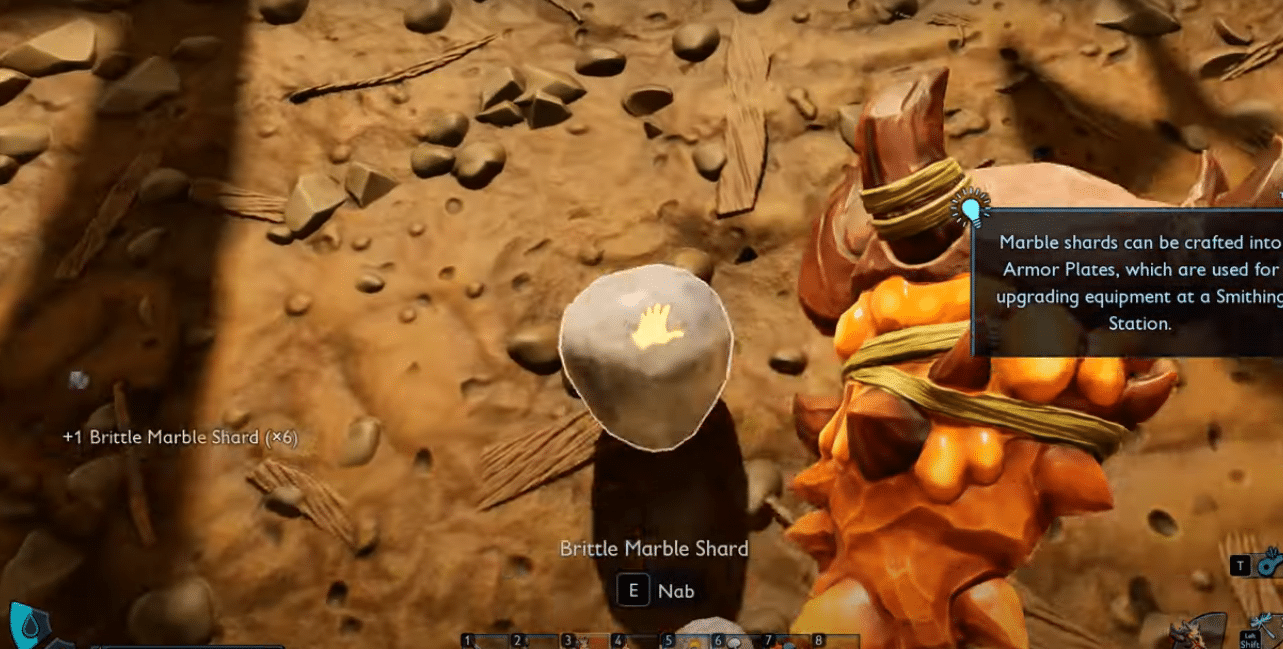
Brittle Marble Shards are a raw resource used to craft Brittle Plating, which in turn is used to upgrade your armor at the Smithing Station. These shards are found by smashing white, smooth-looking marble rocks scattered across the map—most commonly in anthills, caves, and other “maybe-don’t-go-there-until-you’re-ready” spots.
They’re super important because:
- Brittle Plating = Armor upgrades
- Each upgrade gives +10% defense & durability
- Higher-tier plating (Sturdy, Supreme) needs better tools, but Brittle Marble is fair game with the basic Omni-Hammer
🛠️ Quick Crafting Breakdown:
- 1x Brittle Marble Shard → 1x Brittle Plating (Workbench → Resources tab)
And here’s the catch: these nodes don’t respawn. Once you’ve mined them, they’re gone for good—unless you unlock a much easier, renewable way later (more on that below).

How to Use Brittle Marble Shards
Once you’ve got a few shards, here’s what to do:
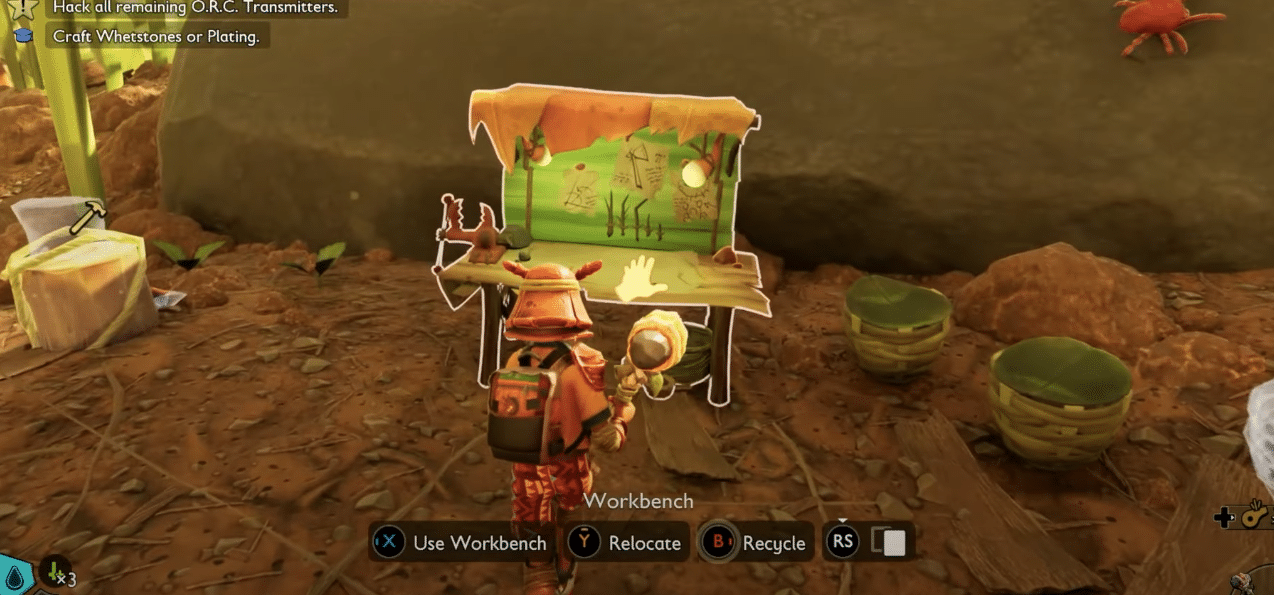
Craft Brittle Plating
- Go to a Workbench
- Open the Resources tab
- Use 1x Brittle Marble Shard to craft 1x Brittle Plating
Build the Smithing Station
You’ll need it to actually upgrade gear. First, buy the blueprint from the Science Shop at the Snackbar Ranger Station (500 Raw Science, unlocked after The Art of War mission).
Crafting Recipe:
- 2x Sap
- 1x Brittle Whetstone
- 1x Brittle Plating
- 4x Crude Rope
How Armor Upgrades Work (And Why They Matter)
Each armor upgrade level gives a +10% boost to defense and durability. That adds up fast and is absolutely worth the investment once you’ve got the shards.
| Level | Brittle Plating Cost | Upgrade Bonus |
|---|---|---|
| Level 1 | 2 | +10% Defense/Durability |
| Level 2 | 4 | +20% |
| Level 3 | 6 | +30% |
⚠️ Tip: Always repair your gear instead of crafting new ones. It’s cheaper and saves precious materials.
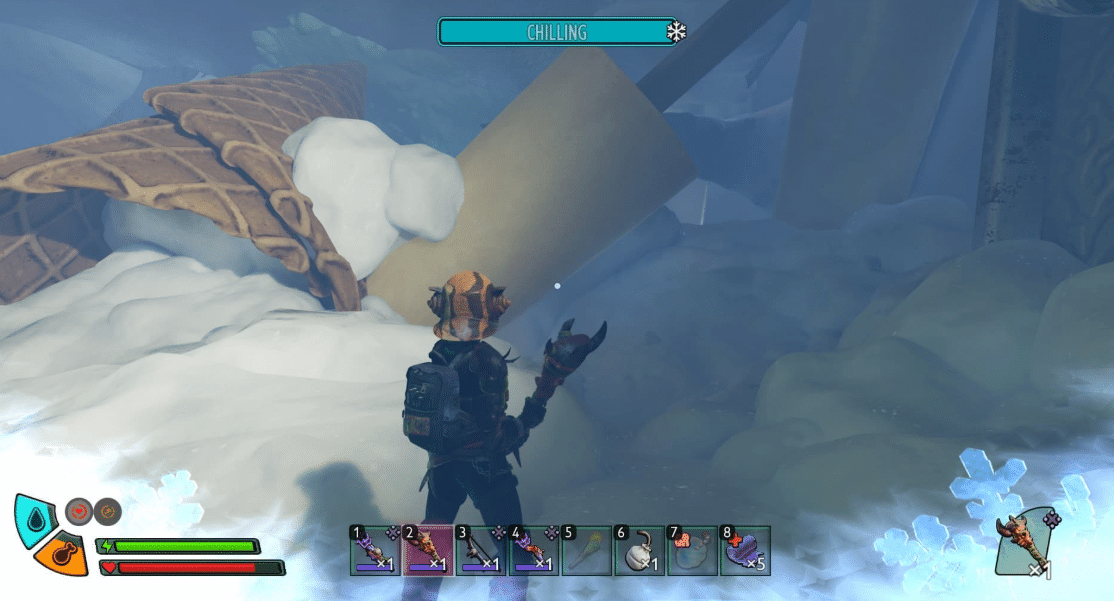
Tired of Farming? Unlock Brittle Plating Recipe at the Ice Cream Cart
Let’s say you’re over the whole “dive into anthill and maybe die” loop. I feel you. Good news: there’s a shortcut.
Head to the Ice Cream Cart (Frozen Zone)
📍 Location: Northeast area, past the frosty terrain
Here you’ll find an Optical Disk hidden near a frozen body, just past two popsicles and a tunnel lined with ice cream cones. Bring Chill-resistant gear, Blazing Brew, and a smashing weapon—it’s a dangerous (and freezing) trek.
Unlock Crafting Recipe:
- Return the Optical Disk to the Science Shop
- Spend 1,000 Raw Science
- Now you can craft Brittle Plating using:
- 🧪 1x Sap
- 🐛 1x Grub Hide
Much easier, way faster, and completely renewable. Highly recommend doing this early if you can survive the cold.
Wrap-Up: Why Brittle Marble Shards Matter
And there you go, everything you need to know about Brittle Marble Shards in Grounded 2. Whether you’re grinding through dark tunnels or cheesing your way through the Ice Cream shortcut (no shame), these shards are a must-have for surviving tougher fights. Armor upgrades make a huge difference, especially once spiders start jumping you in the night or scorpions show up at your picnic.

Personally, I love using the shard method early on, then switching to the Ice Cream Cart recipe to save time. It’s a game-changer. Up next, if you’re looking to push your upgrades even further, don’t miss our guide on where to find the Praying Mantis in Grounded 2—one of the tougher challenges with some of the best gear rewards.