The Edge of Fate expansion brings all sorts of new content to the long running Destiny 2. The new content consists of new missions, Raids and more. While exploring the map, you might have come across alerts telling you that there are Urn collectables nearby. These collectables can actually give you destination materials and Fated Ciphers. But often, they are locked behind a puzzle some of which can be unclear or confusing. In this guide, we’ll show you how you can get all the urn locations at the Central Academy region. With that said, let’s get into it!
All Central Academy Urn Locations Guide
There are a total of 6 urn locations that you can find at the Central Academy region – with 3 in Caldera and 3 in Aionian Campus. They are secret collectables that can give you Fated Ciphers and destination materials – but are locked behind puzzles.
We’ll show you the locations and solutions of all the puzzles. You might want to also grab intrinsic upgrades in the area which are covered in our graviton spike intrinsic upgrade locations guide!
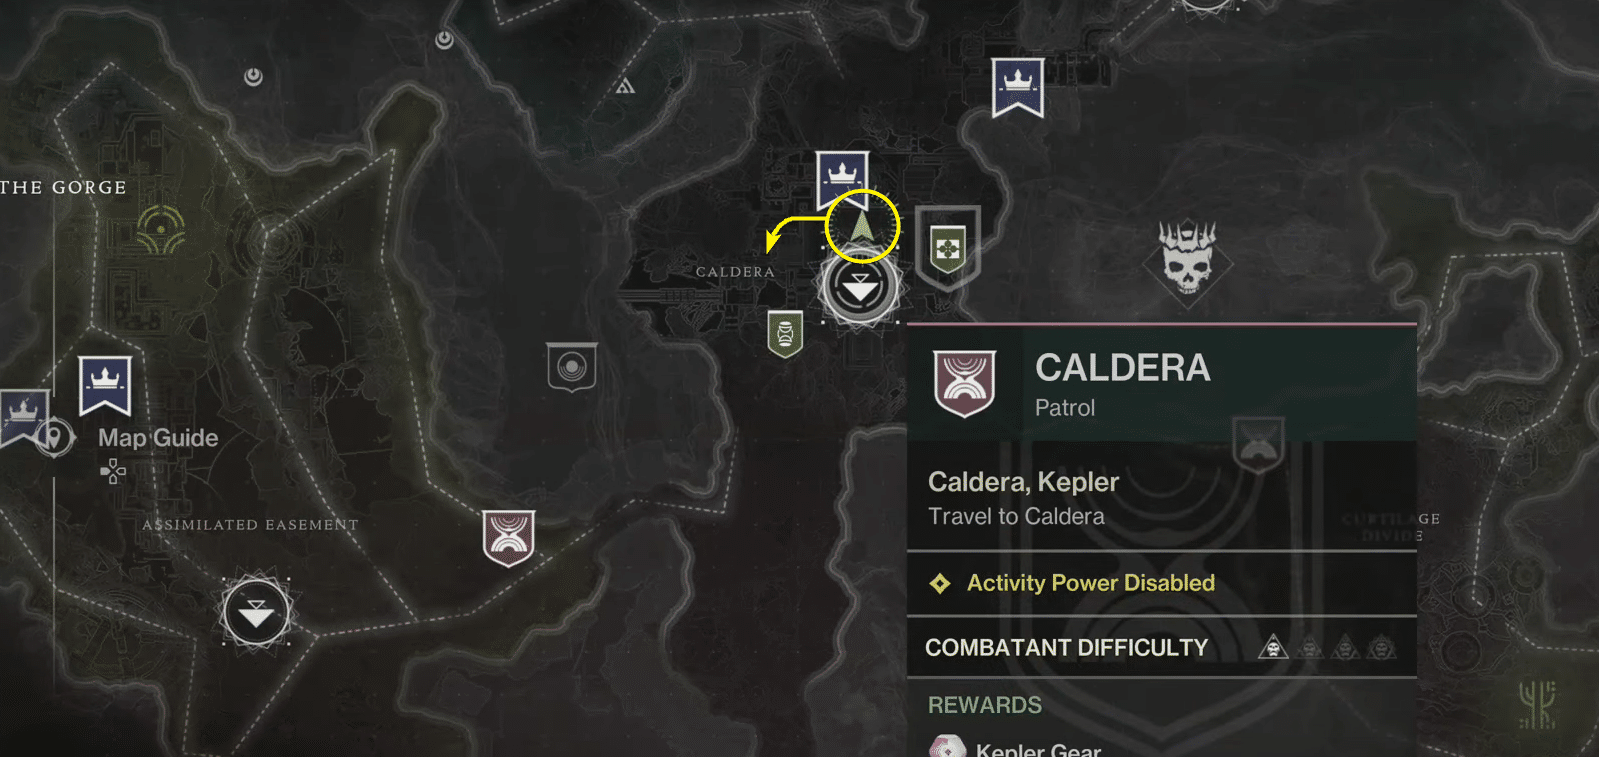
Urn Location #1 – Caldera
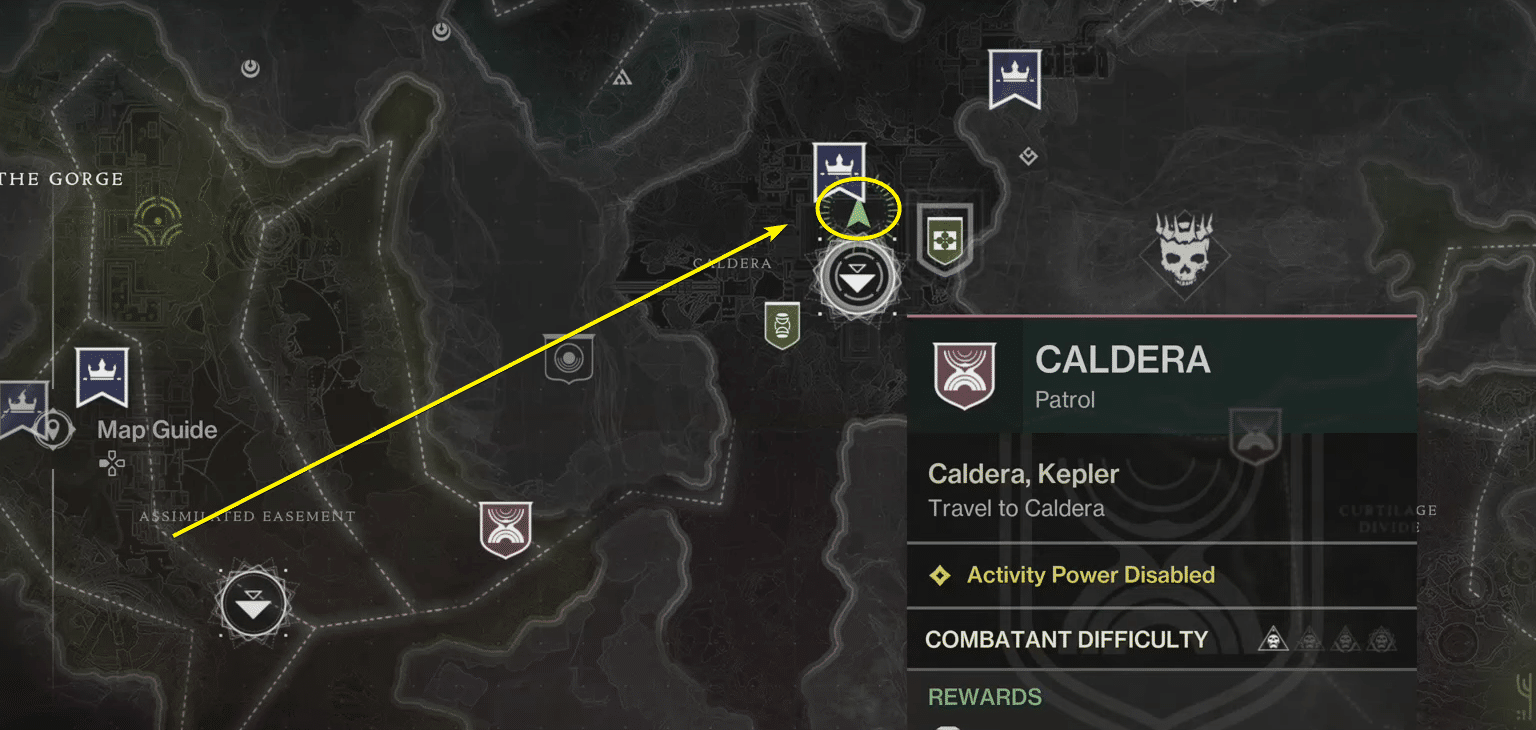
For the first Urn location, you want to teleport to the main Caldera area. This is where you can find the Caldera patrol missions.

Here are the steps you need to follow to get to the Urn:
- Turn to the right and jump on the pipe
- Follow the pipe to the end and jump up
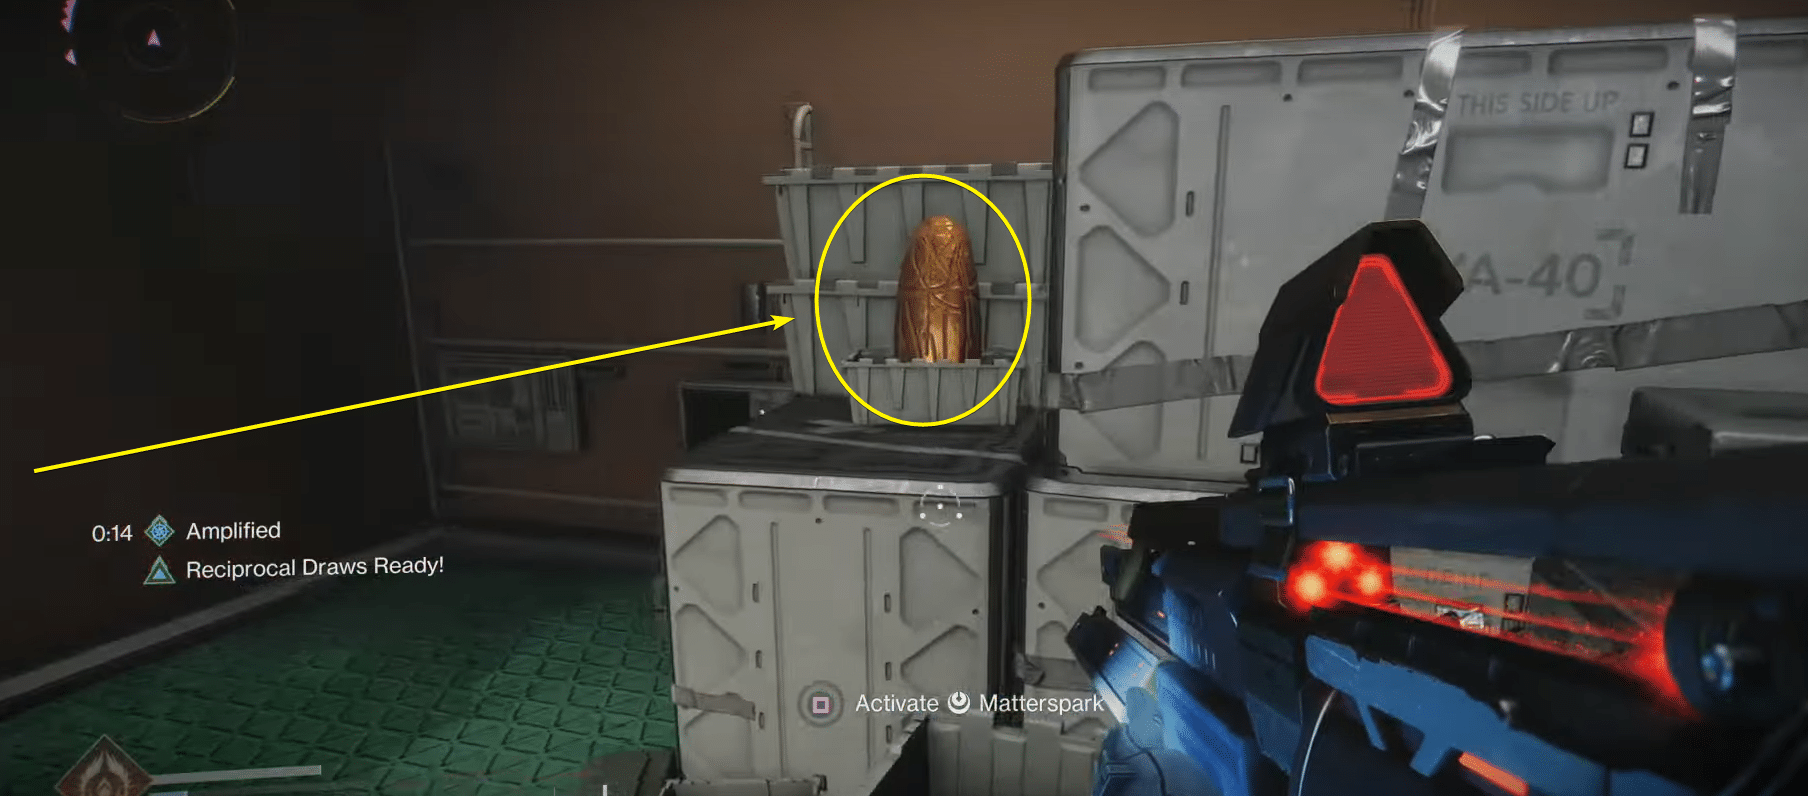
- Use the Matterspark platform to activate your Matterspark form
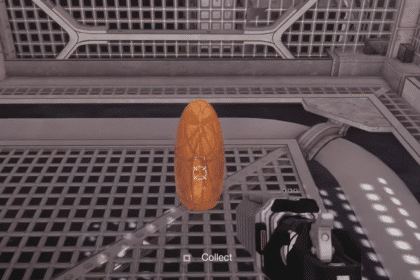
- Enter the open pipe through the hole and navigate to the other side
- Grab the urn sitting on some crates.

Urn Location #2 – Caldera
The next location can also be found starting from the main Caldera area.
Here are the steps you need to follow:
- Look up and you should see a Tracer Shank in the area
- Navigate up using the pipes
- Grab the Relocator on the cliff

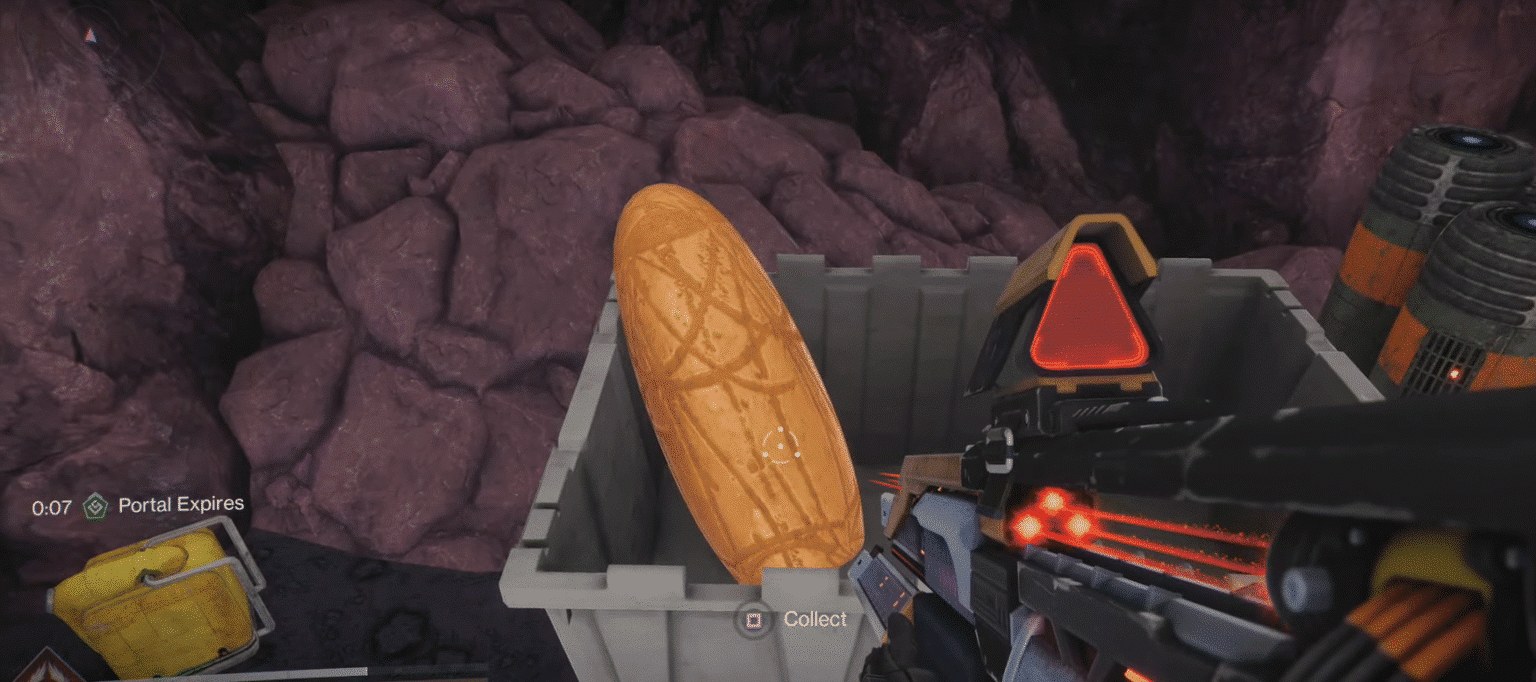
After you get the Relocator, aim it and fire at the plate on the left making sure to line it up with the Tracer Shank. You can just keep shooting until the portal opens. Next, enter the portal and you’ll be teleported to another area.
The secret urn will be in a cart and you can simply pick it up.
Urn Location #3 – Caldera
Starting from the main Caldera area, make your way to the left and go all the way around the building as shown below. You’ll come across enemies here that you can choose to ignore if you want.
From here, you want to navigate all the way back until you reach a cave. Inside the cave, grab the Matter Alignment power up.

Next, here are the steps you need to follow:
- Return back to the area with enemies until you see some highlighted platforms
- Use the Matter Alignment on them to arrange them
- Use your Graviton Spike in Arc Mode to fire it at the flower to open it up
- Next, swap to stasis to break the revealed crystal so the fan stops moving
- Use the Matter Alignment on the fan cover to open it up
- Go through the fan opening and grab the urn at the back.

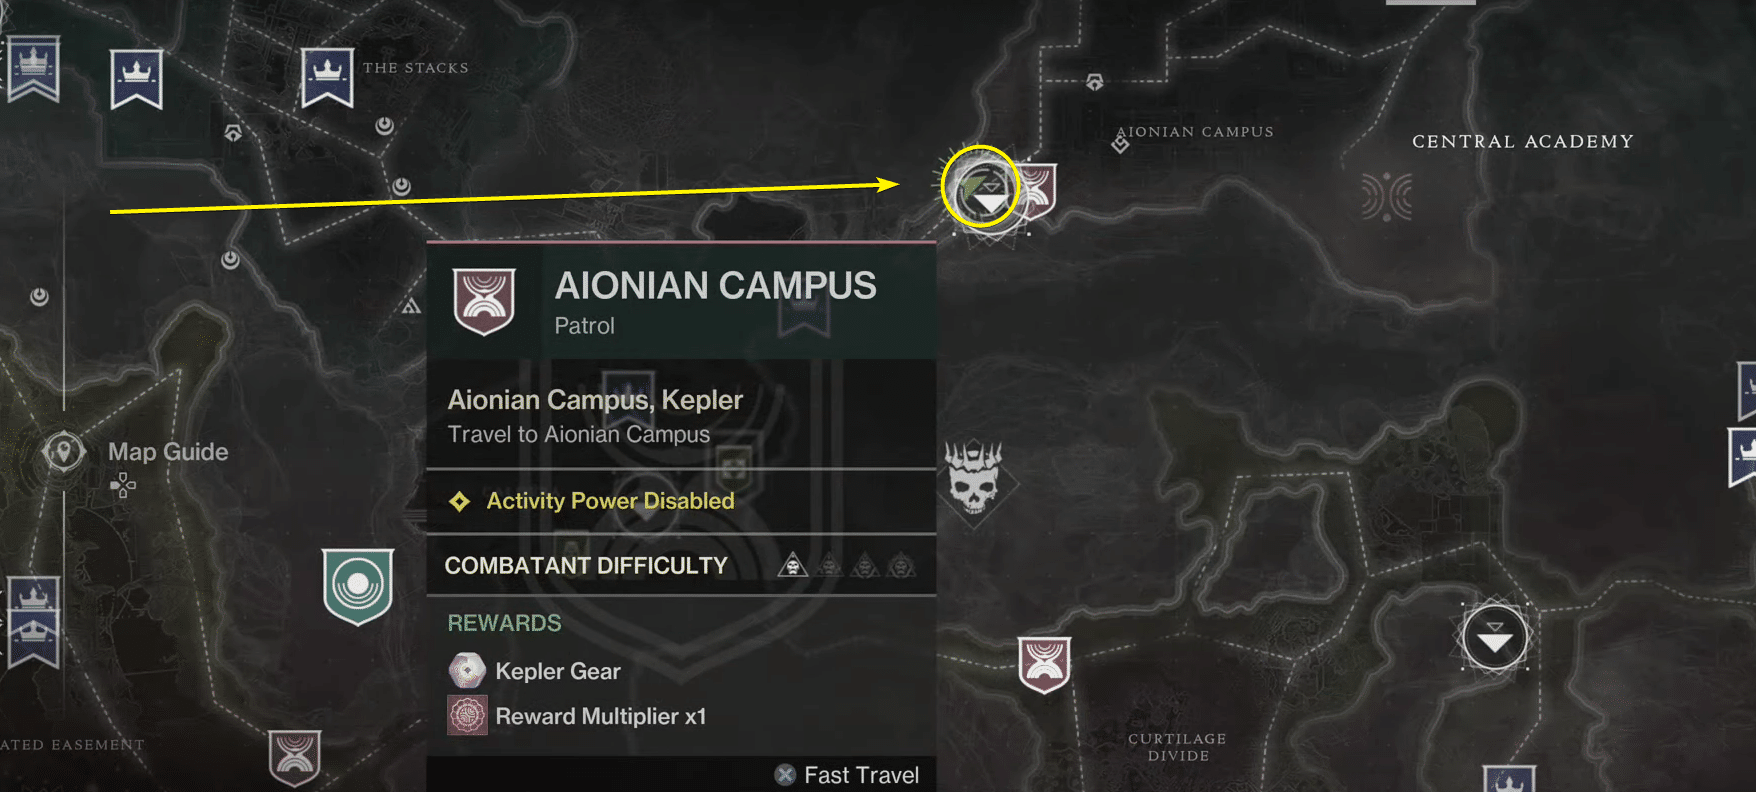
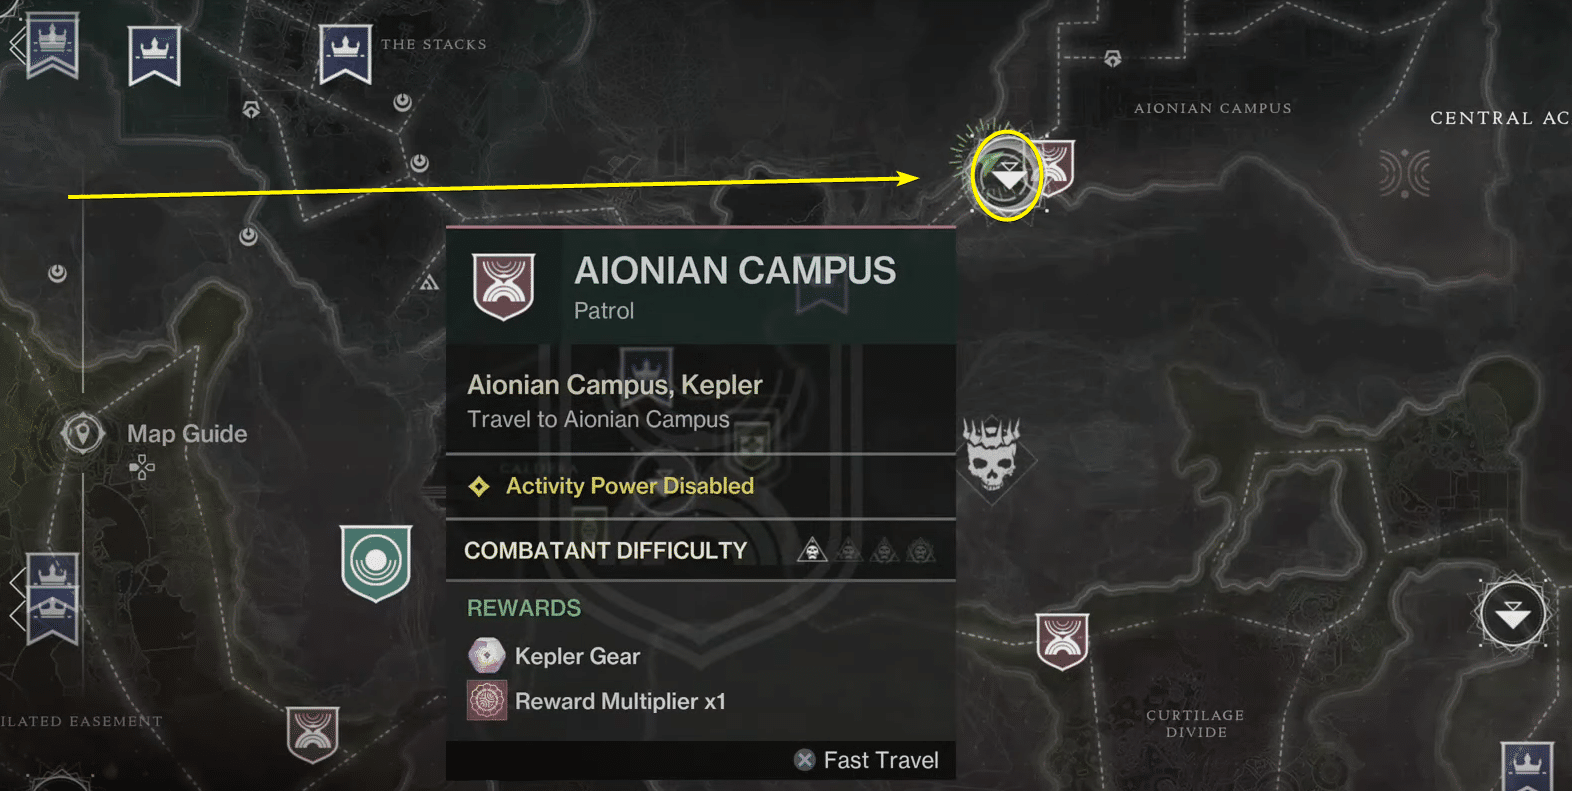
Urn Location #4 – Aionian Campus
For the next urn, you want to go to the main Aionian Campus, which is where you can find the Patrol mission.
From here, go to the right and you’ll see a locked door. Shoot the generator powering the Rosetta frequency and then interact with the Aionian command console to open the door.

Go inside and turn to the right. From here, navigate all the way up and shoot the vent. Jump up to the vent and interact with the Matterspark plate.
In the Matterspark form, enter the hole that you see on the platform and navigate all the way to the other side.

Here, you’ll come across a puzzle where you need to arrange Relocator satellites. Do so in the arrangement shown below by shooting them all until they are pointing to the satellite on the ground.

Next, grab the Relocator that you can see in a nearby room. Use it to get inside the barricaded room. Here, you’ll find another Relocator that you can use on the satellites to open another portal.
This will take you inside a room that has an urn inside.

Urn Location #5 – Aionian Campus
d

Here are the steps you need to follow:
- Go down the tunnel that you can find towards the left near some enemies
- Enter the room where you can see three pipe openings
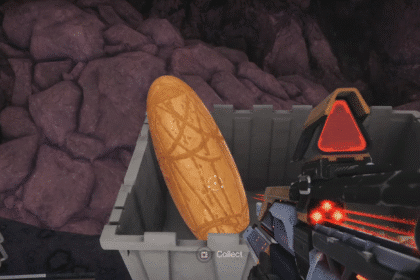
- Use your Matterspark form to go through the middle one and reach all the way to the end
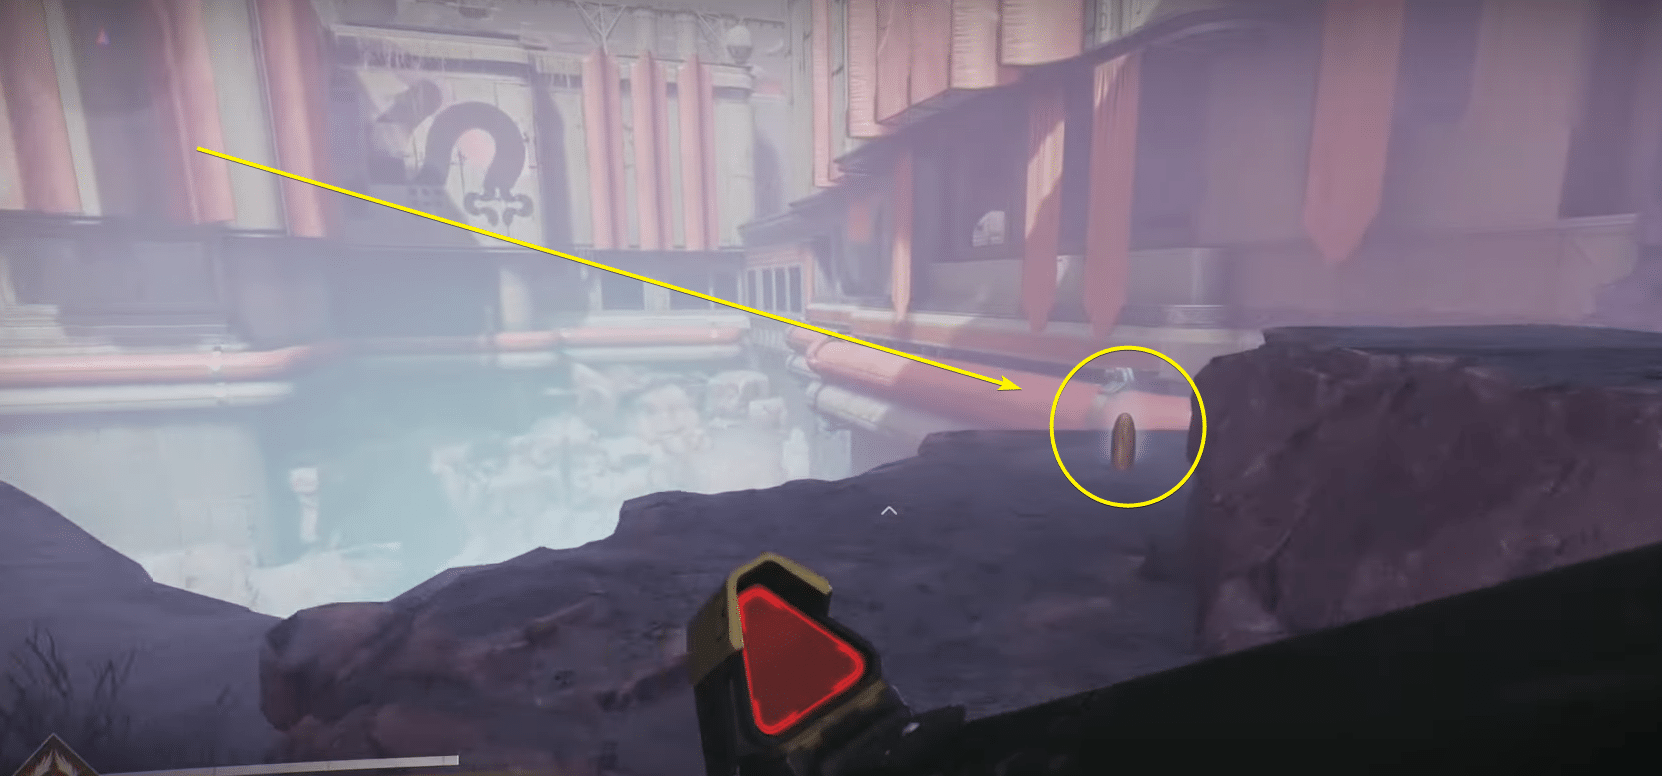
- Pick up the urn hidden behind a rock.
Urn Location #6 – Aionian Campus
For the final urn, you want to start off from the same spot that we’ve been using for the other urn locations next to the Patrol mission.
From here, you want to go into your Matterspark form and enter the small pipe opening that you can find near the tunnel. Once you’re on the other side, navigate through the rocky area until you arrive at platforms floating in a yellow liquid.
Parkour on the platforms and go towards the right where you’ll find a bunch of rocky cliffs.

Go all the way to the end and pick up the Relocator. Use it to get past the barriers by shooting the Teleportation plate and teleport using the portal.
One the other side, go into your Matterspark form to overcharge and break the pylon.

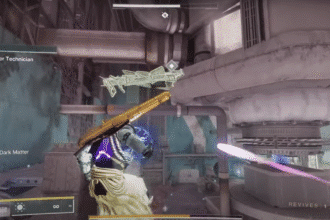
Next, use your gun to shoot all the Rosetta frequency generators. There are three in the area that you should be able to shoot relatively quickly.
From there, interact with the Aionian console to activate it.

Return to the place where you found the Relocator and you should see that the final urn has appeared. Grab it and you should be able to get the Urn Collection: Campus Region achievement.
Wrap Up
That’s everything you need to know about getting all the Central Academy Urn Locations in Destiny 2. Some of the puzzles can be really confusing but hopefully this guide should make all of them relatively simple. Not only will you be able to complete the achievement which will help you towards 100% completion, but you’ll also be able to get a bunch of materials and Fated Ciphers which always help in a game like Destiny 2!