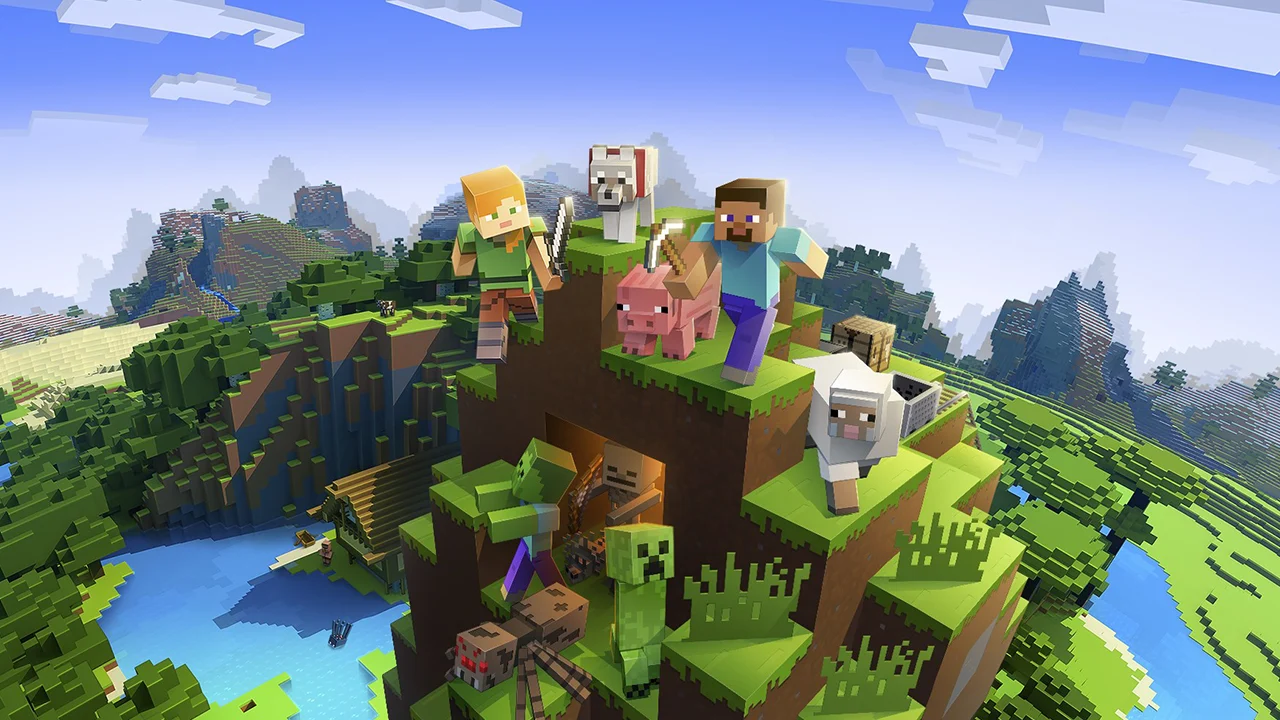
Minecraft has been one of the most popular games throughout the years. Therefore, it is no surprise that you might be looking for a way to add it to your Steam library to manage the game files easier. Luckily, there is a very simple way of adding Minecraft to your Steam library. Let’s take a look at How To Add Minecraft Game To Steam Library together.
How to Add to Steam
Steam is one of the most popular platforms for gamers to manage their games. However, there are some games you simply cannot purchase on Steam.
Therefore, it might be exhausting for you to manage the game files without using the platform. As we mentioned, there is a very simple way to add the game to Steam.

The first thing you should do to add Minecraft to your Steam library is to open Steam. After that, you are going to see a little button named Add a Game.
First, click on Add a Game. Then, choose Add a Non Steam Game option.

A new screen will open, and you will need to select Minecraft.exe from the list to add it to your library. Once you do that, the game will be added to your Steam Library right away.

That is all you need to learn about How To Add Minecraft Game To Steam Library. Now you can see your game in your library as well!
ALSO READ: How to Counter Redstone Launcher in Minecraft Legends PvP


