
Now that Windows 11 is finally out and we can all enjoy a new version of our favorite OS, there are some things that might go wrong while you use your dear computer. If that happens, you might end up with corrupted files or with other registry problems that can make you go crazy wondering why your PC is acting up. Well, here’s an easy guide to show you how to fix any problems your updated computer night be facing.
How To Fix Corrupted Files & Repair Windows 11
So here is the first method you can use to fix Windows 11:
- Open up your start menu search and search “Command Prompt”.
- Right-click the icon and select ‘Run as administrator’.
- In Command Prompt, type in “sfc /scannow”, then press “Enter”. Now you will have to wait for around 2-5 minutes for the program to do its thing.
- (Optional) If the first command doesn’t work, type in “dism /online /cleanup-image /restorehealth” and hit “Enter”.
This may take some time, based on the amount of files you might have in your computer. After the process is done, just restart your computer and the problem should be gone.
If not, here’s the second method to solve your problems:
- Start the PC in safe mode. To do this, press the Windows key + R, type in there “msconfig” and click “Ok”. In the window that appears, select the “Boot” tab and enable the “Safe boot” by ticking the box next to it.
- After restarting the computer, open the start menu search and look up “Command Prompt”.
- Type in the Command Prompt “sfc /scannow” and press “Enter”. This will take some time, as in the previous scenario, depending on your system configurations.
- Now just restart in normal mode. To do this, press the Windows key + R, type in again “msconfig” and “Enter”. Go back to the “Boot” tab and deselect the “Safe boot” box. Click “Apply” and “Ok” and you’re done.
This should have solved your problem, buuuut, if not, here’s the last way to do it:
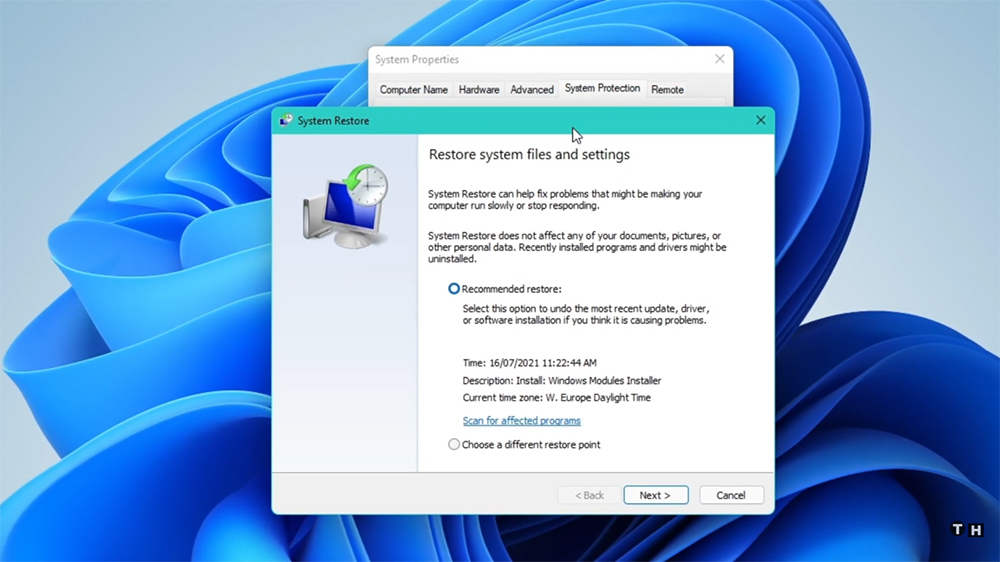
- Search in the start menu “System Restore”.
- Click on “Create a restore point”.
- Select “System Protection” tab, and press “System Restore” button.
- Now you just have to confirm you System Restore point and click next. If you don’t have a point, choose the recommended one.
- After you confirm your choice, click the “Finish” button.
It way take some time for your computer to restore, but afterwards it should work properly.
If this did not solve your problem, just reinstall Windows. It might be your only way to fix the problem.
READ NEXT : Windows 11: Right-Click Keeps Loading Fix


