Raft is a fantastic game where you’re stranded in the middle of an ocean with the ability to craft the ultimate Raft for your survival. The world is filled with various places to visit and one of them is Varuna Point. Let’s get it to a 100% discovered rate.
Varuna Point 100% Guide All Notes, Blueprints & Special items – Raft
First of all, you will need to get to the Varuna Point location. Once there, climb up on the structure by jumping on the bird nests. When you get to the construction site, just pick up this note that is placed on a small table.

You have no reason to stay at the construction site at all anymore, so just go back down.
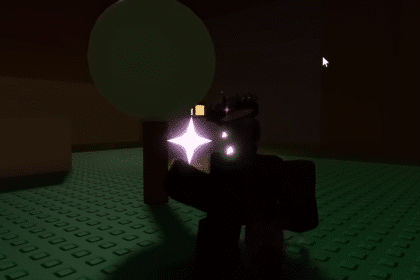
Jump in the water and to get inside, you will see lots of jellyfish that are blocking the way inside an opening. Wait and time the light so the road will clear and you can enter. Inside you can find the second note. If you keep looking through the rooms inside here, you will find two Spotlight Parts as well.

You can go up the elevator shaft to get to another level. Don’t forget to keep using the air bubbles to get your oxygen level up. On this level in the middle room, you’ll find a Note as well as a Spotlight Part too. They will be next to each other at a table.
Then go up again another level. This time you’ll actually leave the water. On this level, there will be yet another 2 Spotlight Parts. That should be it in this area. Leave from where you entered before.
Now you’ll enter the big pipe under this hole. Turn on the light to get rid of the jellyfish.

Keep going until you see the G sign on the wall. Enter the opening on the left side of it. While inside, take a hard left and go up from the water. Here you’ll find your first Note. Keep walking around the pipe area, but be careful with the traps on the ground.
Keep walking and you’ll get to a higher level. Lots of traps on the ground here. This road will keep getting you higher and higher. And there will be really a lot of traps along the way. Then after a lot of walking, you’ll get to a section where there’s a construction site worker with a Note next to him and a blueprint for the Advanced Head Light. Make sure to pick up the Motherlode Key as well.
After this section is all cleared out, get out from the very same way you entered. Then enter this section under the first one.

As soon as you enter, make sure to get on the lower level of the ground where you will first enter. Here you’ll get the Construction Helmet.
For the next section, keep swimming even lower than this area. So keep going down until you see a G marked on an opening inside the building. Enter it.

Here is where you’ll actually use the Motherlode Key. There will be a garage kind of a door which you can open. Basically, keep looking over everything here. You’ll find lots of crates and items. Be wary of the fish enemies though.
While you keep looking and going lower and lower, you’ll start moving through a big tube. In the end, there will be a garage like a door, and BOOM. The Boss will say hello.

You can beat him by making him hit the pillars. You will hear a growl before he strikes, this is when you can time it right. Once he hits a pillar he will make a hole inside. Pick up an Explosive Barrel now and place it inside this hole.
This will open up a gap on the roof which you can go through. The second stage of the boss fight will commence here. Same strategy just the pillars will take 2 hits before you can place a barrel inside.
The third floor is again the same as before. Just he will need to hit the pillar 3 times this time. A very good tip is if you want to heal, just go back all the way to level 1 and stay next to an air bubble.

Then he should be dead and Varuna will be at 100%. After this make sure to loot this shark as he will give you 1000 meat.
Then keep going up through the gap and out of the water. You will find a Blueprint of a Wind Turbine and a Crane Key. Then just go up the ladder and through the pipes to the surface.
Climb to the Crane now, which will take parkour skills and abilities. Pick up the Notes first and the Blueprints, then turn it on using the key.

At the bottom of this hole will be the Advanced Battery Blueprint and a Note.
Congratulations! That is everything from Varuna Point. Special thank you and full credit goes to QuickTips from YouTube. You can check out his channel here.
READ NEXT: Raft the Final Chapter: Utopia | Walkthrough & Guide